
Hello, my name is Amanda, and I have an IKEA addiction.
I have been consumed by the desire to decorate my house in Swedish simplicity ever since the first time I walked into one of these stores. They are a minimalist’s dream come true. Need form + function? Need endless organizational ideas? Do you wish to make the most of the space you have? Need easy to clean surfaces, intelligent design, and durable materials? Then IKEA is the place for YOU!
Almost two years ago, we decided to renovate our kitchen. It was a typical American 1950s home-built design; too many cabinets, a lot of wasted space, and annoyingly low upper cabinets that blocked your view when you walked into the room. The work surfaces had been re-done in tile, which I hate as a weirdo clean-freak. A full third of the kitchen’s flat workspace was unusable since the low cabinets rendered them useless (unless you LIKE to hit your head on cabinetry and take out your eye with a knob).
We started looking at DIY cabinetry options at your typical box stores like Home Depot and Lowe’s. It was a no-go. The construction was disappointing and the hardware was pretty crappy and weak, easy to wiggle, and had a cheap feel. If we were going to re-do the kitchen, we were at least committed to doing it the right way and spending a bit more if necessary to get quality hardware and construction. Still, we can’t afford custom cabinets, so whatever we bought had to be DIY. Enter IKEA: The DIY Kingdom with Scandinavian Flair.
First off, IKEA uses Blum hardware, and it ROCKS. This means that when pulled out or opened, drawers and cabinet doors have a nice, solid feel. Door and drawer ‘dampers’ mean no more slammed drawers/doors! Self-closing drawers mean that you push them back and they close on their own! The hinges allow for a nice and wide opening for your doors, and they are high quality and solid. Ah, and the hardware allows for up and down adjustment for the drawer facings, so you can tweak them to look just right! So, there’s Round One. Ding ding!
Round Two: Construction of said cabinets is well thought out, and materials are definitely higher quality than the box stores. The drawer and door facings are very heavy and tolerate a lot of abuse. I think we’ve all had that melamine furniture that chips on the edges at the slightest whack. Annoying. Not so with these; instead of side seams, these facings are fully wrapped with a thick coating, so much less likely to chip. I DID manage to chip a tiny bit off of one of them, but it was after accidentally really whacking the crap out of the top of a door by dropping a glass lid. Winner! Ding ding ding!
Round Three: Price. Pricing is honestly comparable to both Lowe’s/HD, especially when confronted with the fact they are much higher quality. Do I remember the price breakdown of all of our cabinets? No. But I do remember it was very close to what was offered at the box stores. Per square inch, the biggest cost is going to be your facings. The ‘base’ of the cabinet is quite inexpensive, really. The facings are where you spend the money, because that’s what will take the majority of the abuse besides the hardware, which is not a problem here. Our base cabinetry was in the AKURUM family, and I believe that is being phased out in 2015 with the SEKTION system.
Here is a quote from IKEA website: “SEKTION will build on the great innovations that the AKURUM system has such as soft close drawers and doors, a wall mounted rail system for easier installation, and a 25 year limited warranty. However, SEKTION is a more modular system which will offer new opportunities to use the interior space inside each cabinet. Plus, it will offer a new system for integrated lighting. You’ll be able to see the new SEKTION kitchen system in your local IKEA store on February 2, 2015.”
You can bet your buttons that I will be going in and looking at the new kitchens in a month, just to see! But anyway, back to our kitchen. Here are some before photos:


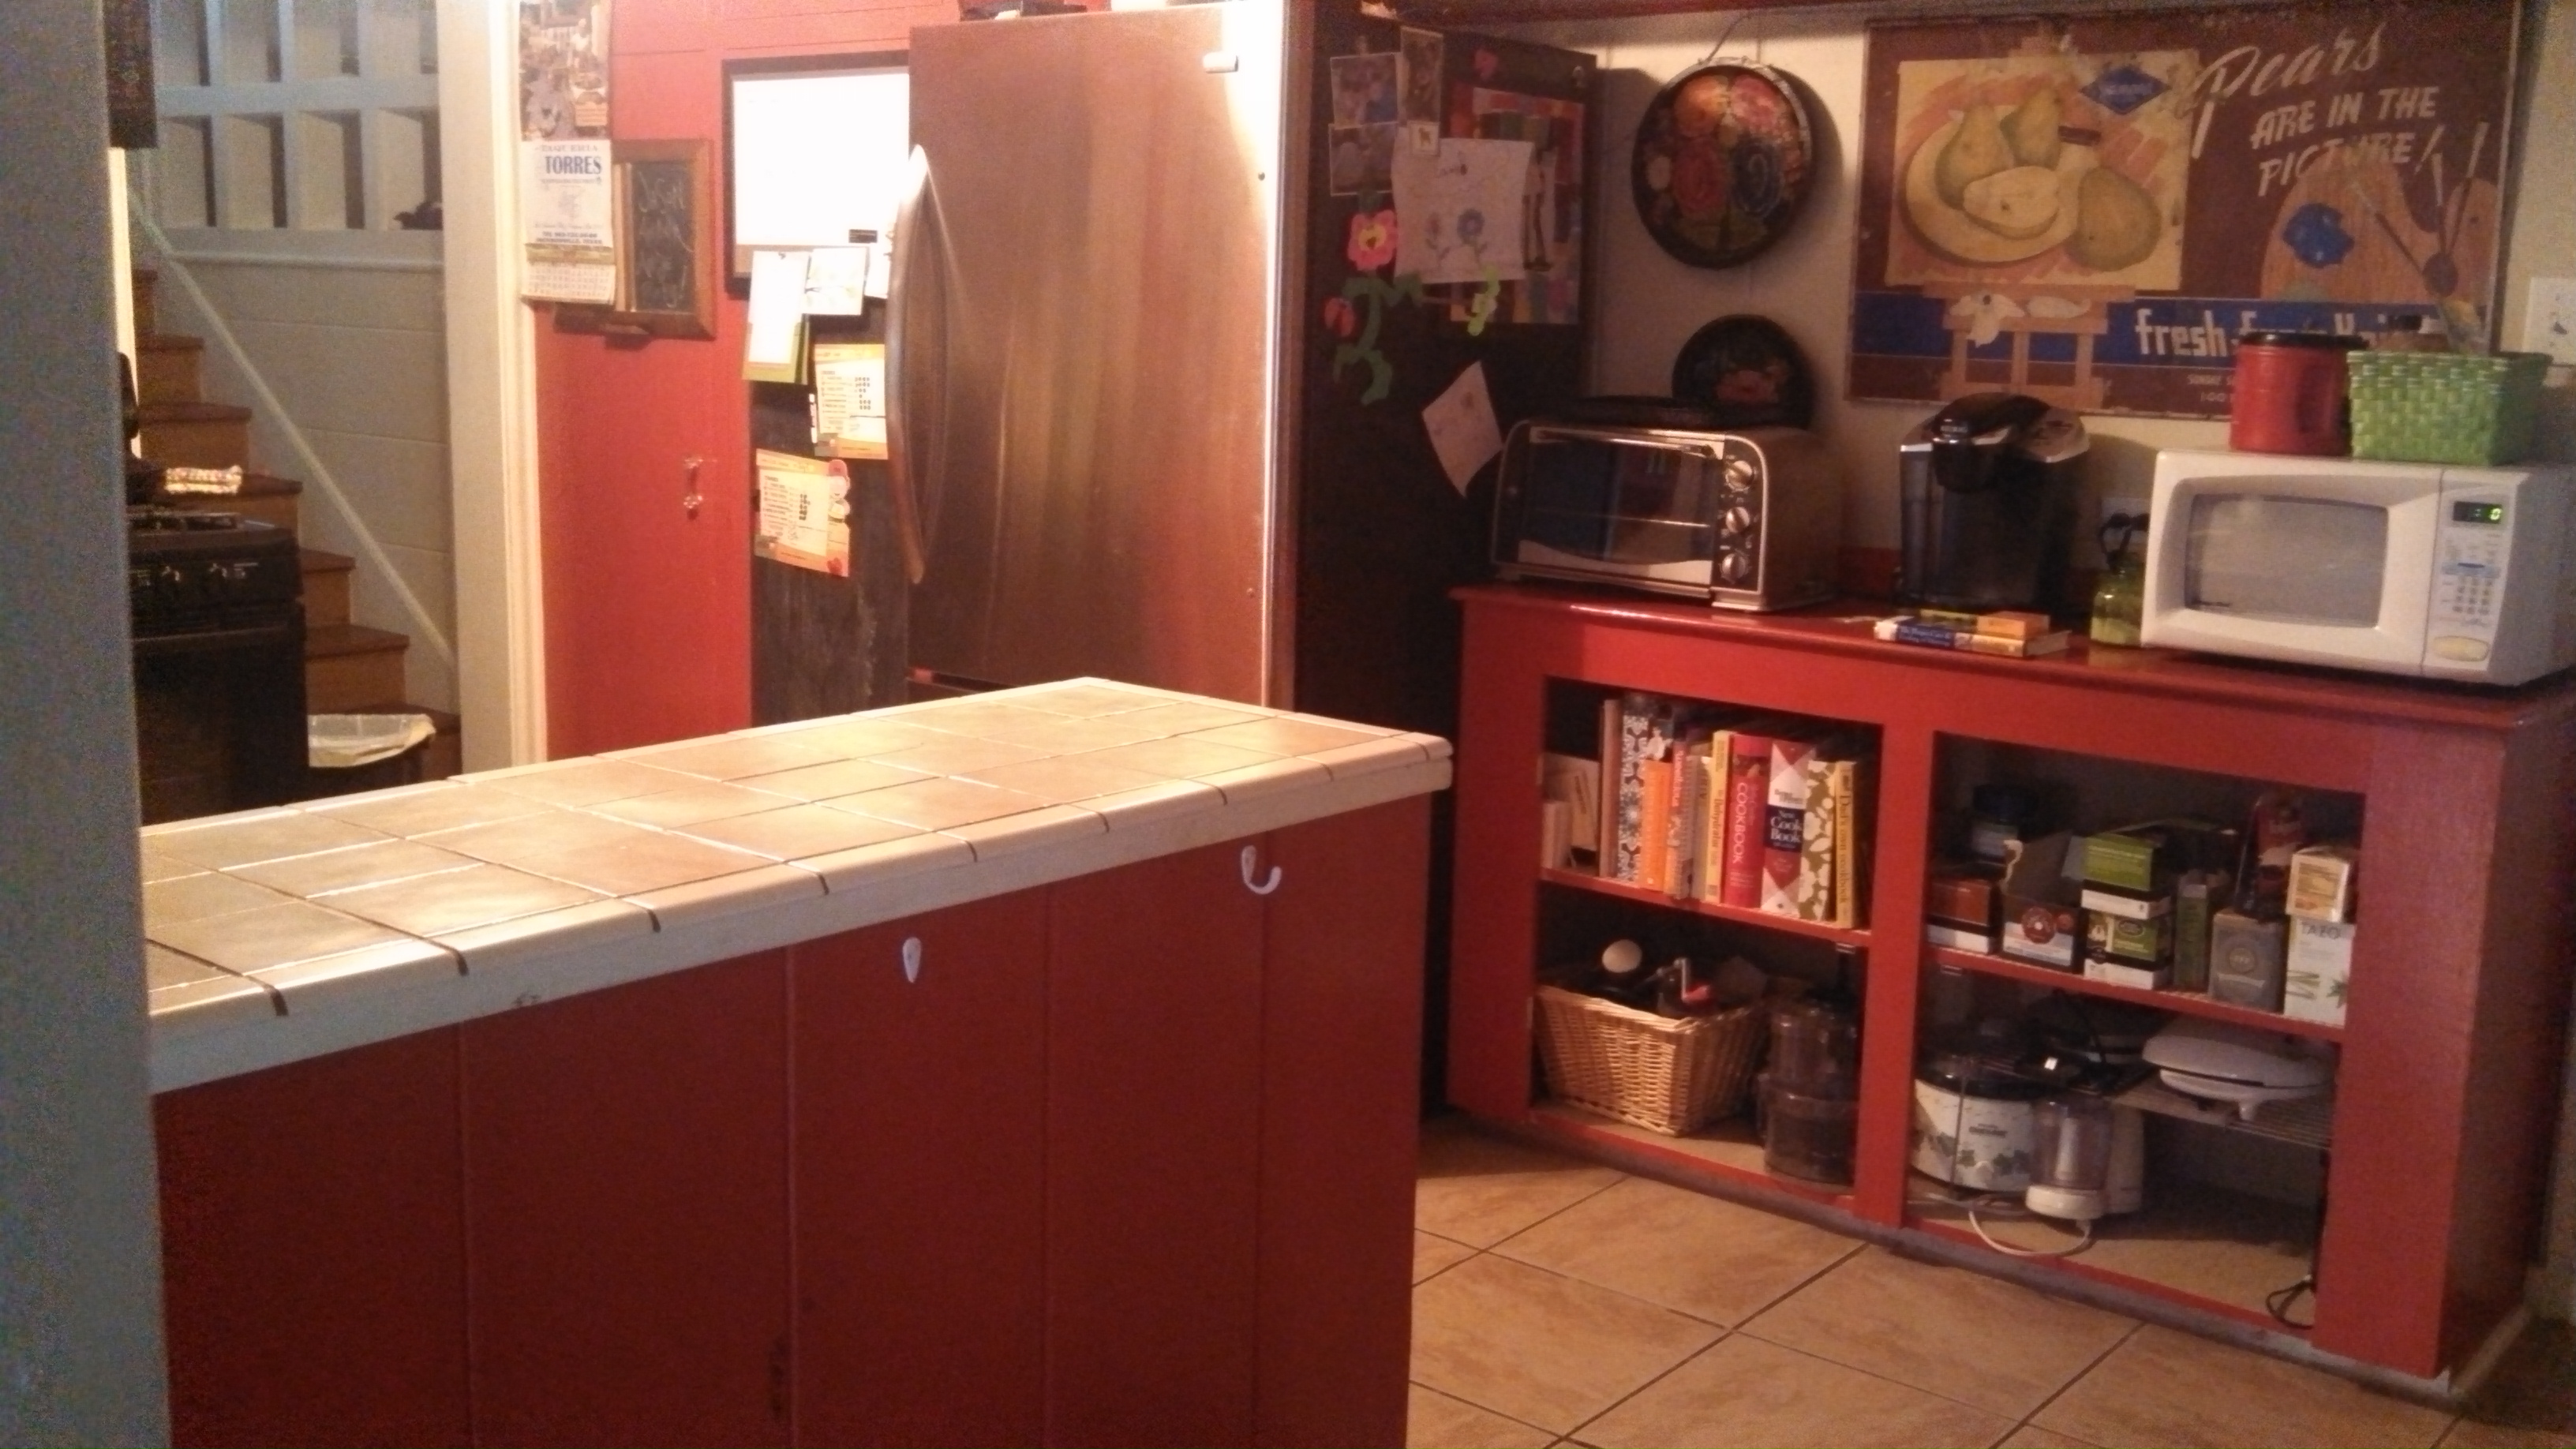
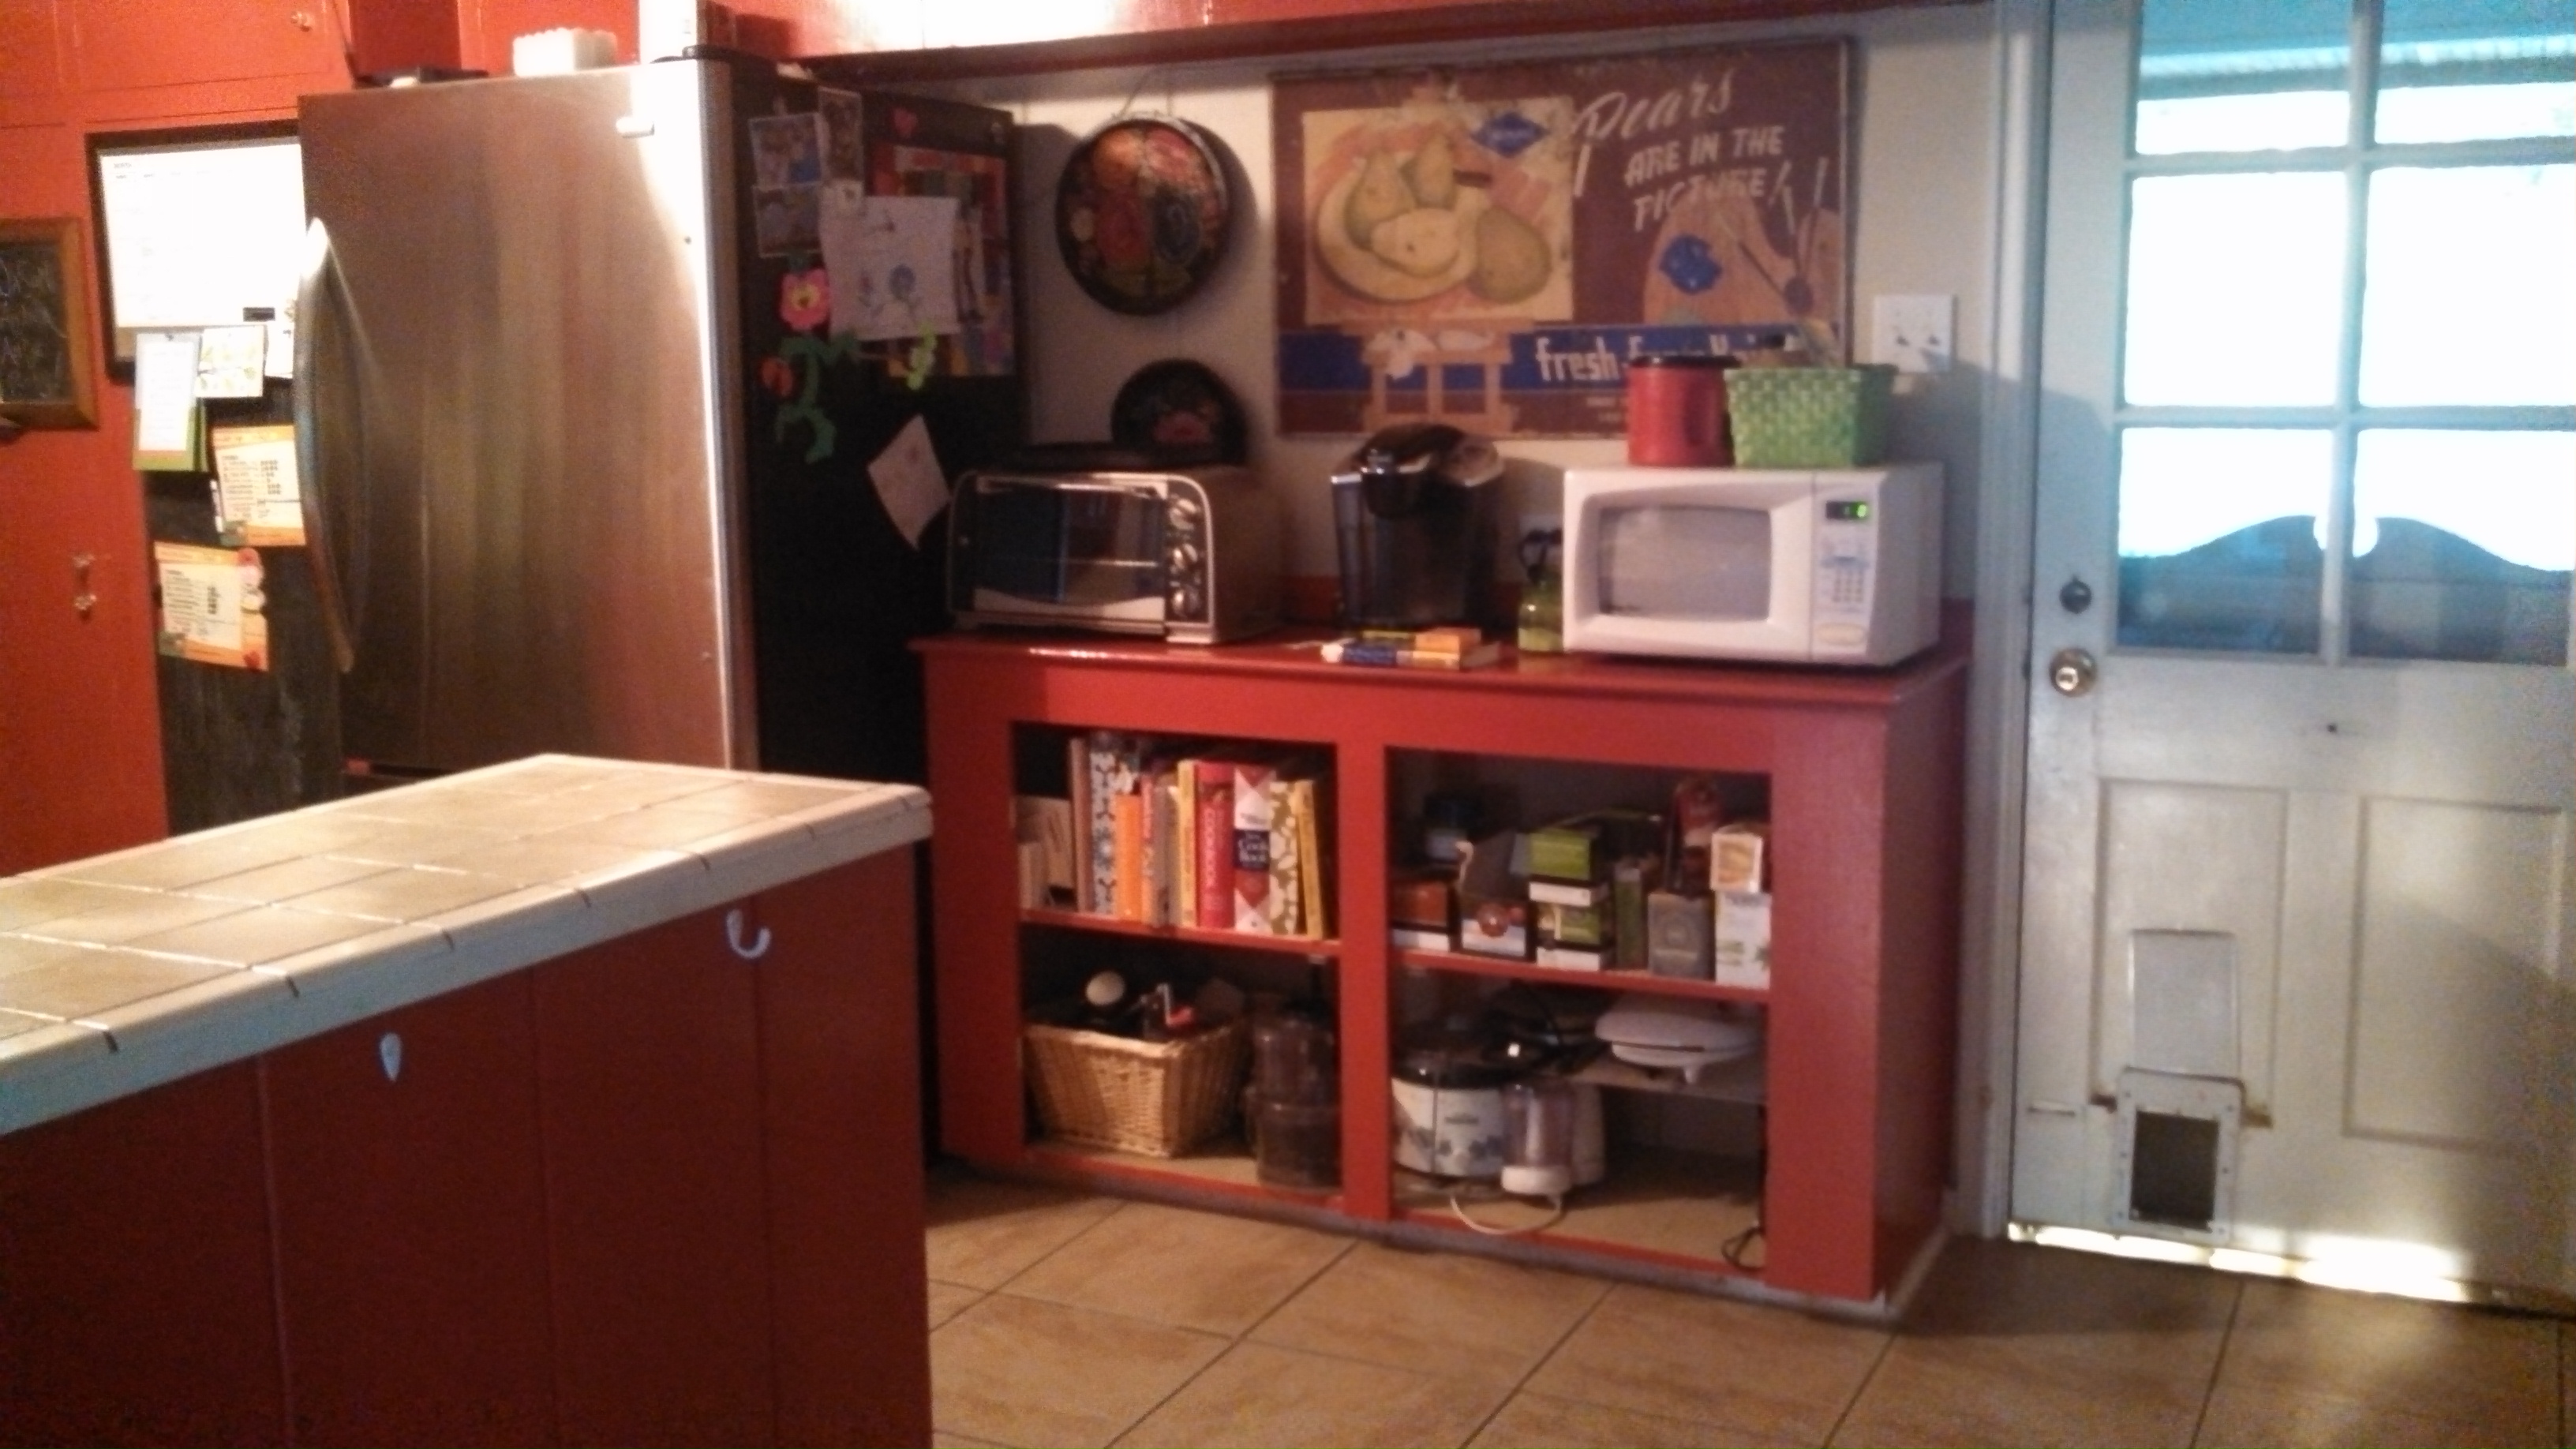
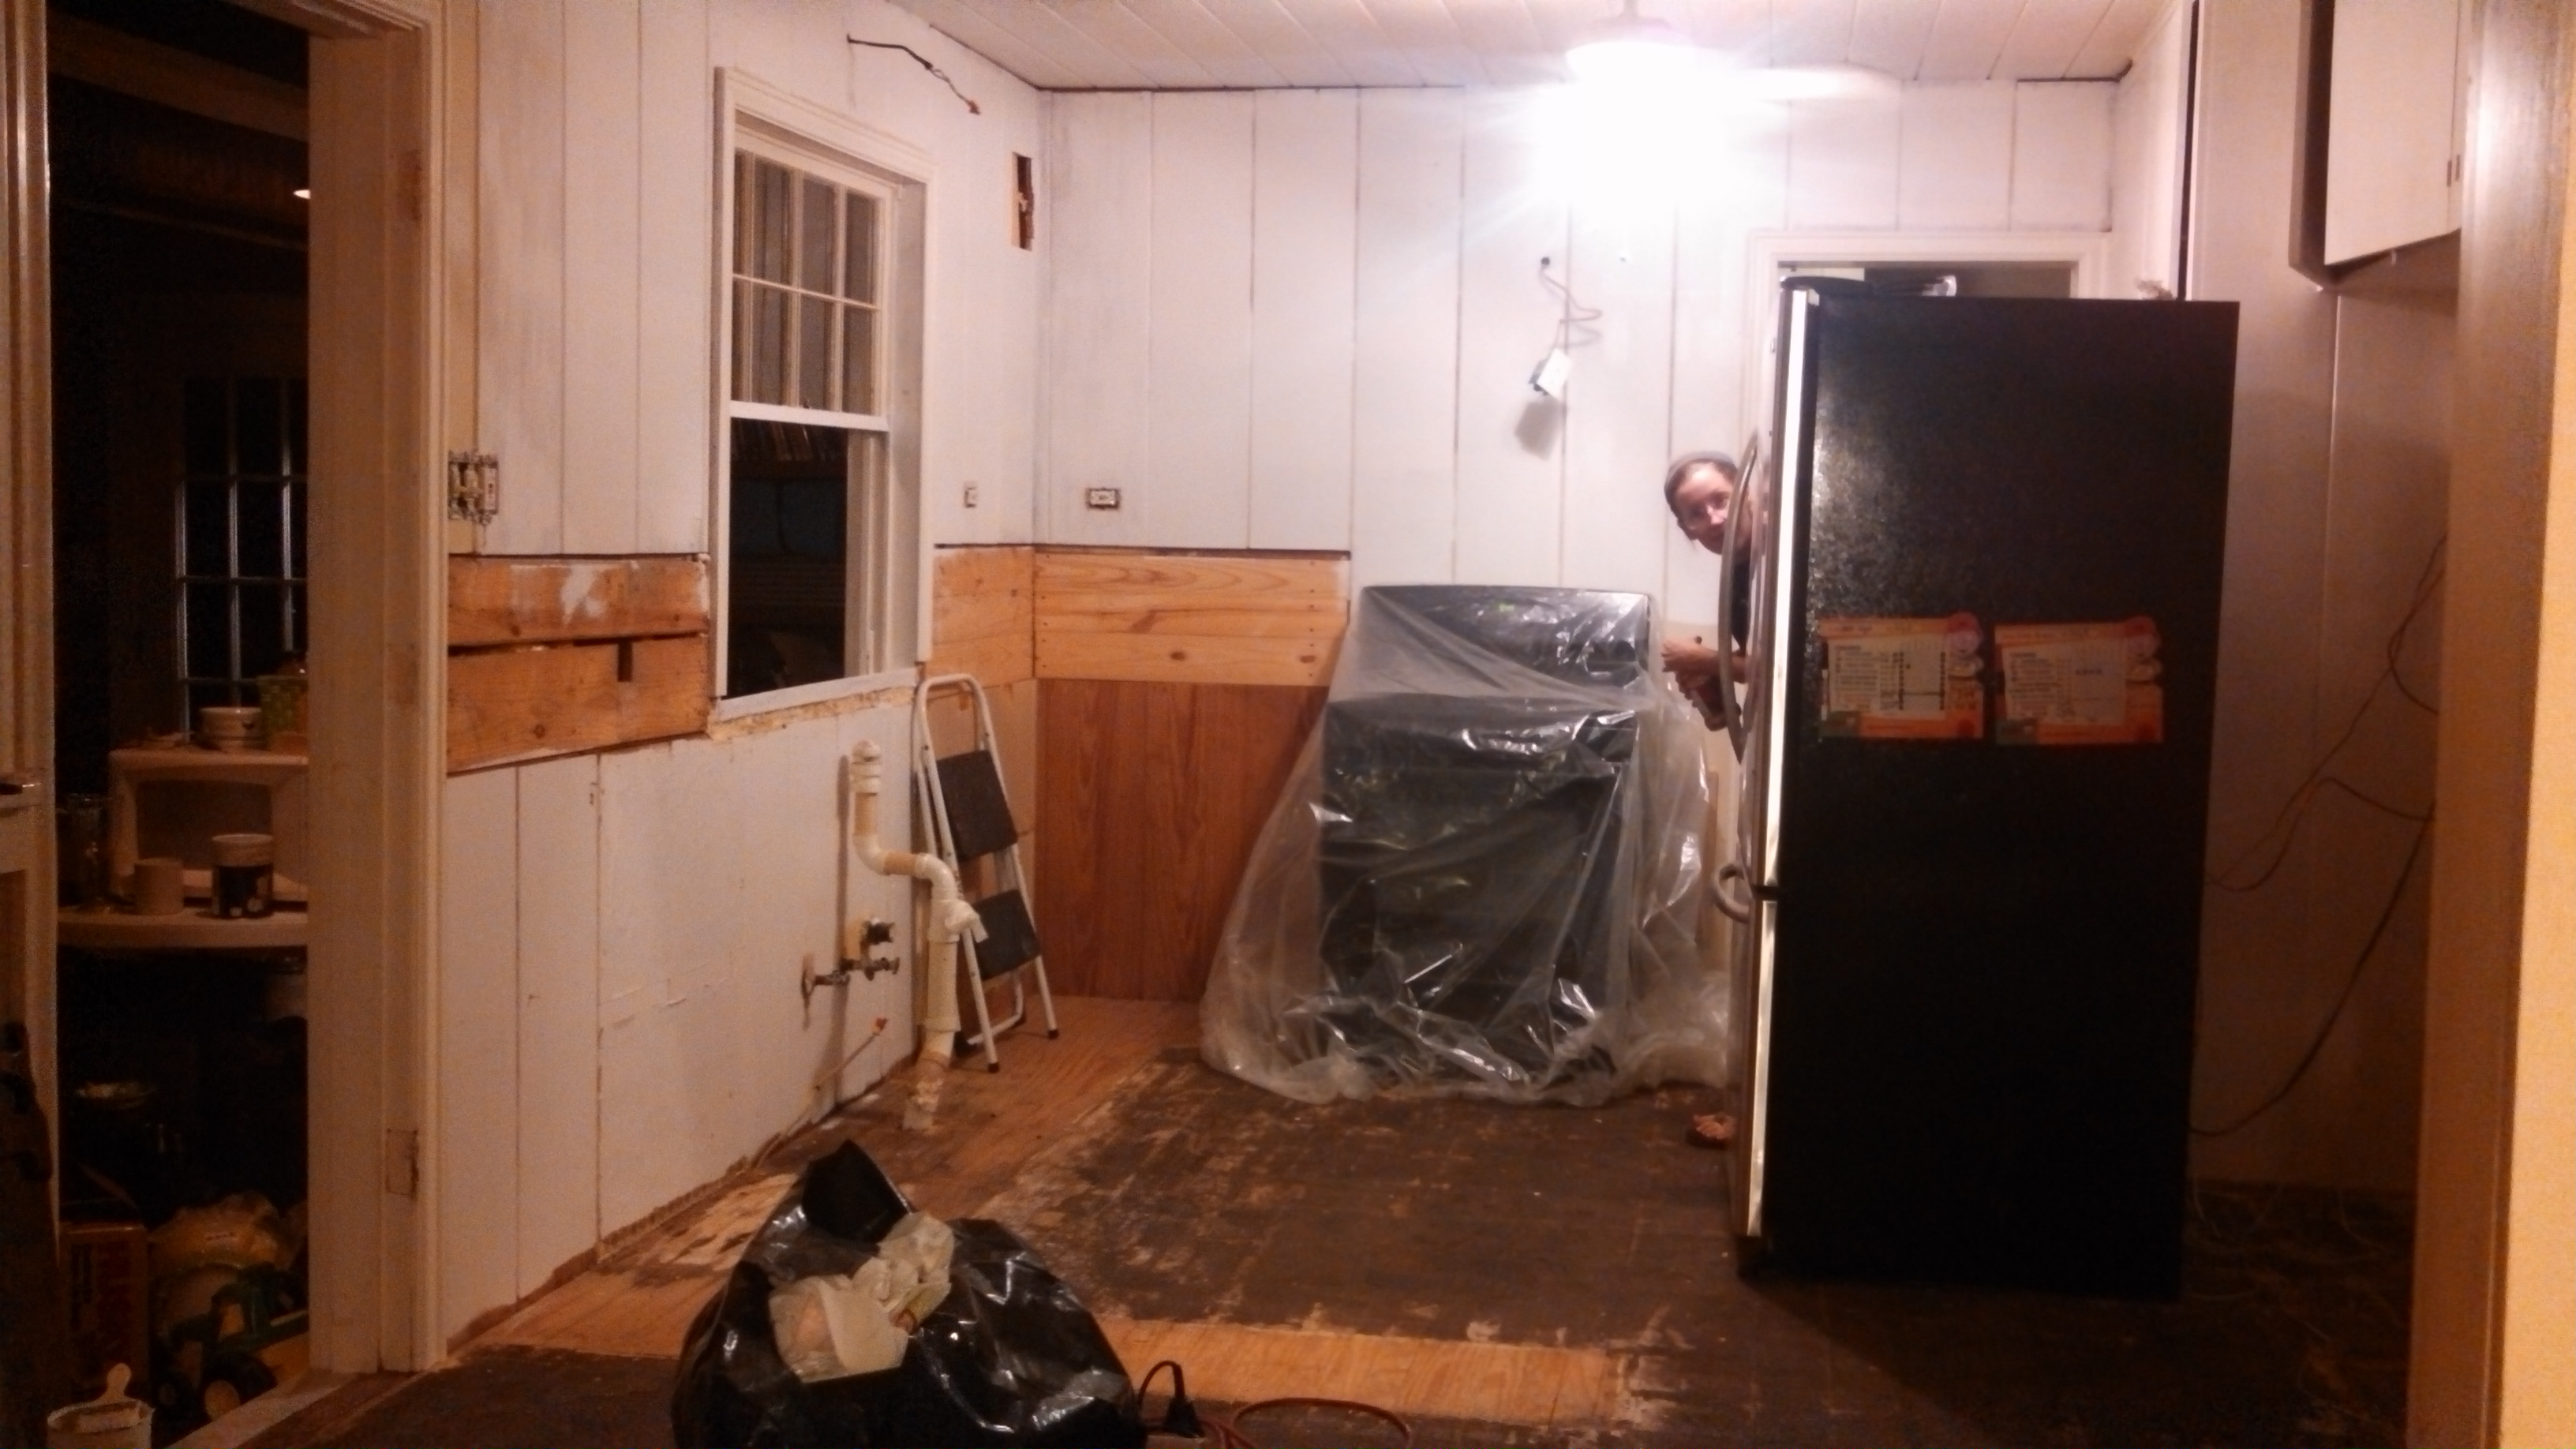
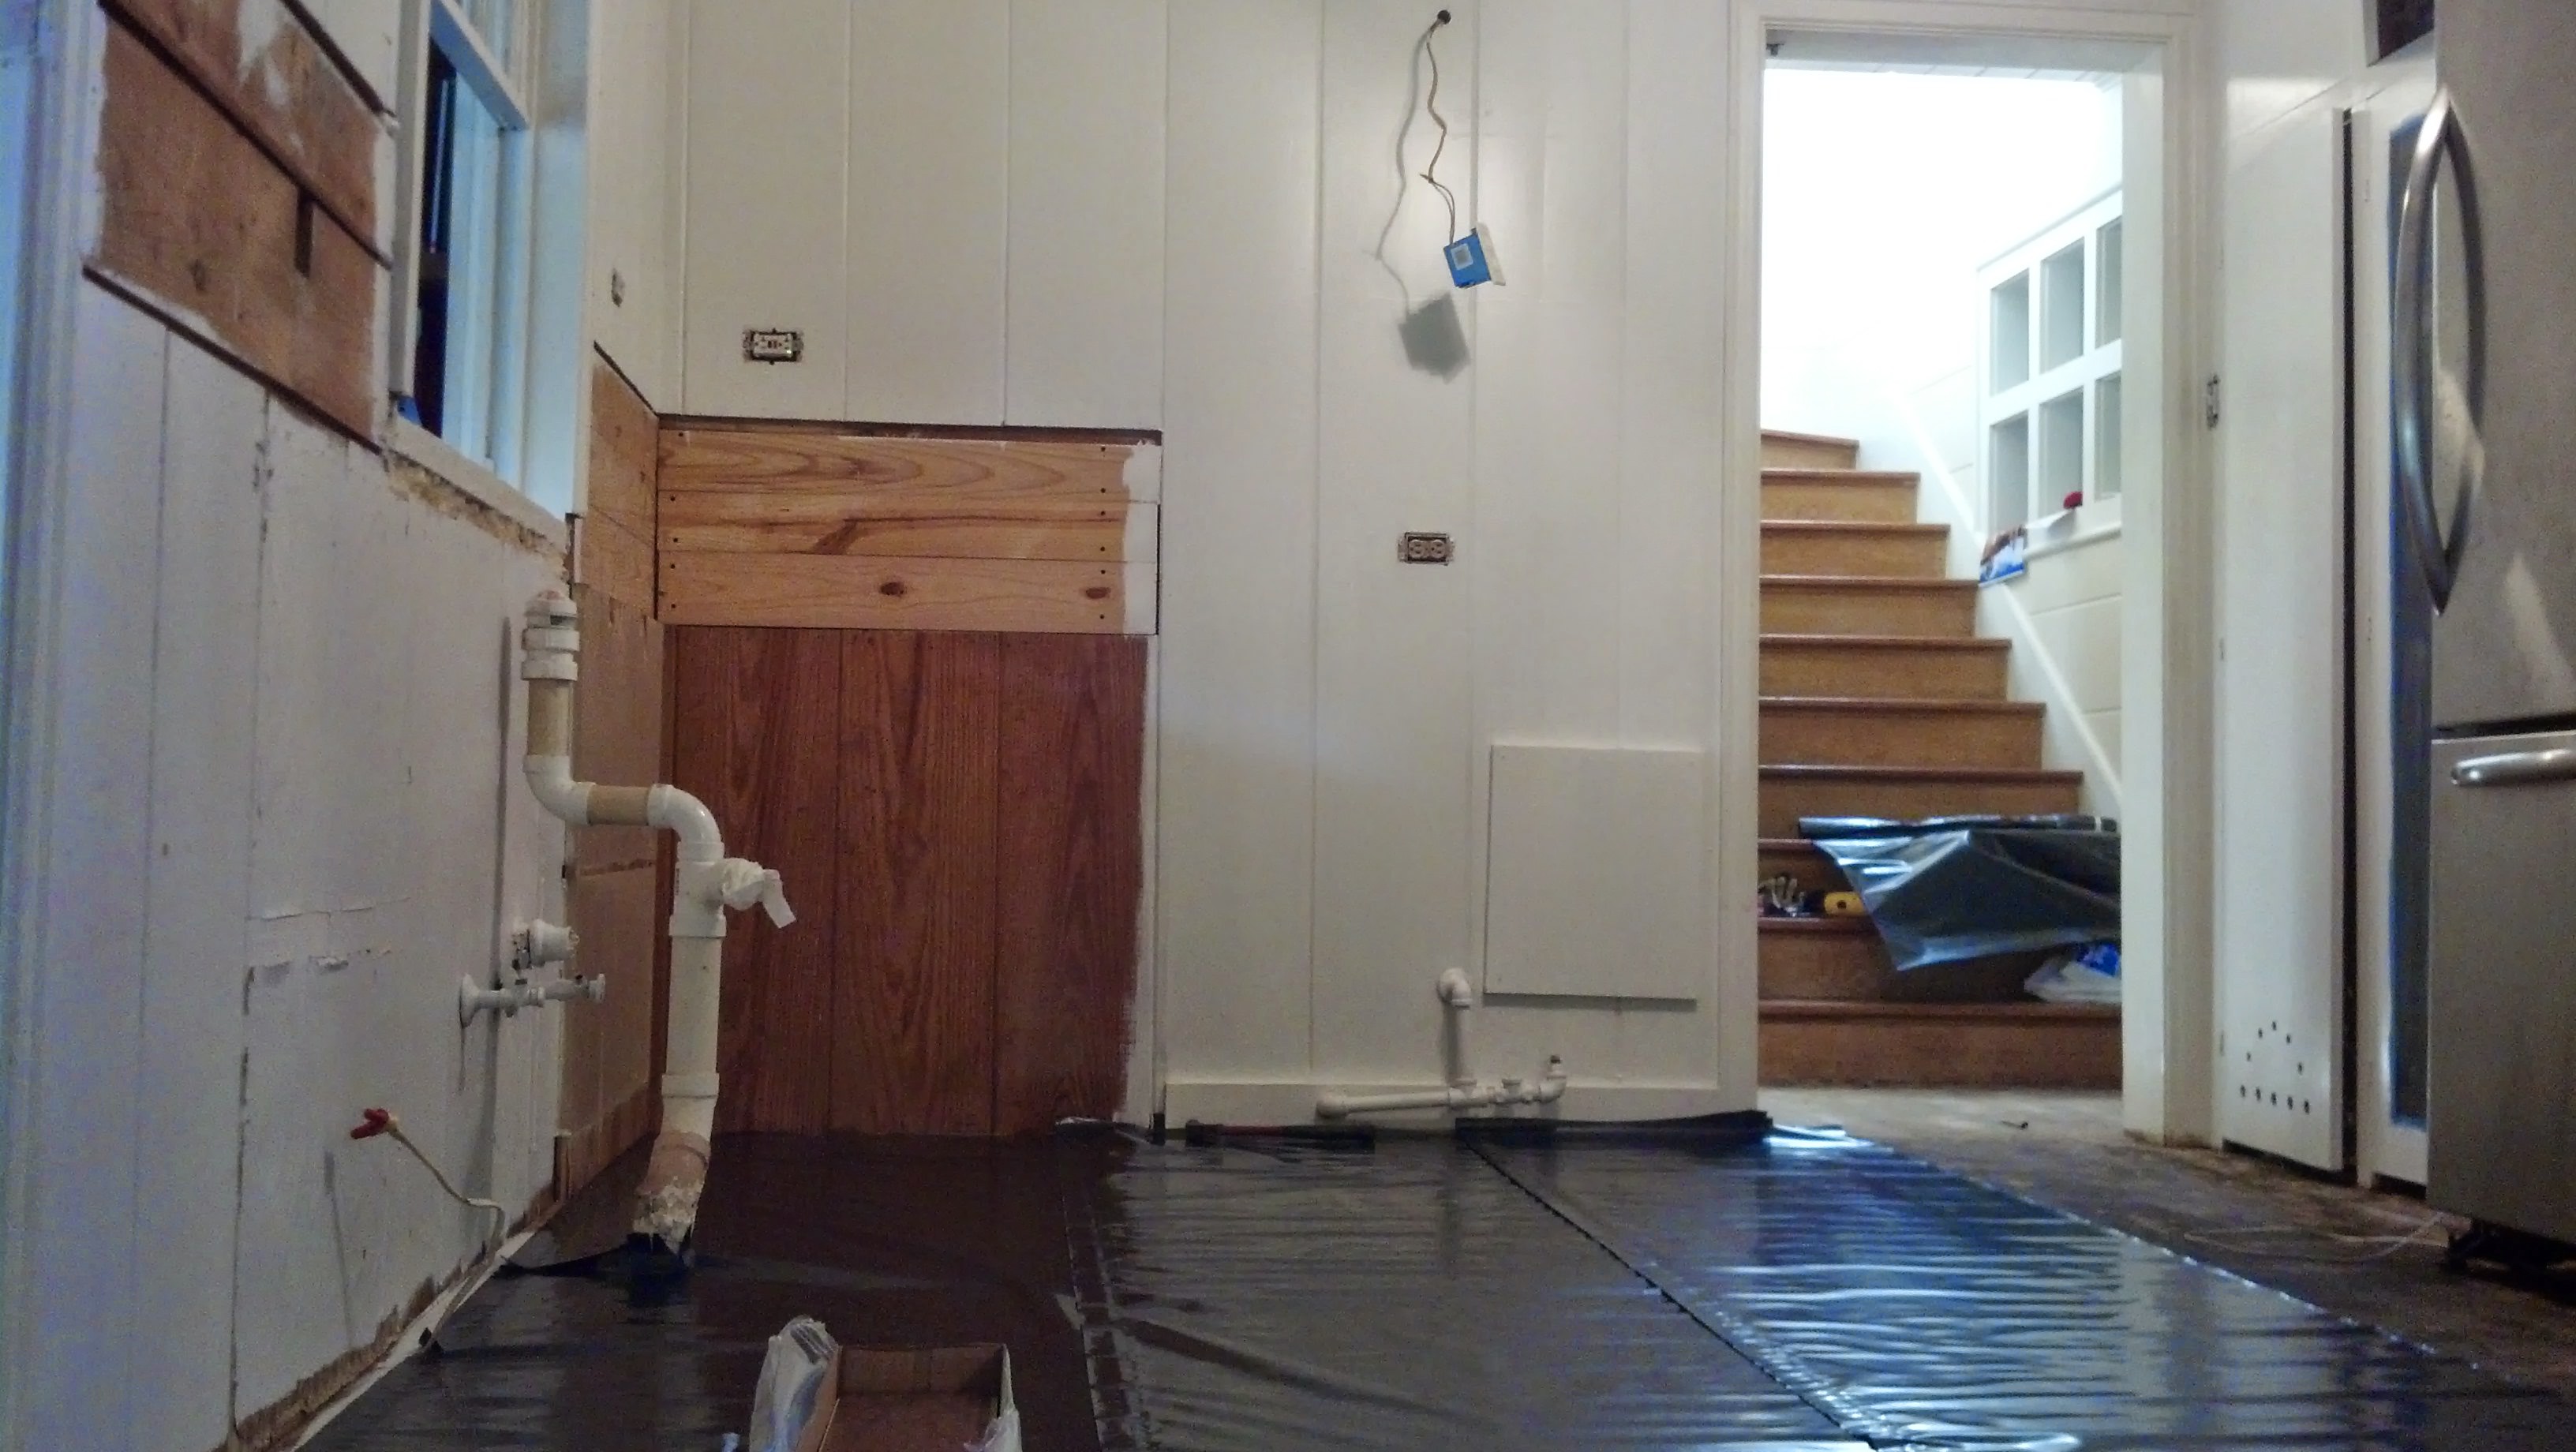
So the decision was made to free up some countertop by ripping out some of the upper cabinets, which we weren’t really using anyway. Then came Phase Two. Here are some before pics of the kitchen. Note the tile floors (HATE them), tile countertops (ditto), and obviously, I was in a red mood when I picked my paint!

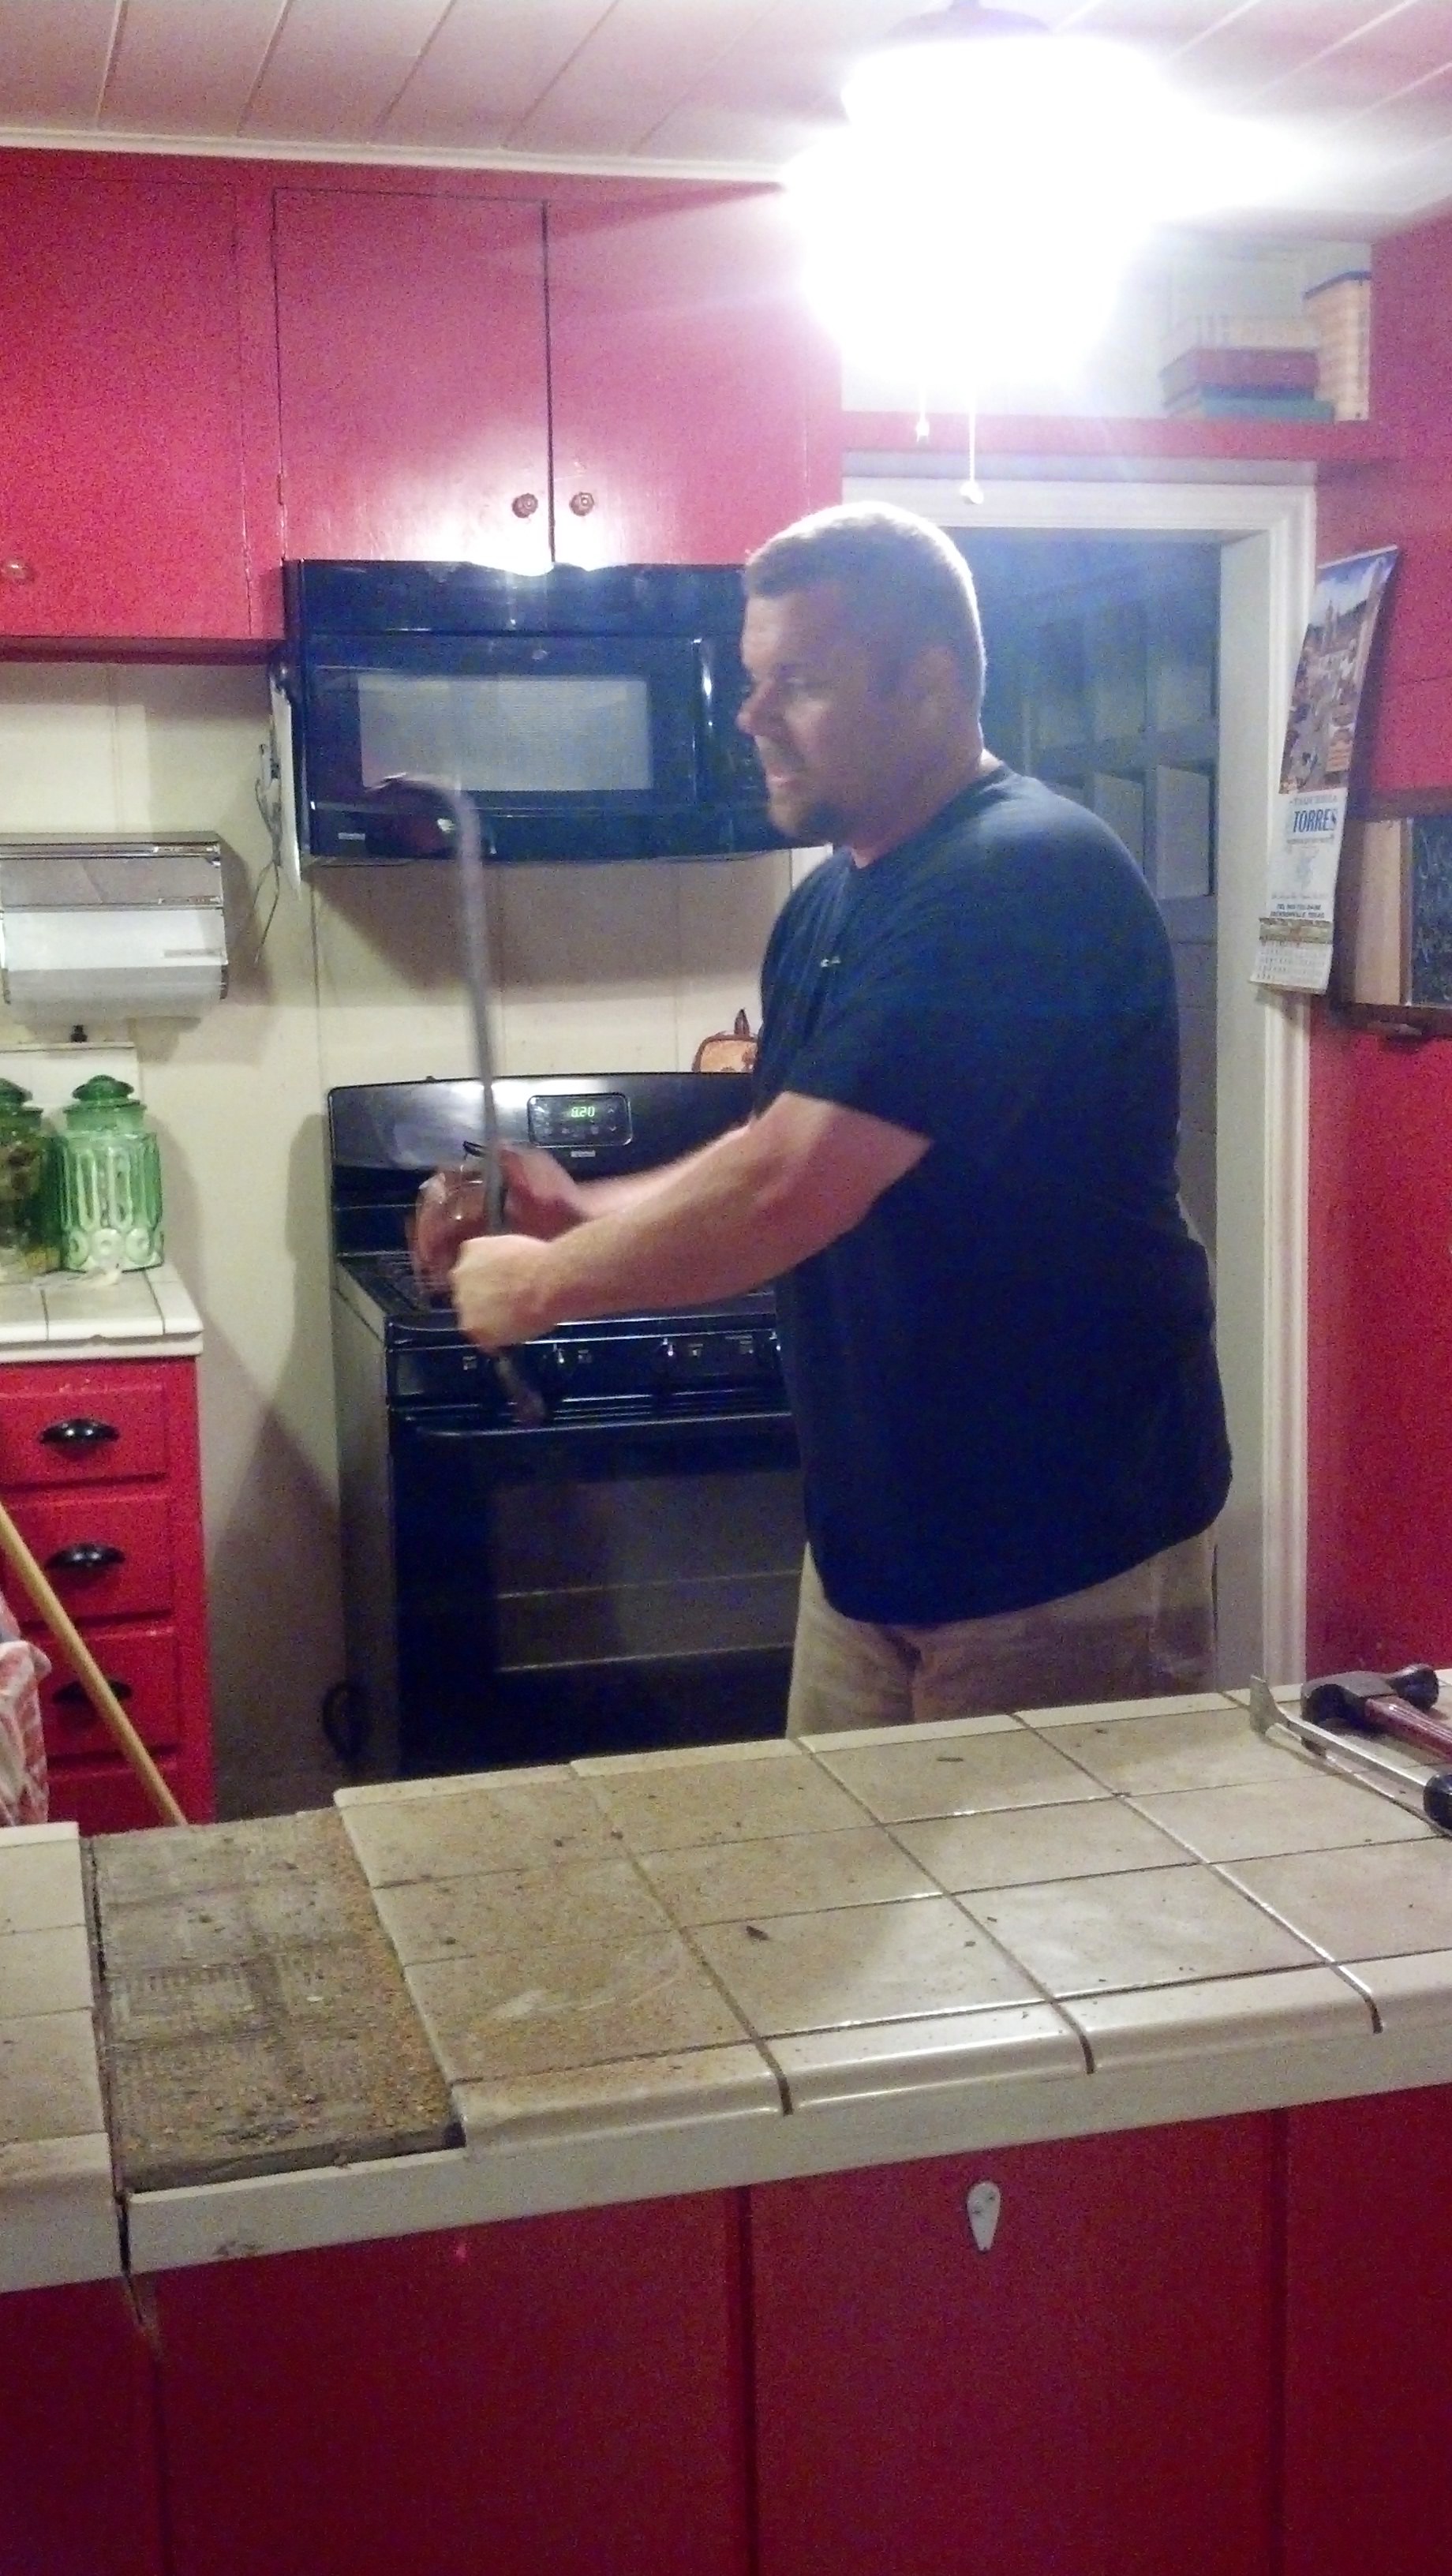
At that point, we had already removed the dishwasher (ugh, never again), and of course, ripped out that big cabinet. As usual, we had dishes to be put up! Note the distance between the cooking range and the lower drawers. Lots of wasted space there, for sure. Also, the cabinet beside the drawers was a total space waster as you could only access the back by crawling on the floor and burrowing into the cabinetry. Keep this in mind! Now:

Buh-bye you darn space-hogging sticky-outie cabinet! Every time I opened the refrigerator door, no one could pass through the kitchen since the door cleared the cabinet by about 2 millimeters. YE SHALL NOT PASS. And then:

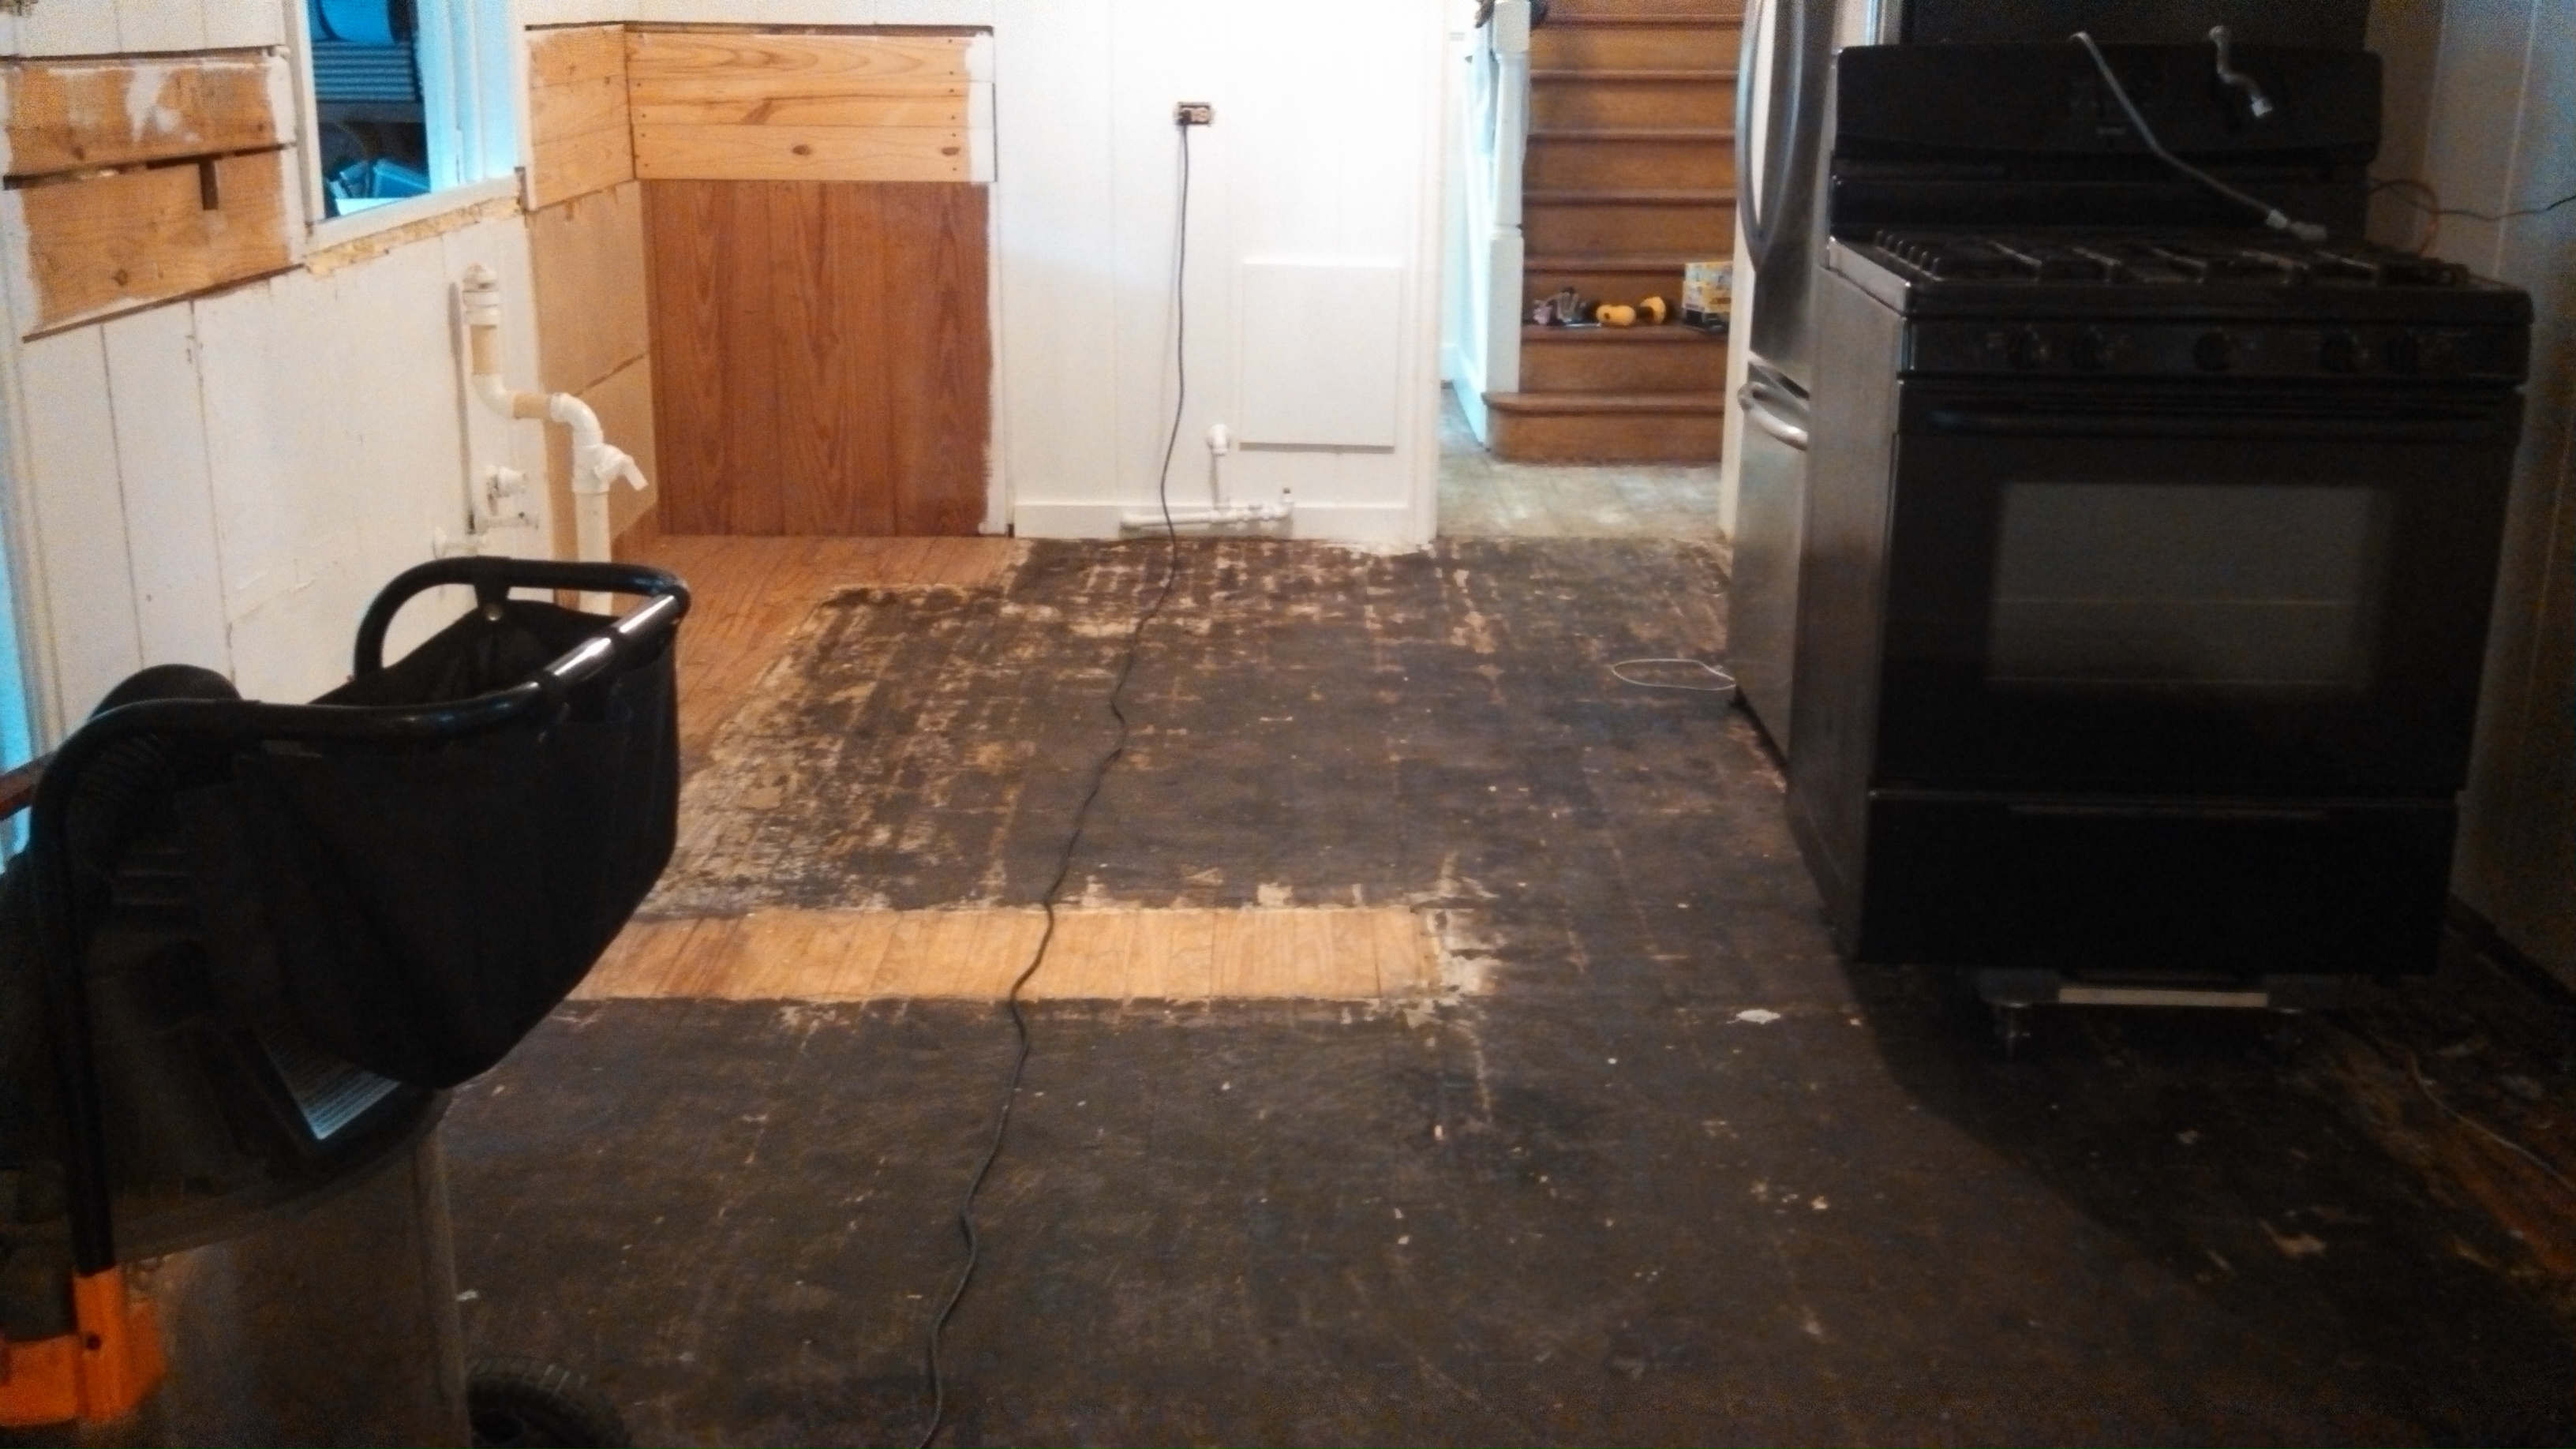
Away with ye, Cold Tile Floor of Bone-chilling Propensity! Frozen feet no more! (I love that we got to rip it out with a shovel…) The progression continues:
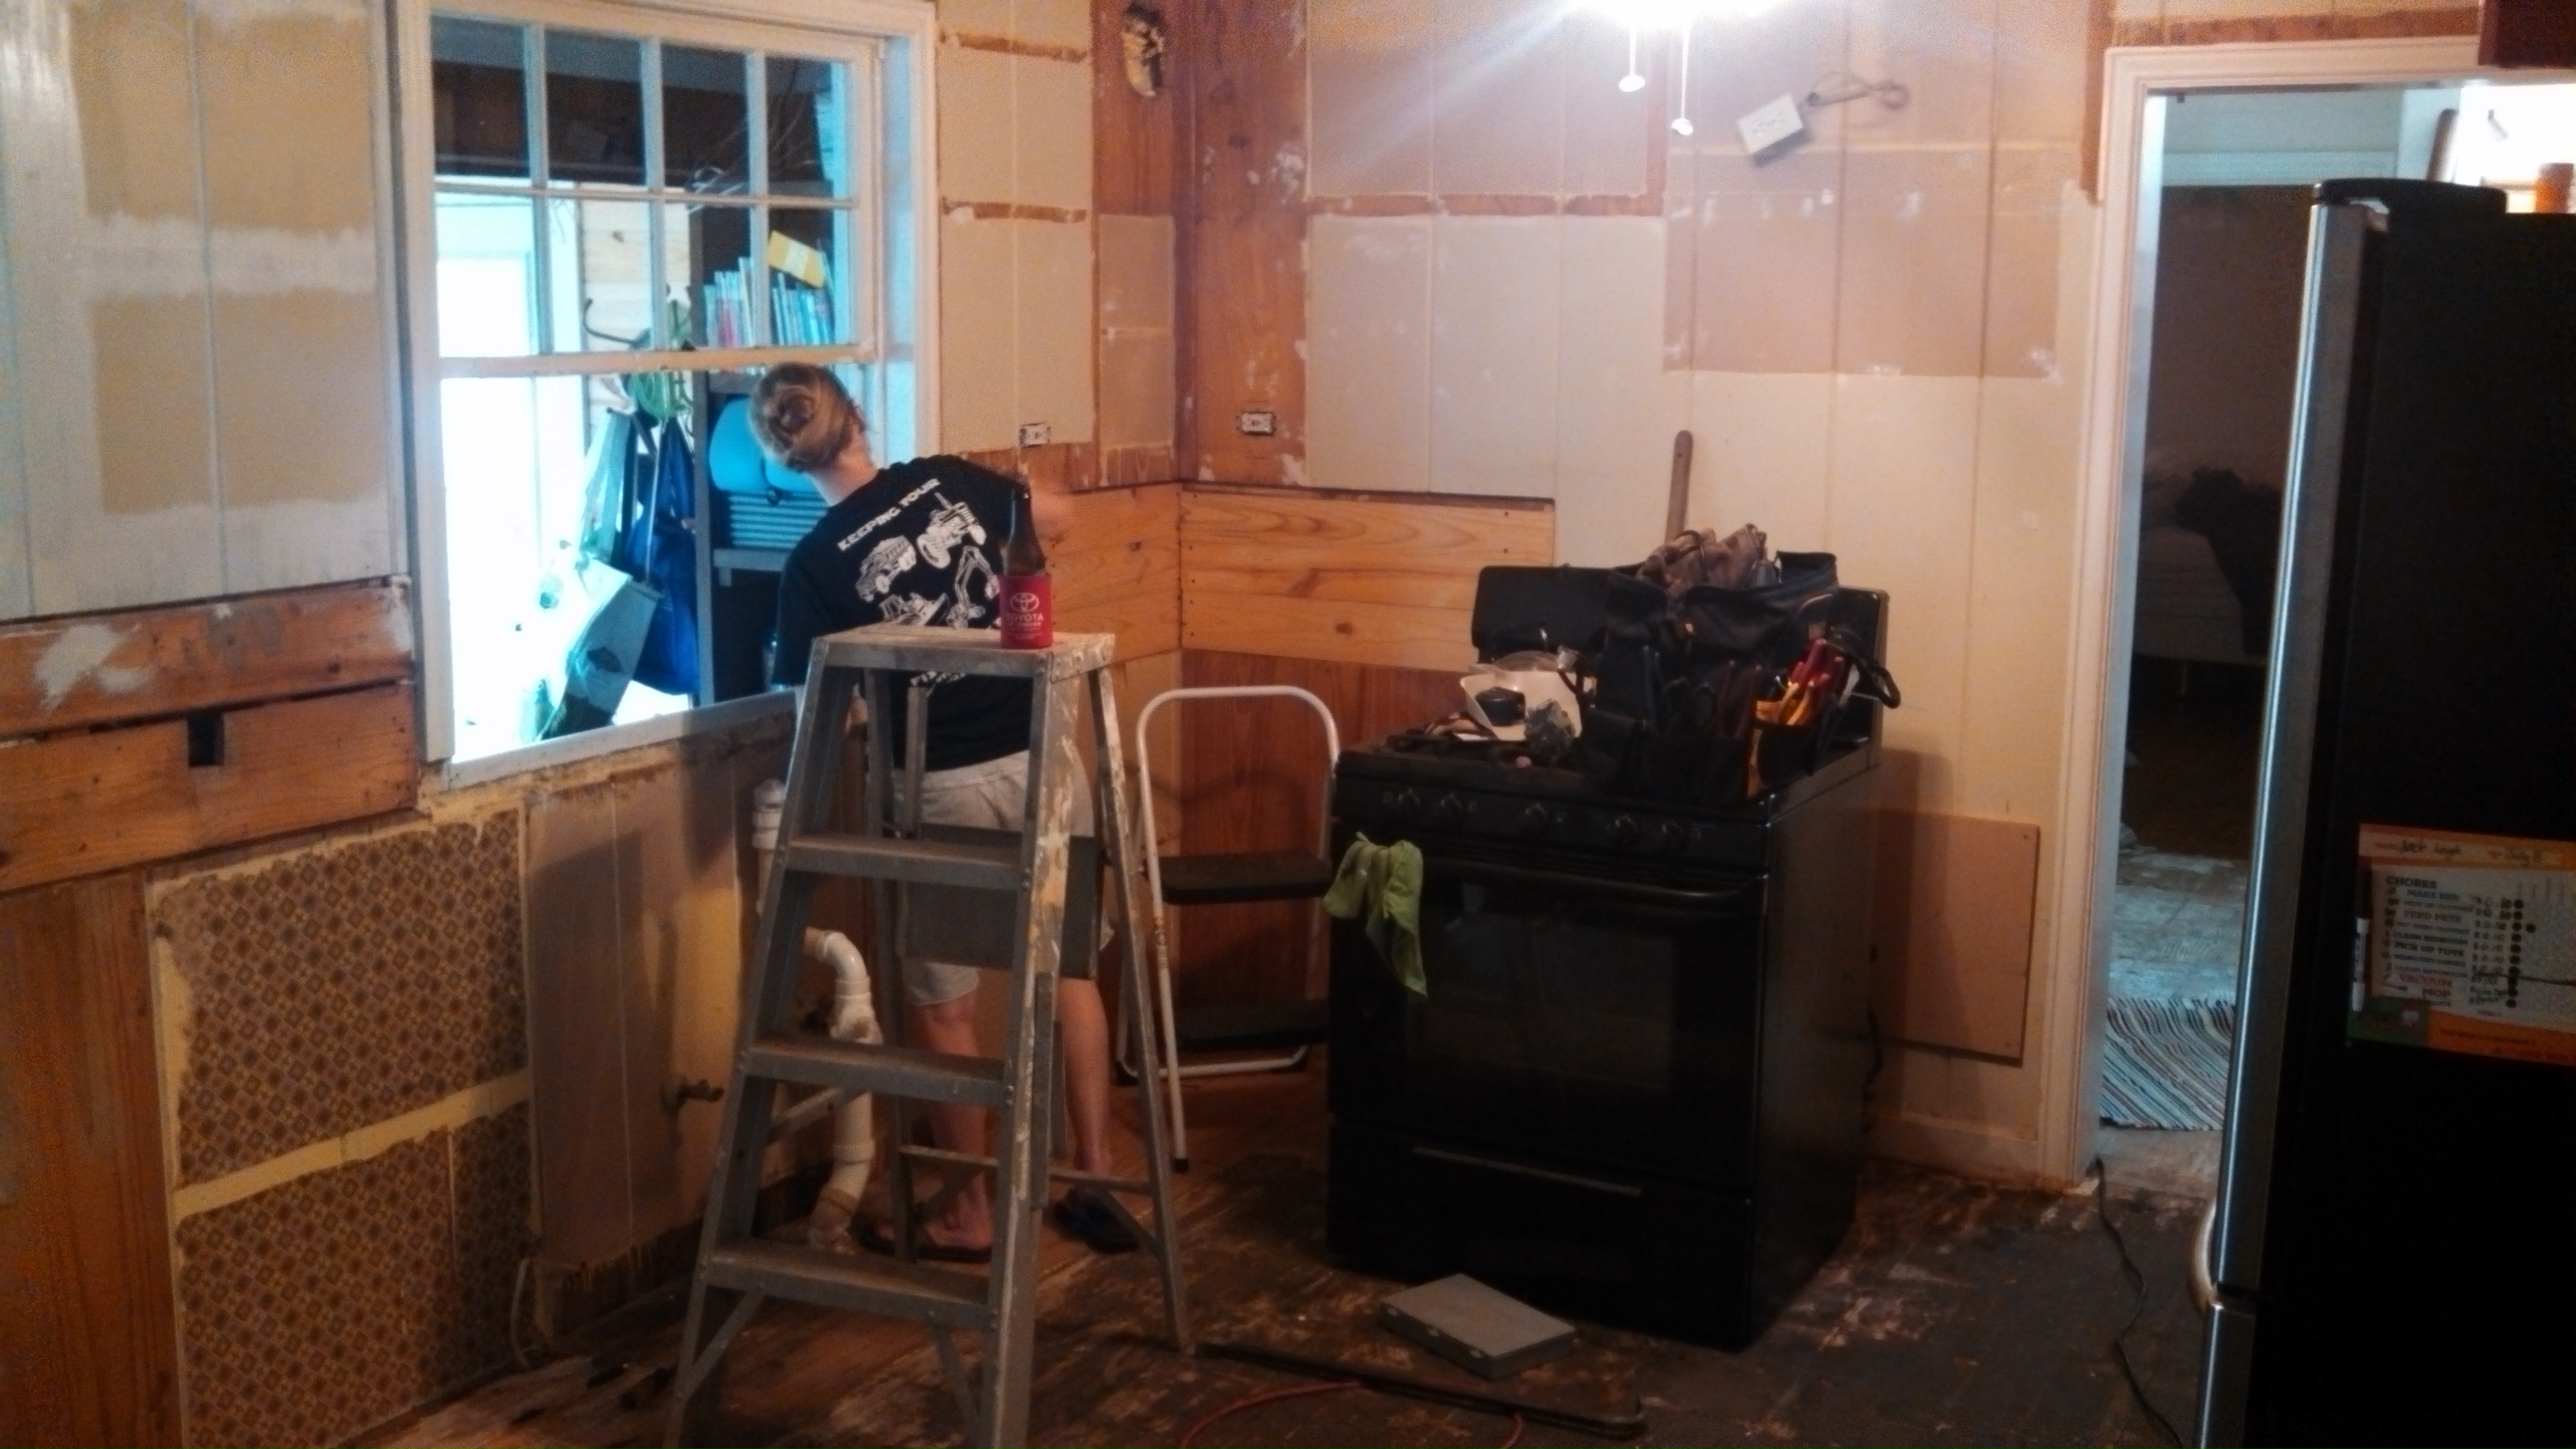
Goodbye, cabinets! The cabinetry on the other side of the room was left in place, as it was still functional and didn’t pose any issues, except for the lower cabinets by the fridge. Those were torn out, too. Now for some “prime time”:


Now for some paint! All ceiling and walls were painted a lovely WHITE to make the most of the light since this is an interior room that needed brightening up! Color is Westhighland White by Sherwin-Williams (SW 7566).
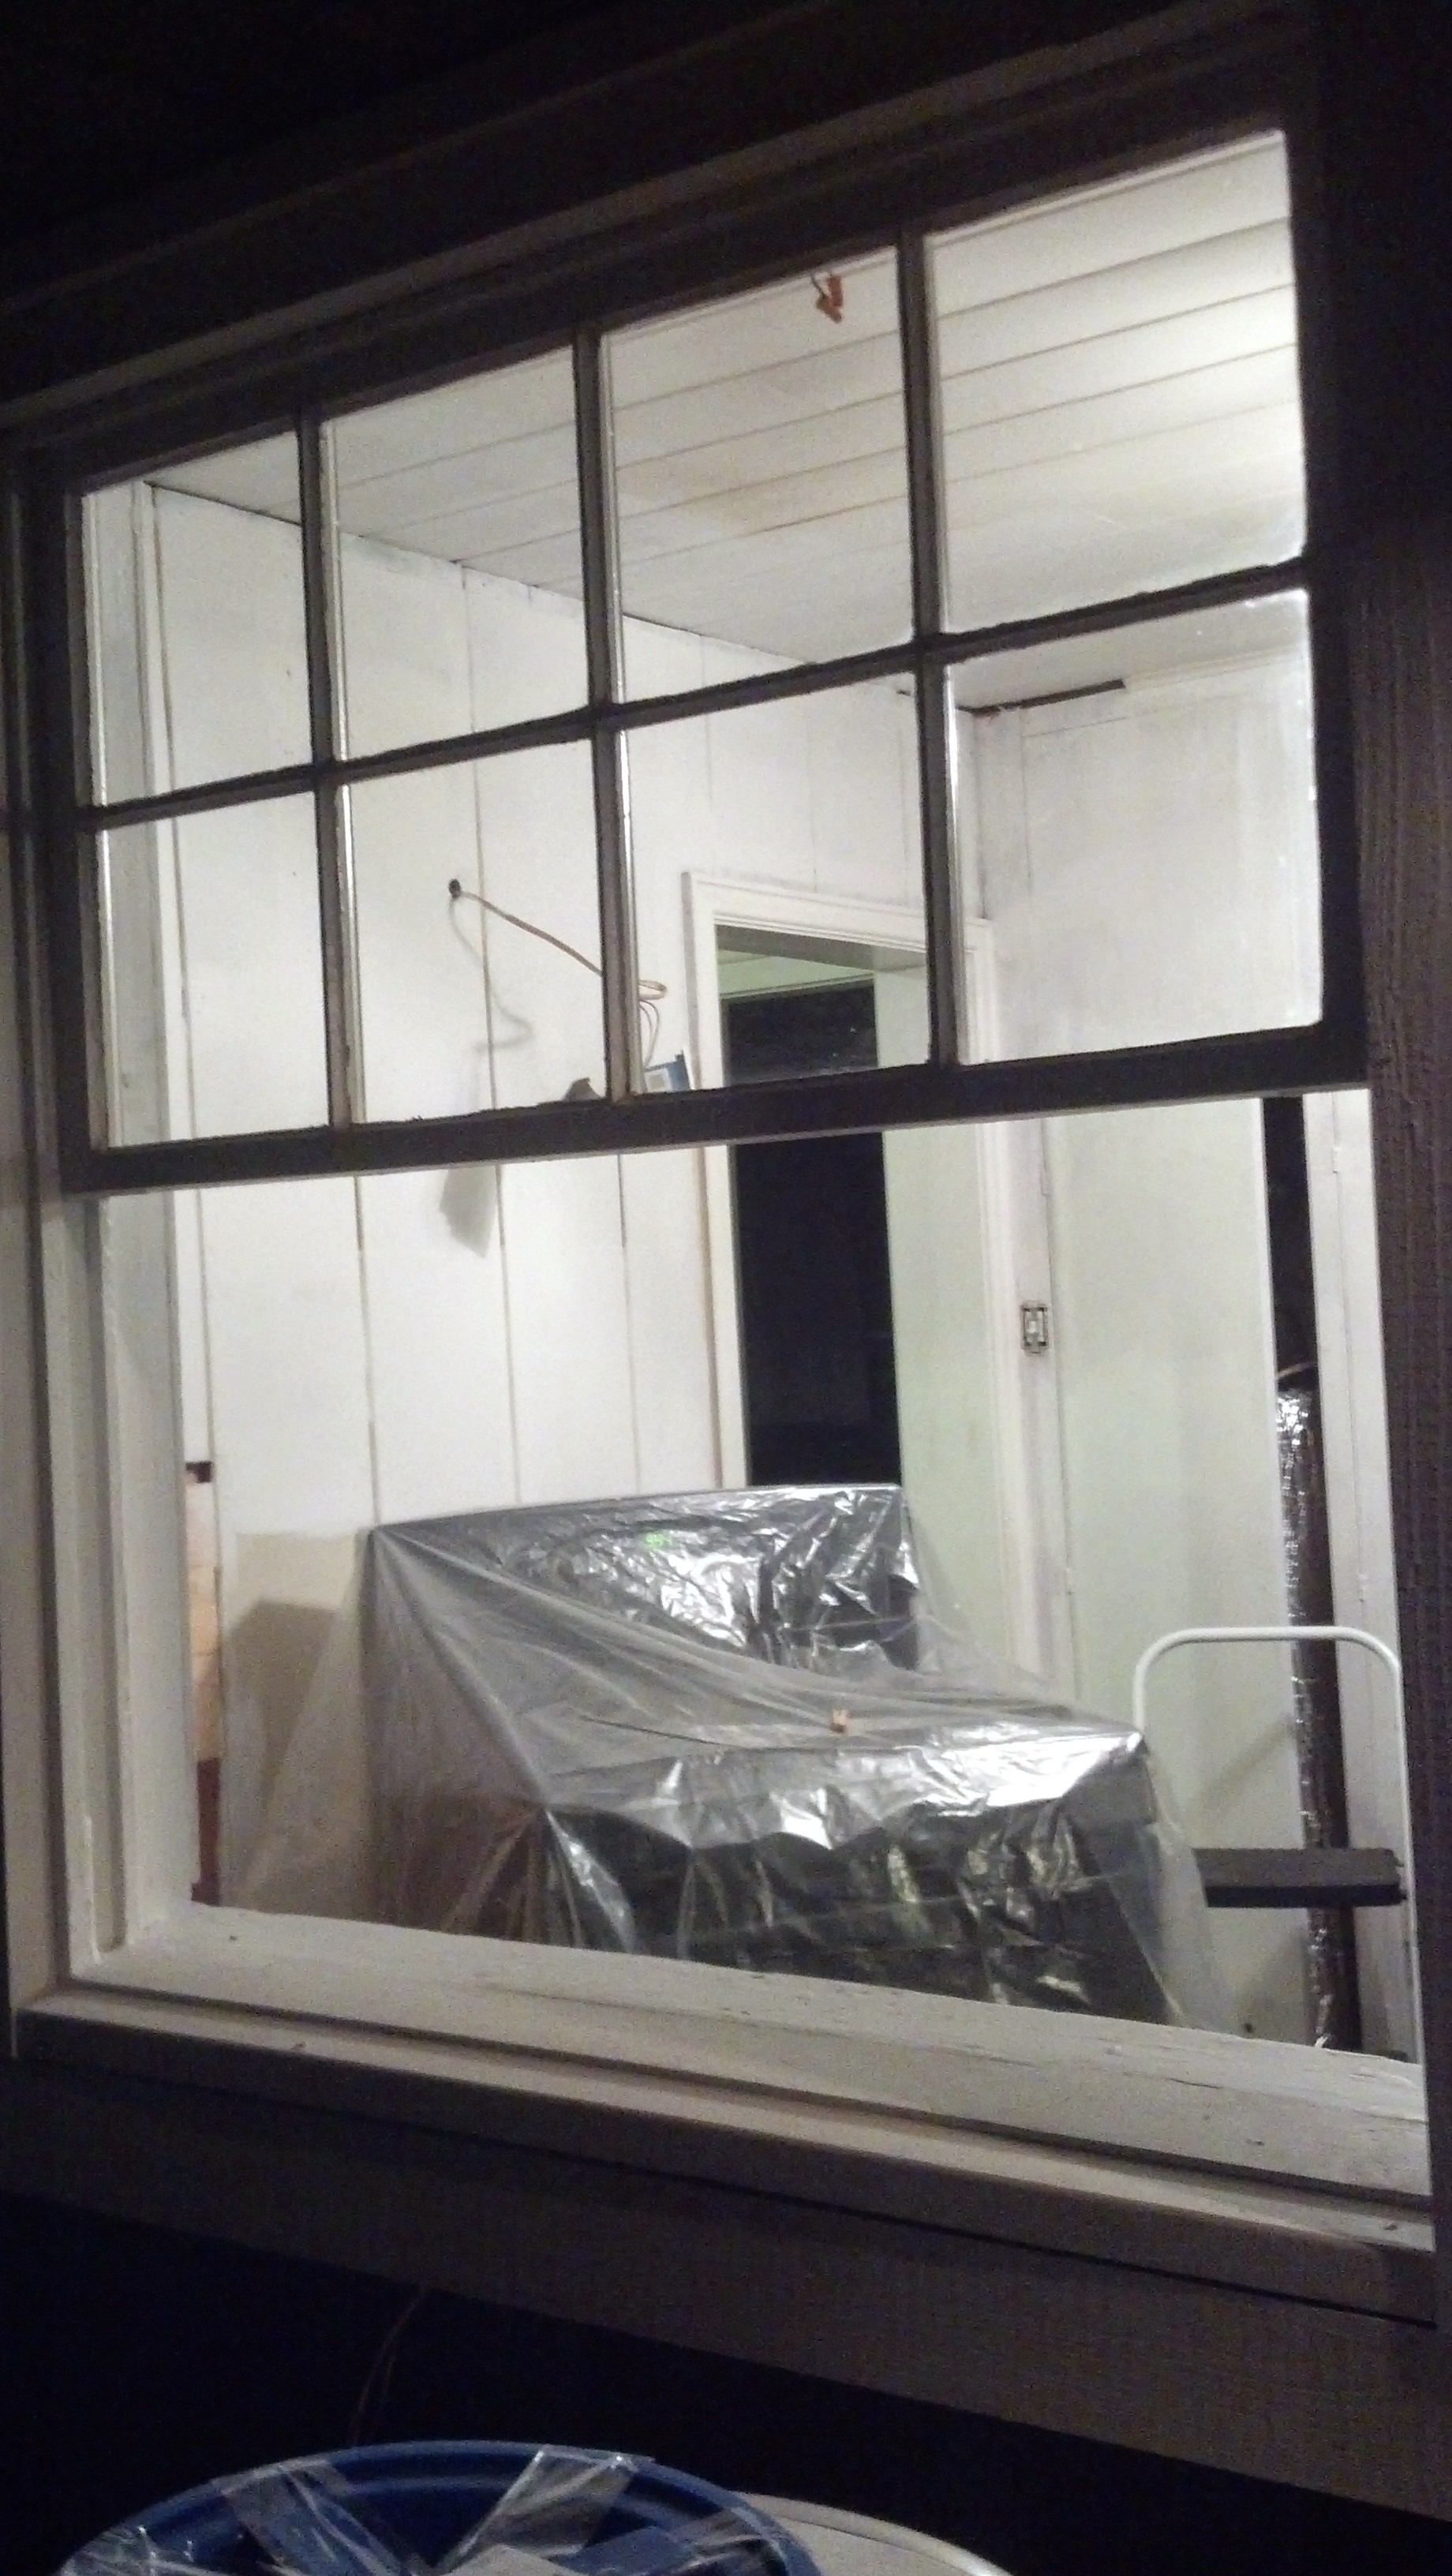
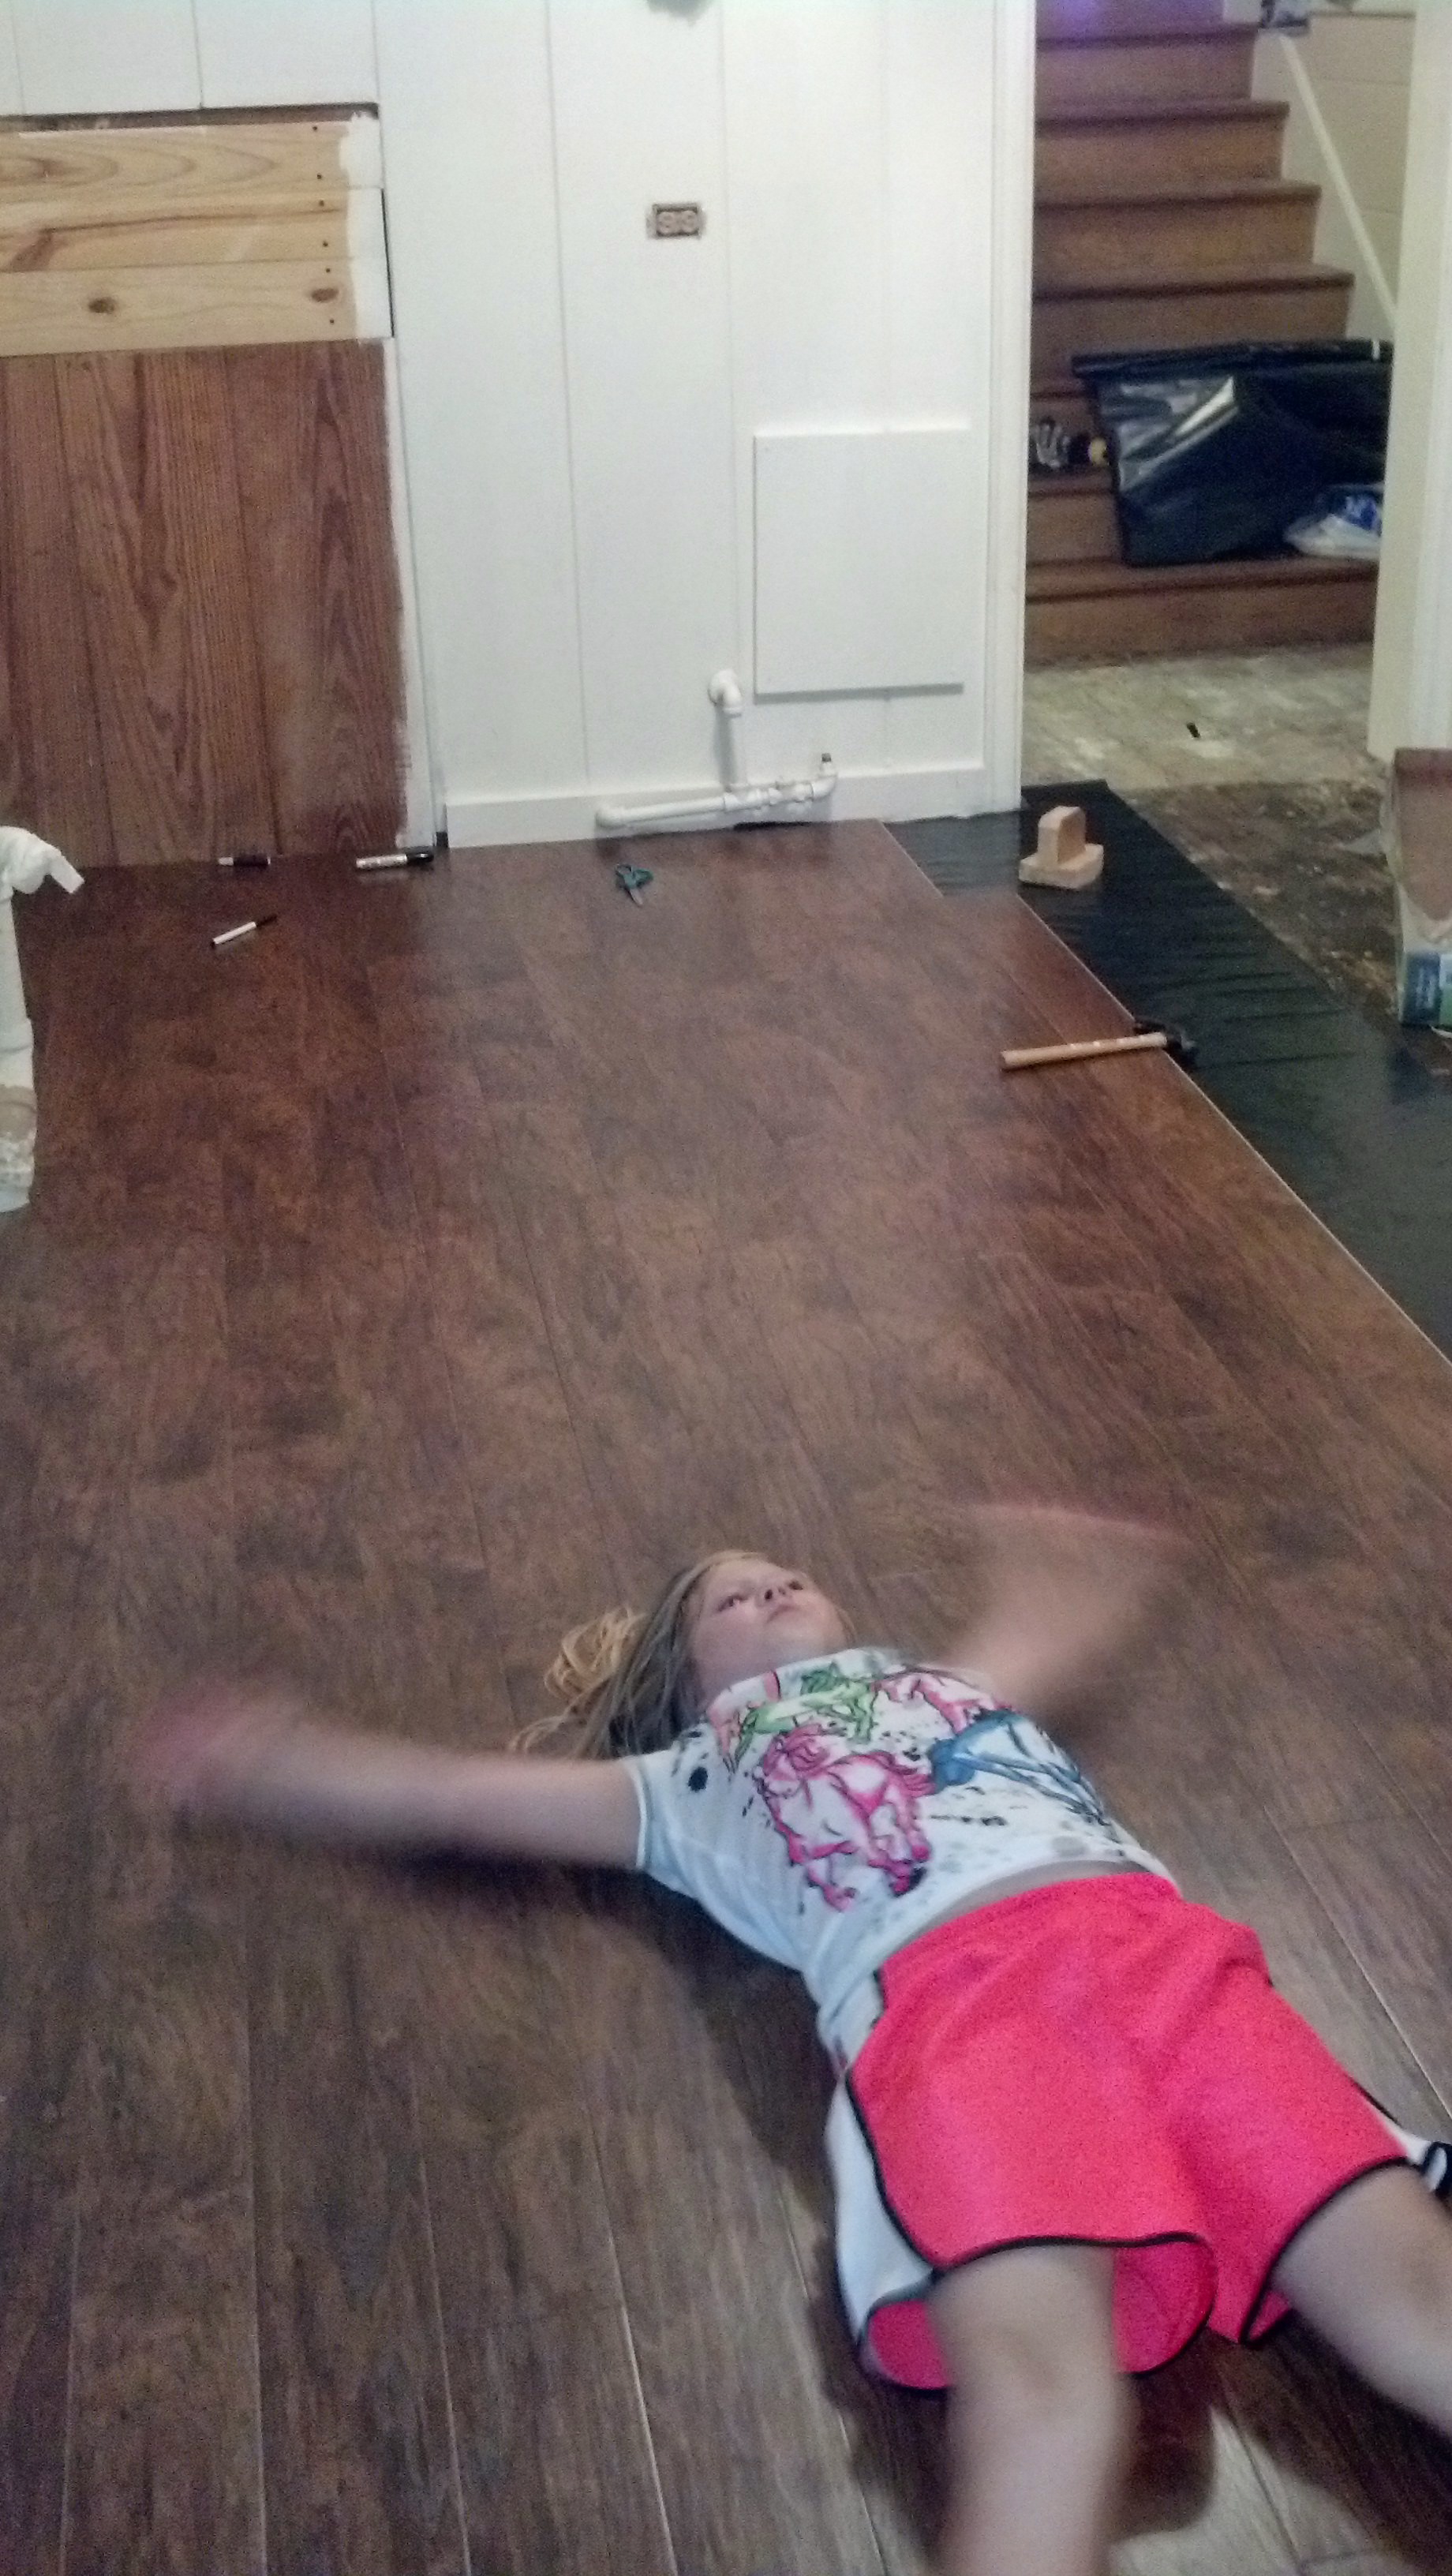
Note the plastic underlayment in preparation for the laminate flooring:
Making laminate angels….see the homemade laminate flooring tool Jason made? It helps to pop in those flooring pieces. Yeah, you could BUY one but why should you when you live with Bob Vila? This pic just goes to show that EVERYONE in the house was excited to get rid of the tile!
Now for the fun part; planning the kitchen out fully and shopping at IKEA. I had already plotted out the entire thing by using IKEA’s free kitchen planner tool. It’s online and it worked like a dream! There was not an inch in this new kitchen that wasn’t thought out! Now time for shopping. I will do another post on HOW to shop for your home at IKEA. Yes, it can either be an absolute hellish nightmare or a good time…it all depends if you know how to do it!

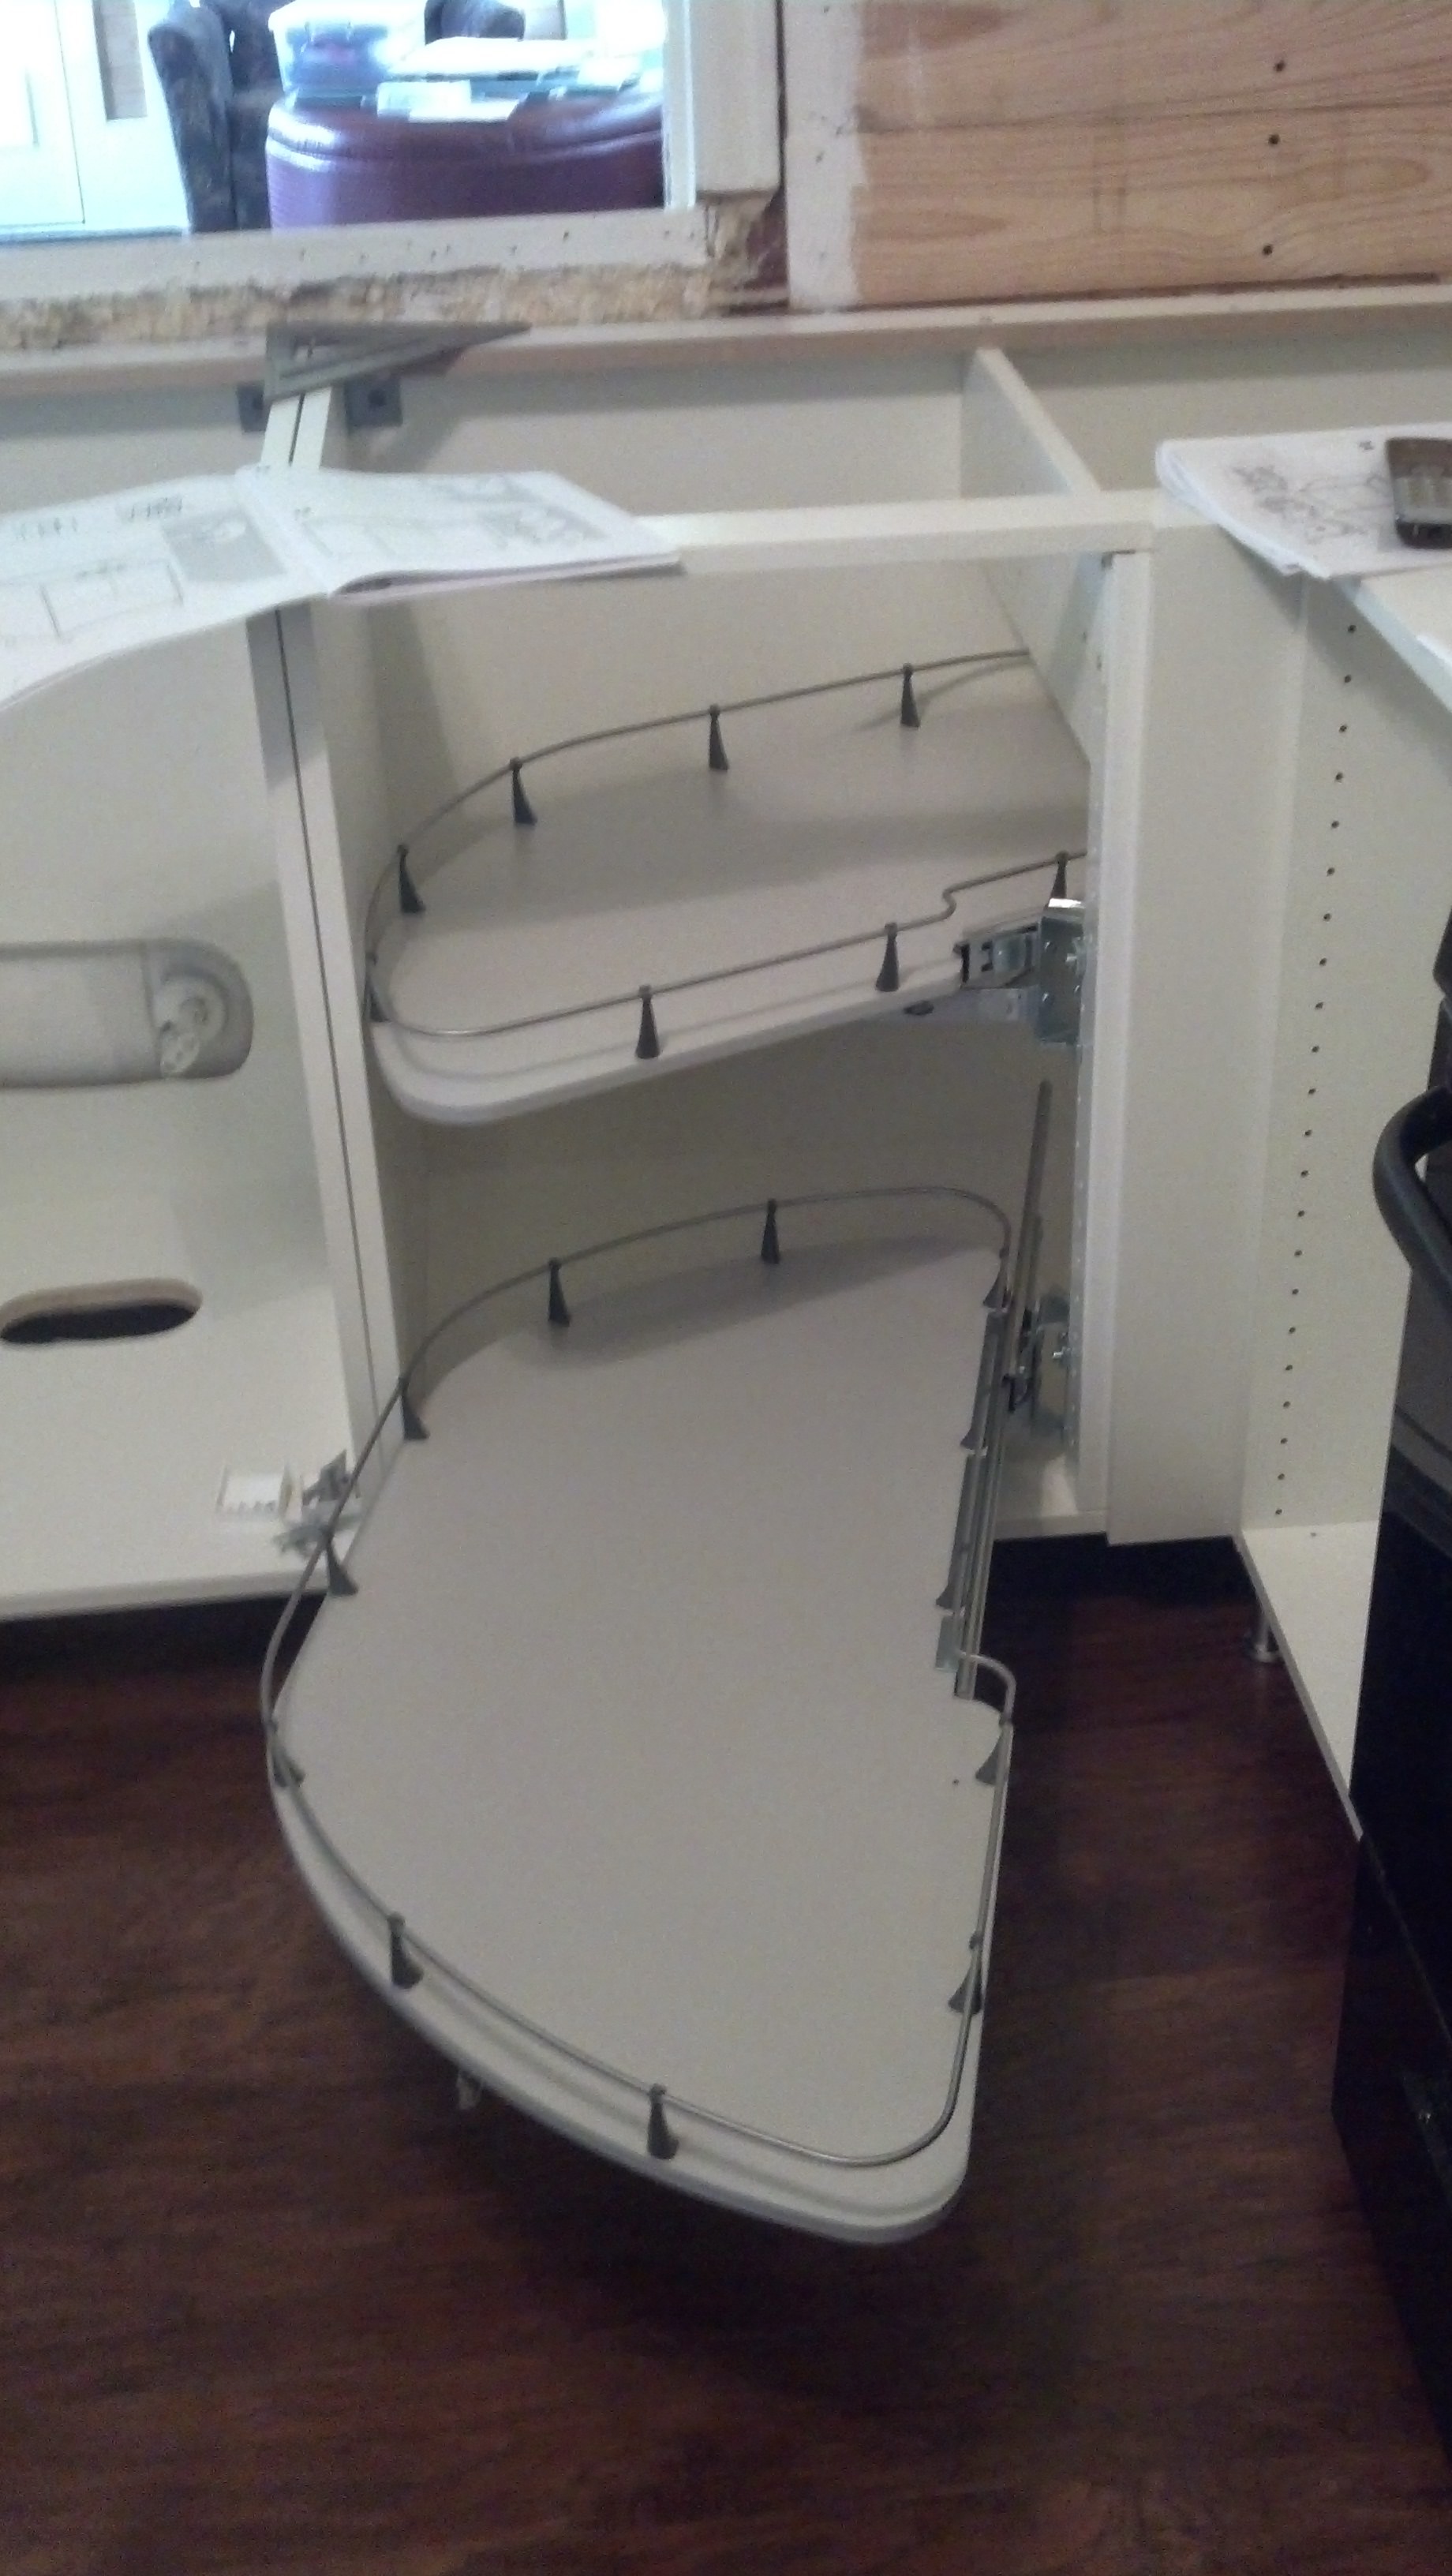
Everything at IKEA is based on the flat pack, so you can get it home easily. It also costs less to ship and transport for the company since they can get a LOT more in a smaller area. So the big box is my apron front sink. For obvious reasons, it’s the biggest box here. Everything else you are looking at is cabinetry and flooring (from Lowe’s). People make fun of IKEA’s assembly directions (there are no words, just images), but I found that they were simple to follow. Yes, I did some things backwards because I was not paying attention, but it was easily remedied. So here comes the AKURUM lower cabinets. Remember that wasted space by the drawers I told you to make a note of? Well, the RATIONELL cabinet insert takes care of that! It swings out and FULLY EXTENDS so you can now reach those pots/pans in the far back reaches of your cabinet. No more crawling on the floor with a flashlight. Woohoo!

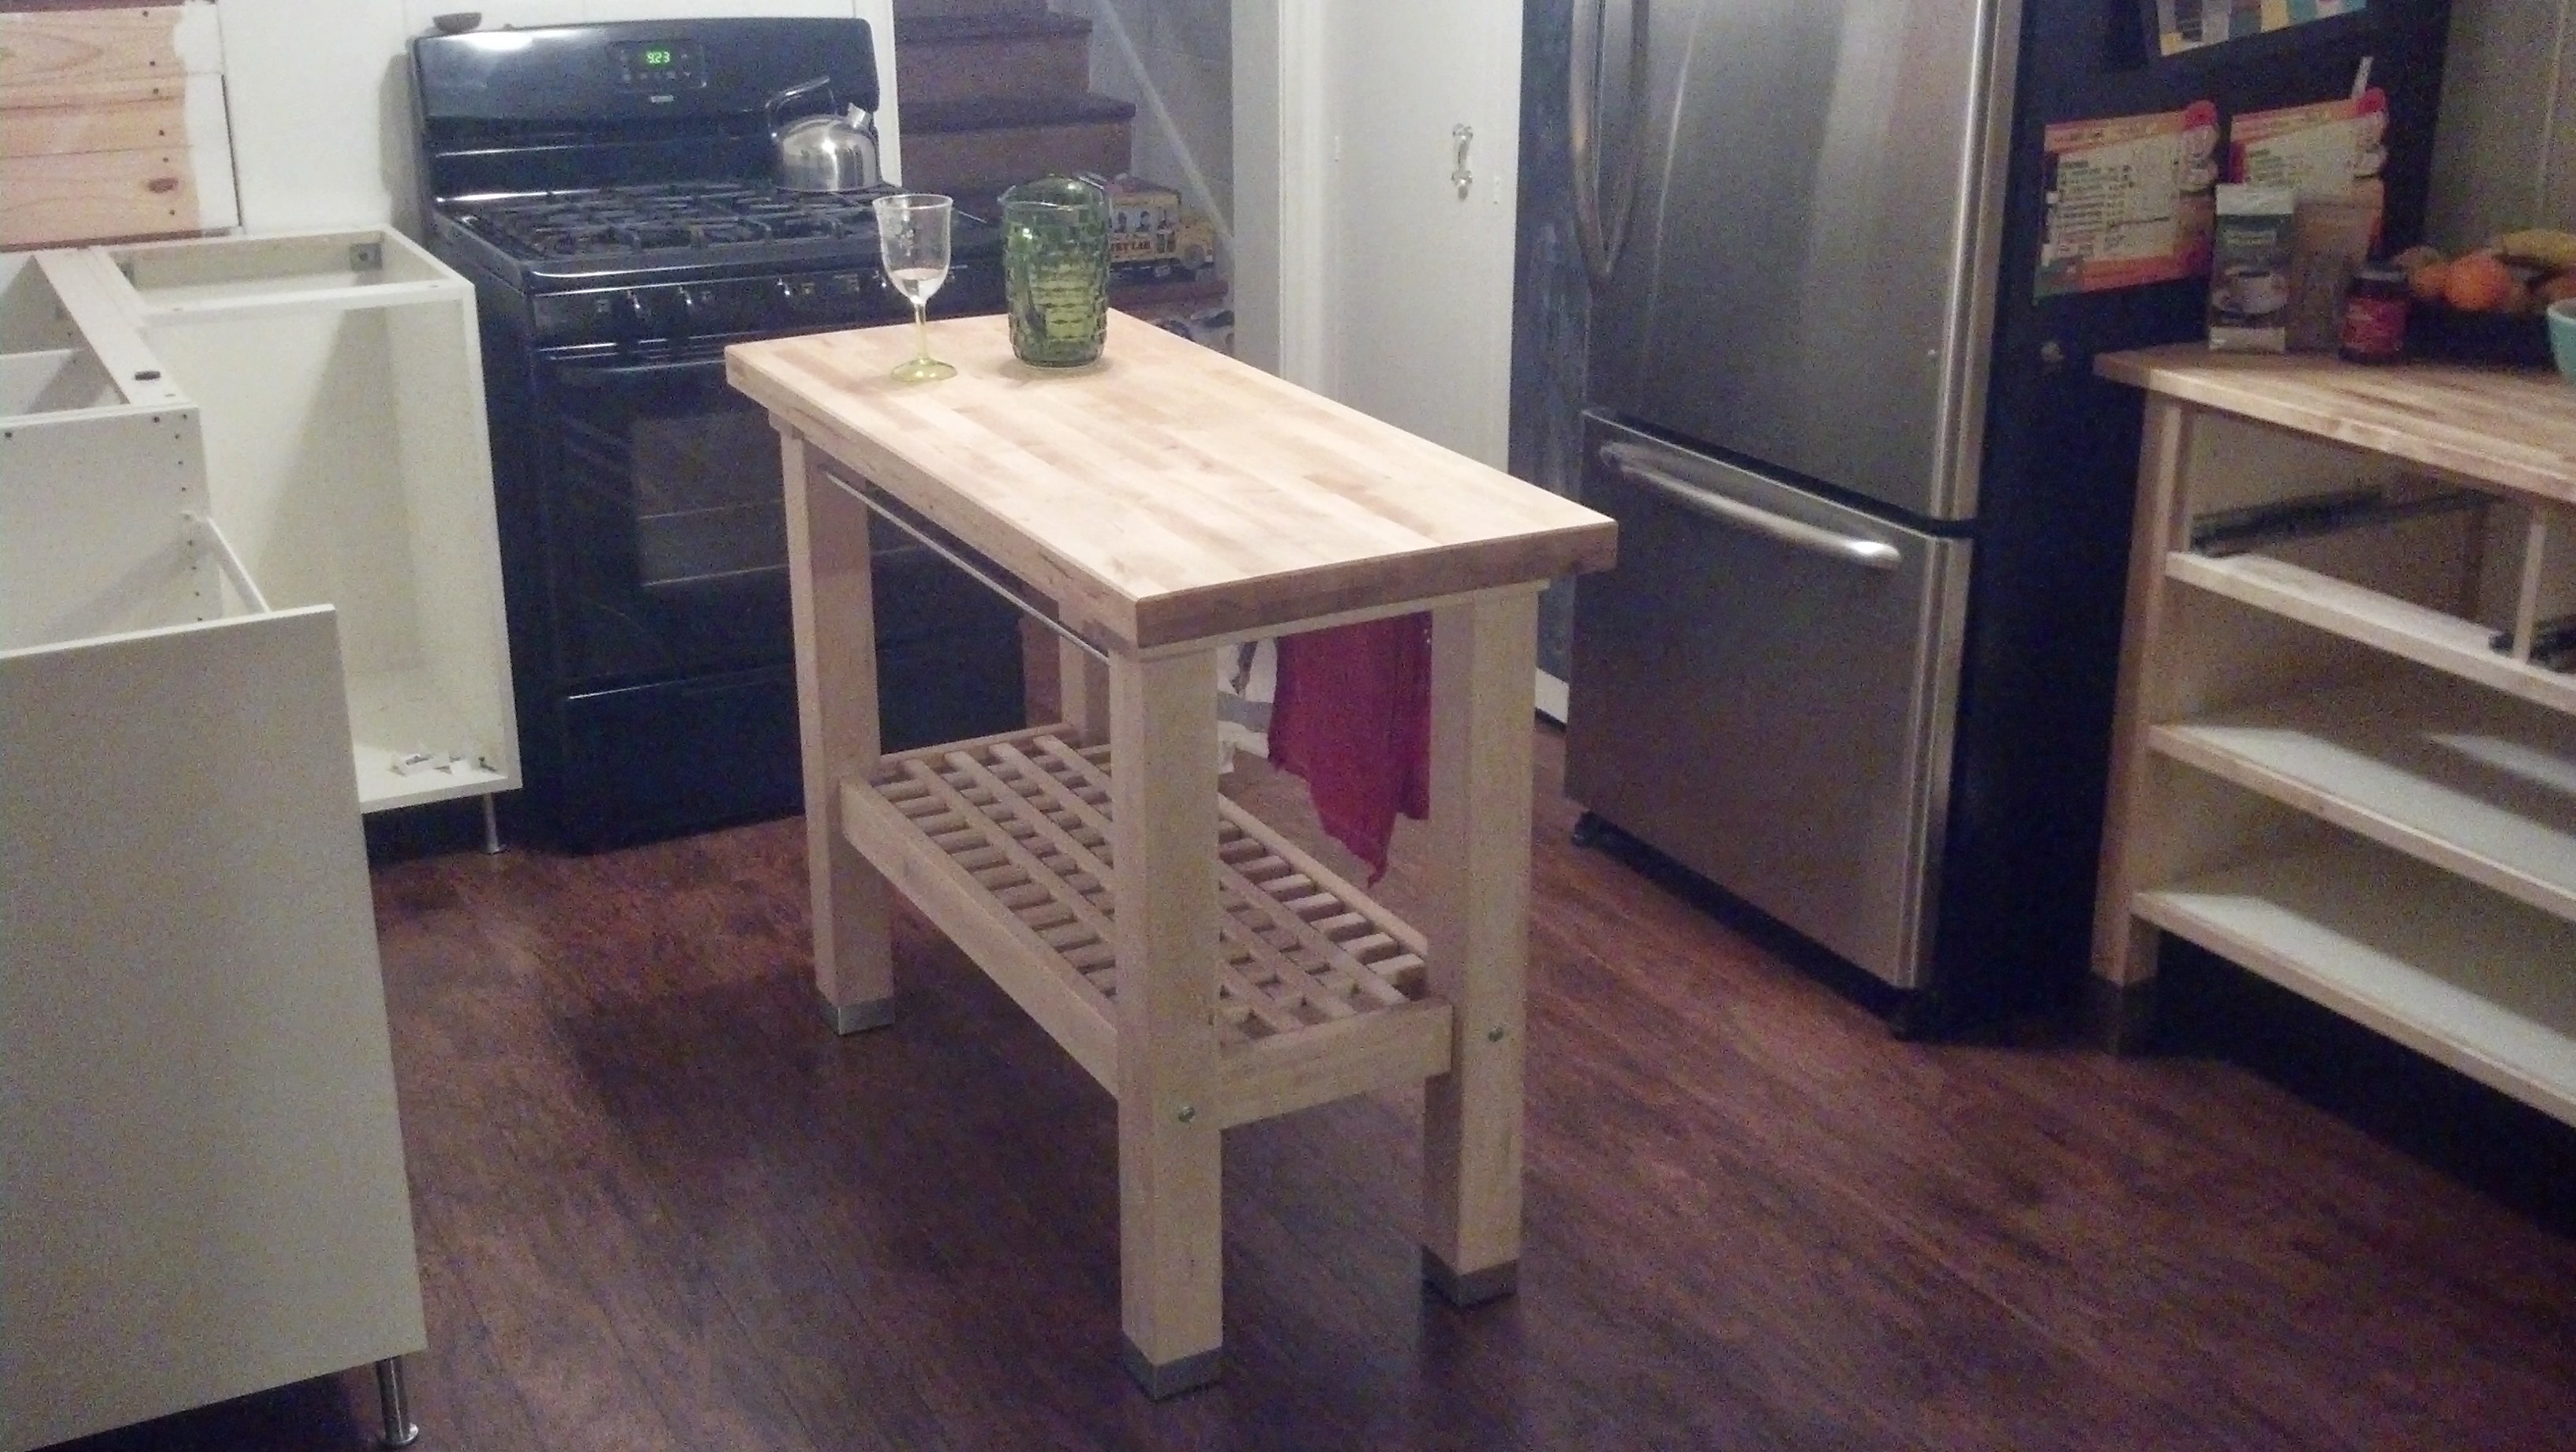
Now the cabinets are in and it’s time to put in the kitchen island and freestanding counter we bought:

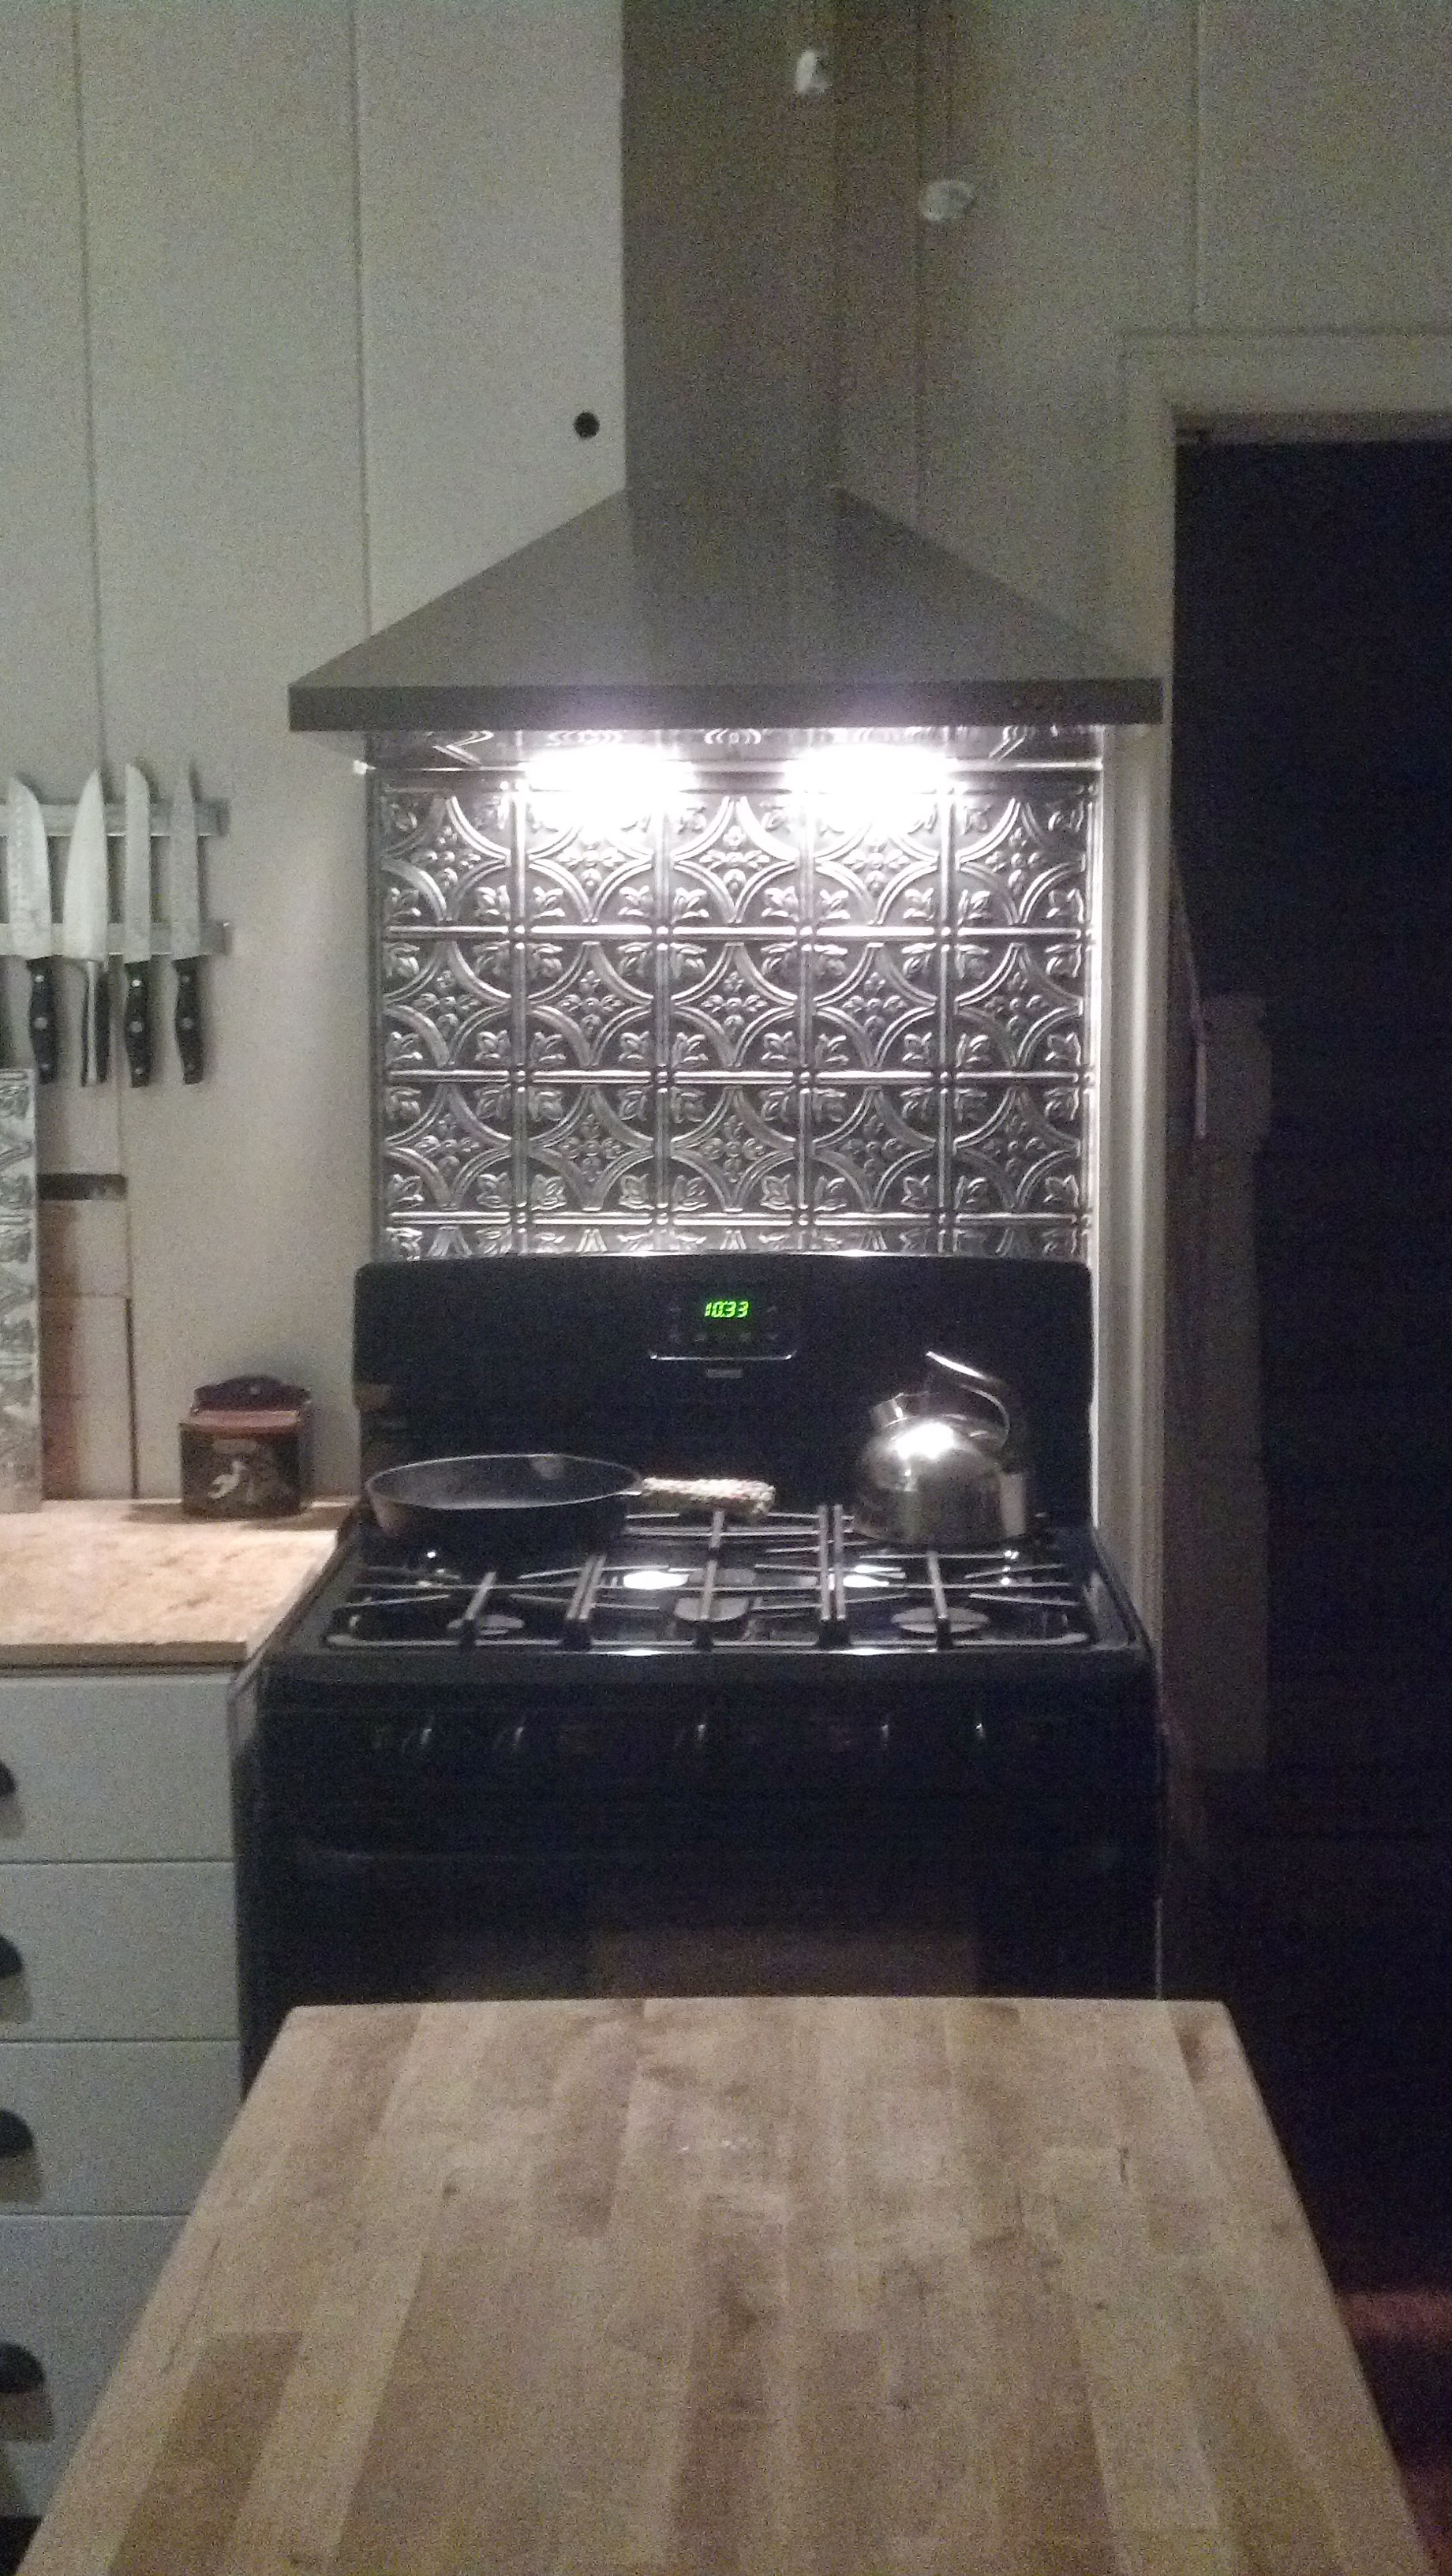
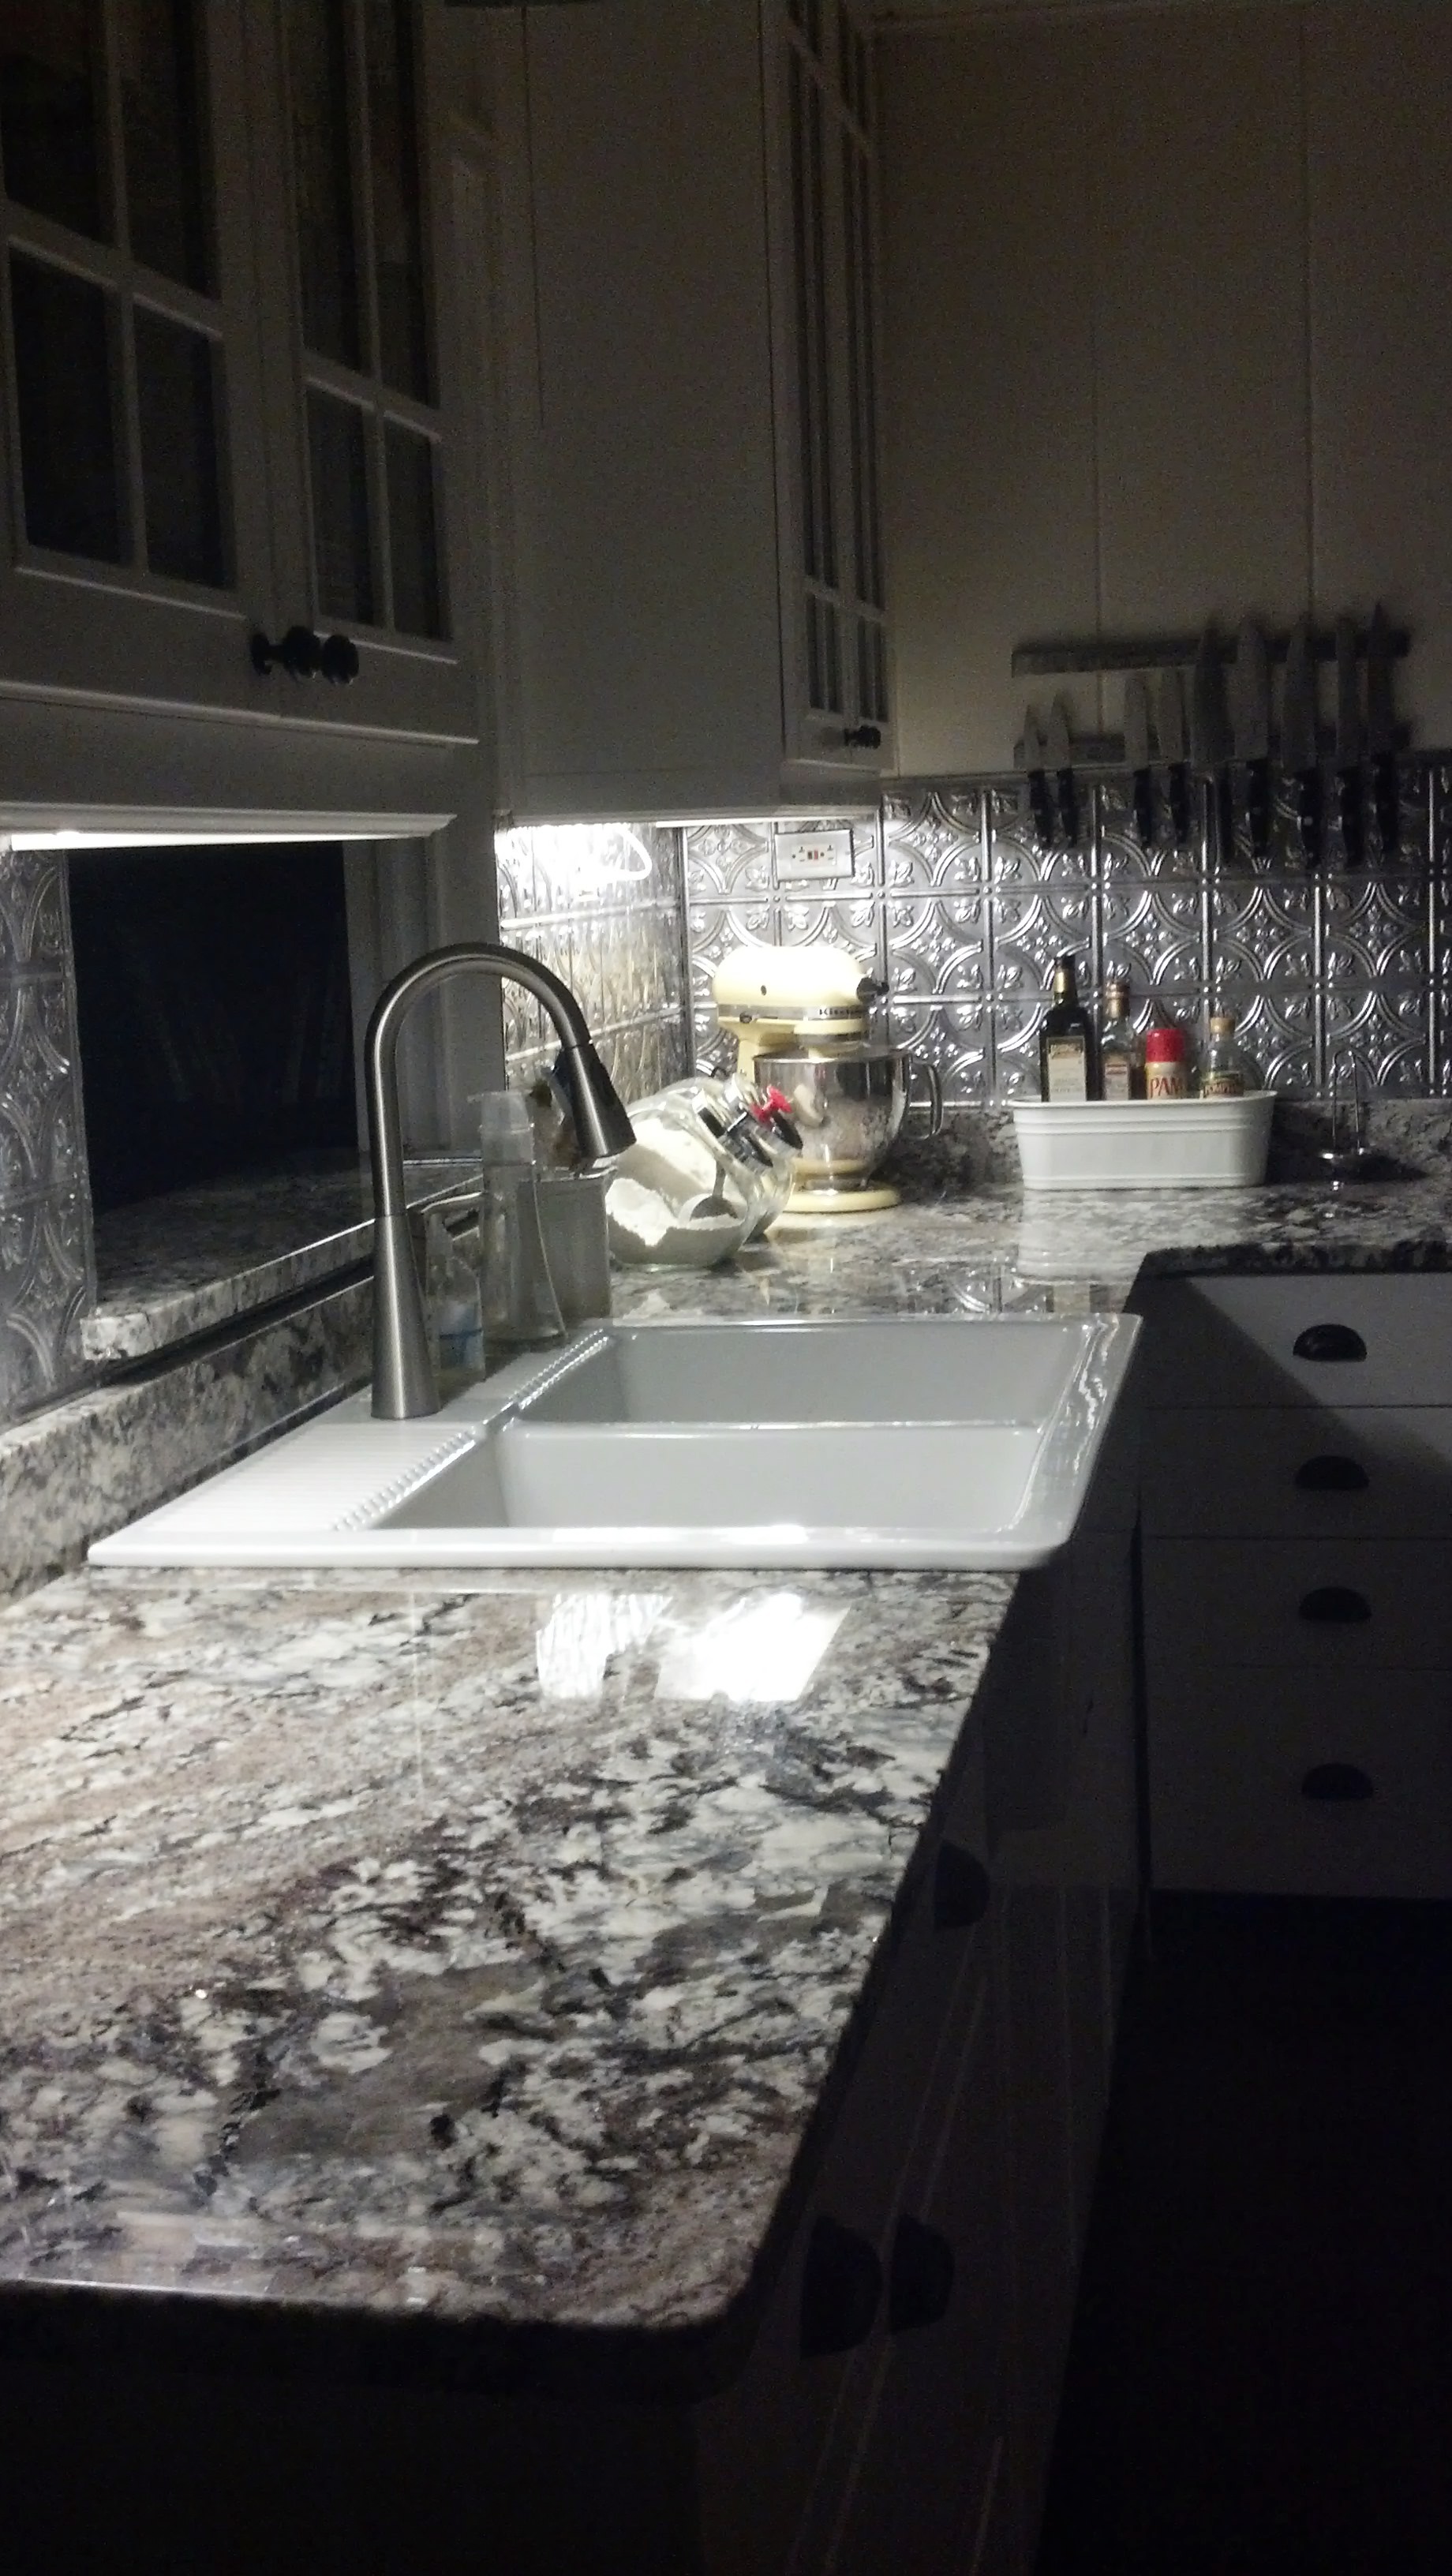
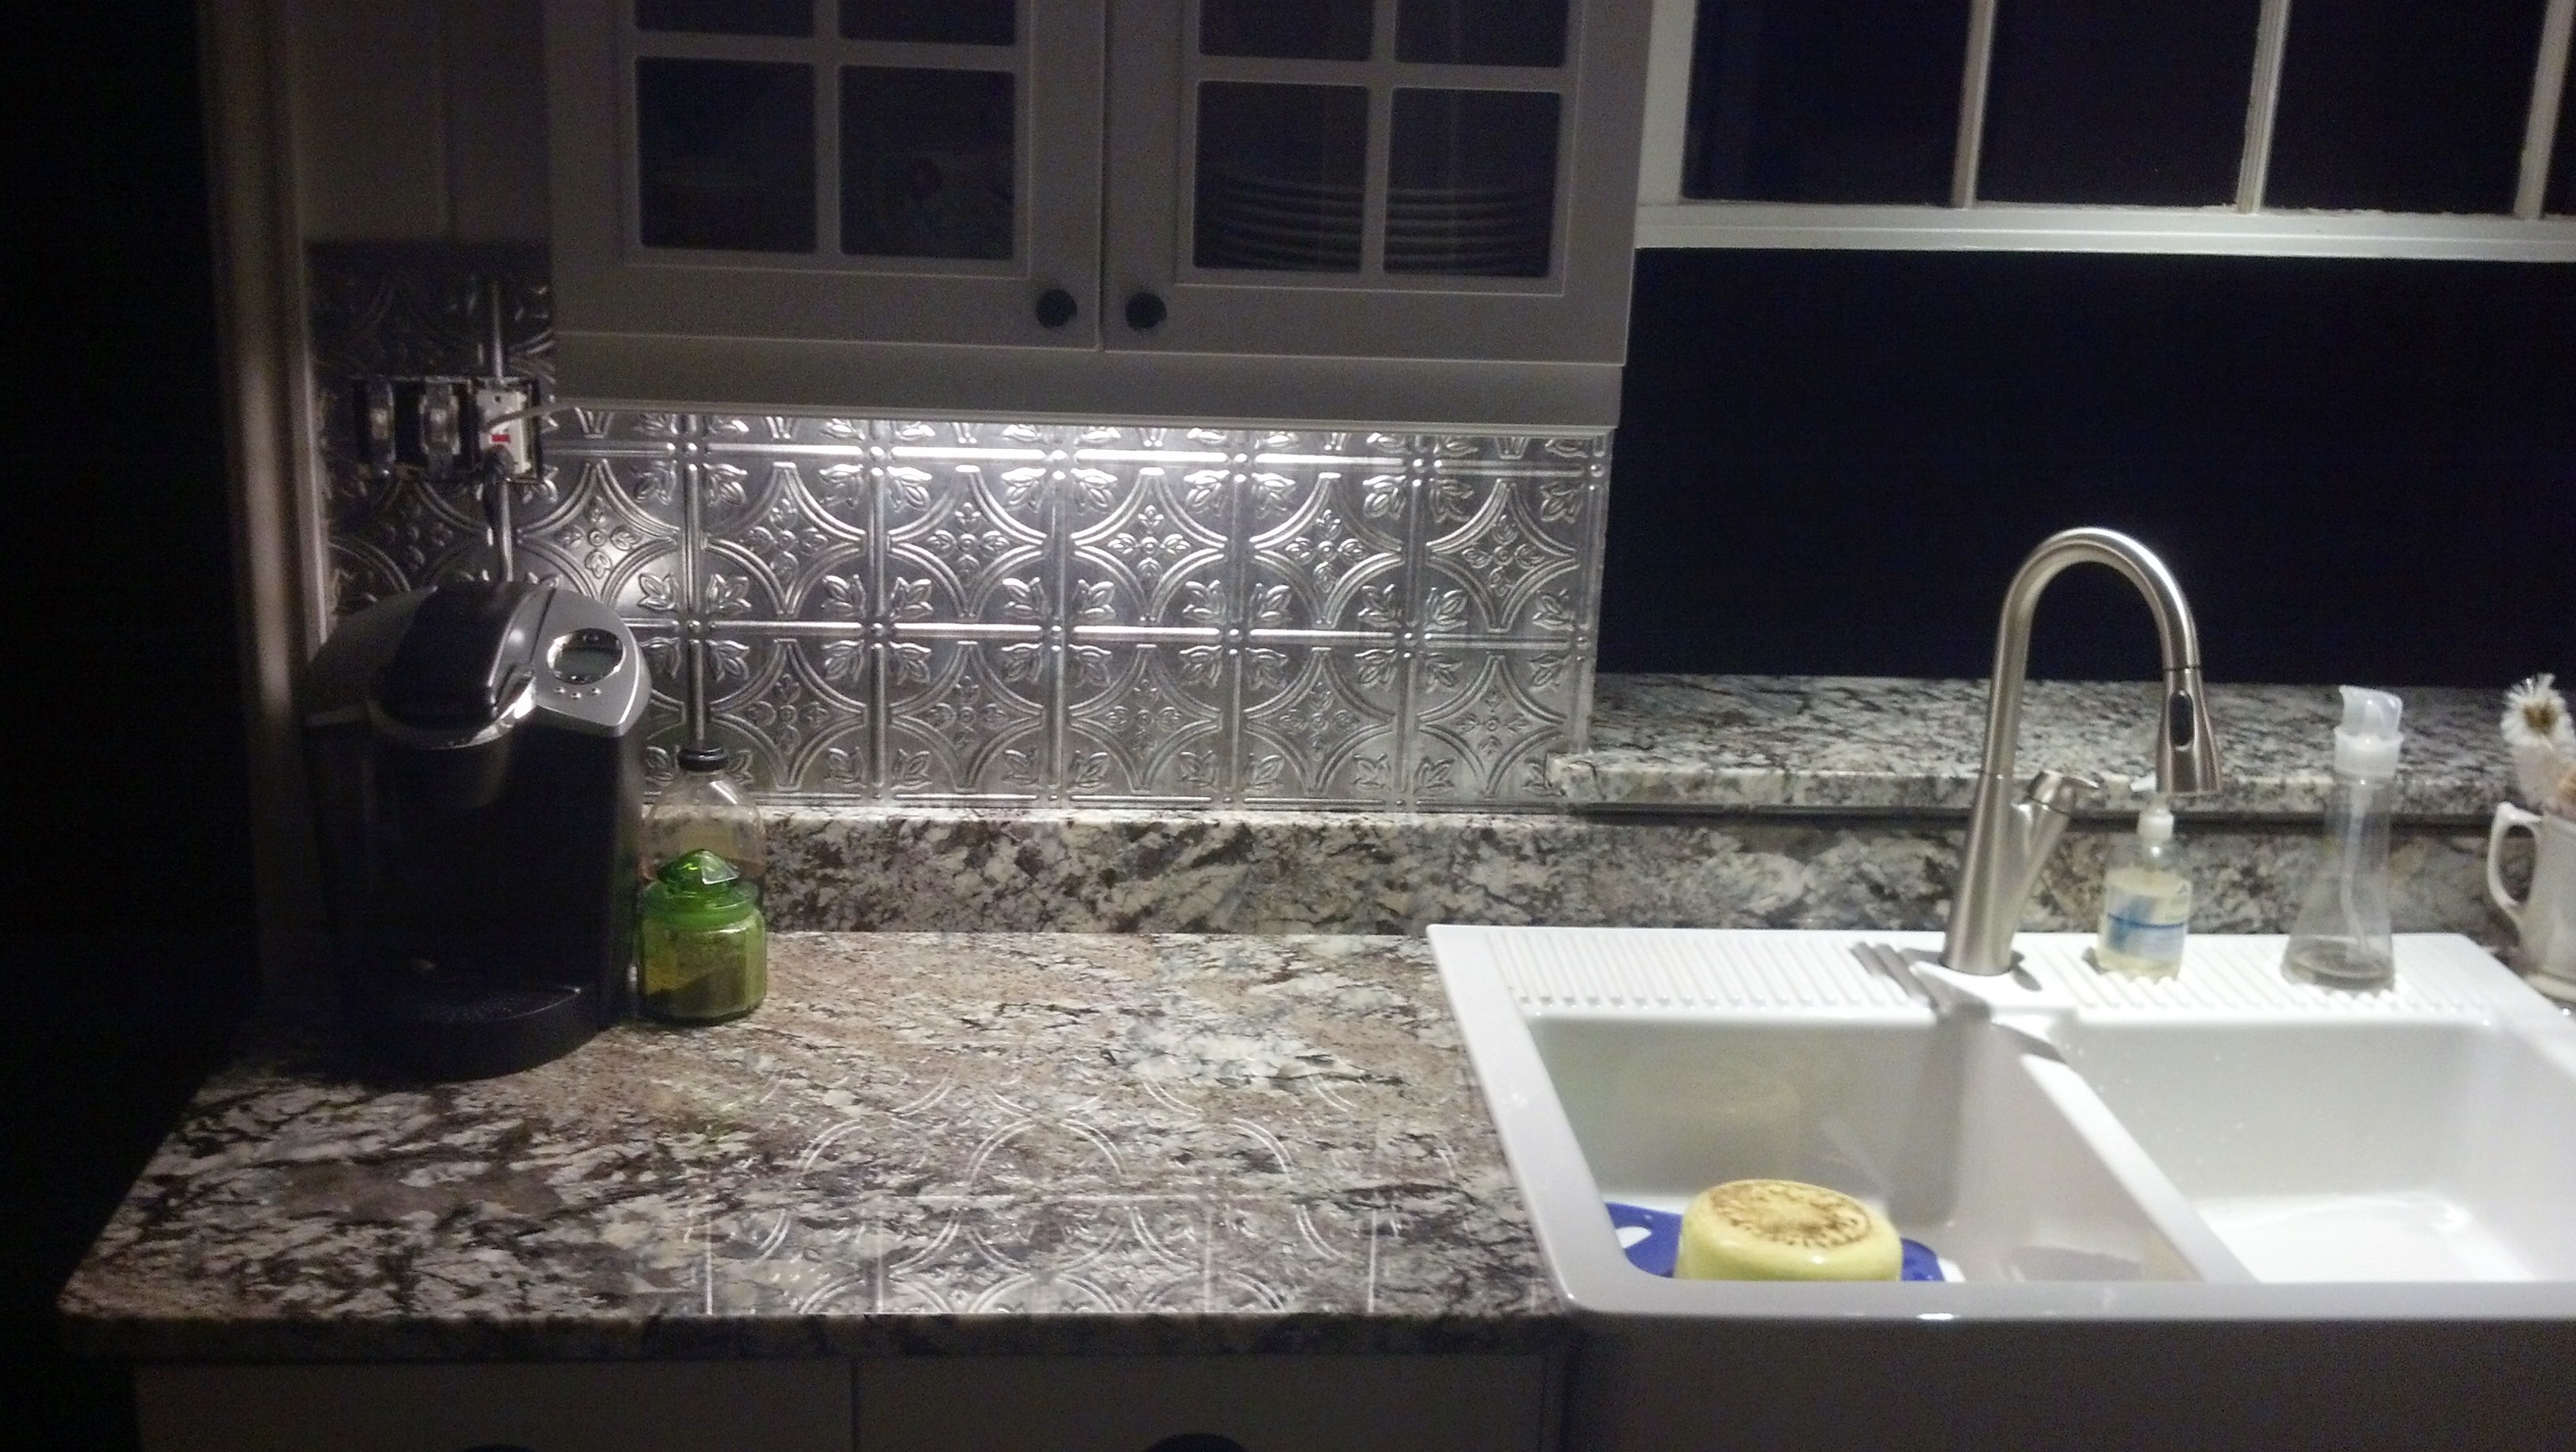
And now for the backsplash! We chose the faux tin from Lowe’s. It’s actually plastic and easy to cut and put up. I think we used Liquid Nails to put it into place…whatever was recommended was what we chose. The faucet was also courtesy of Lowe’s. It has the extendable faucet head, which I ADORE.

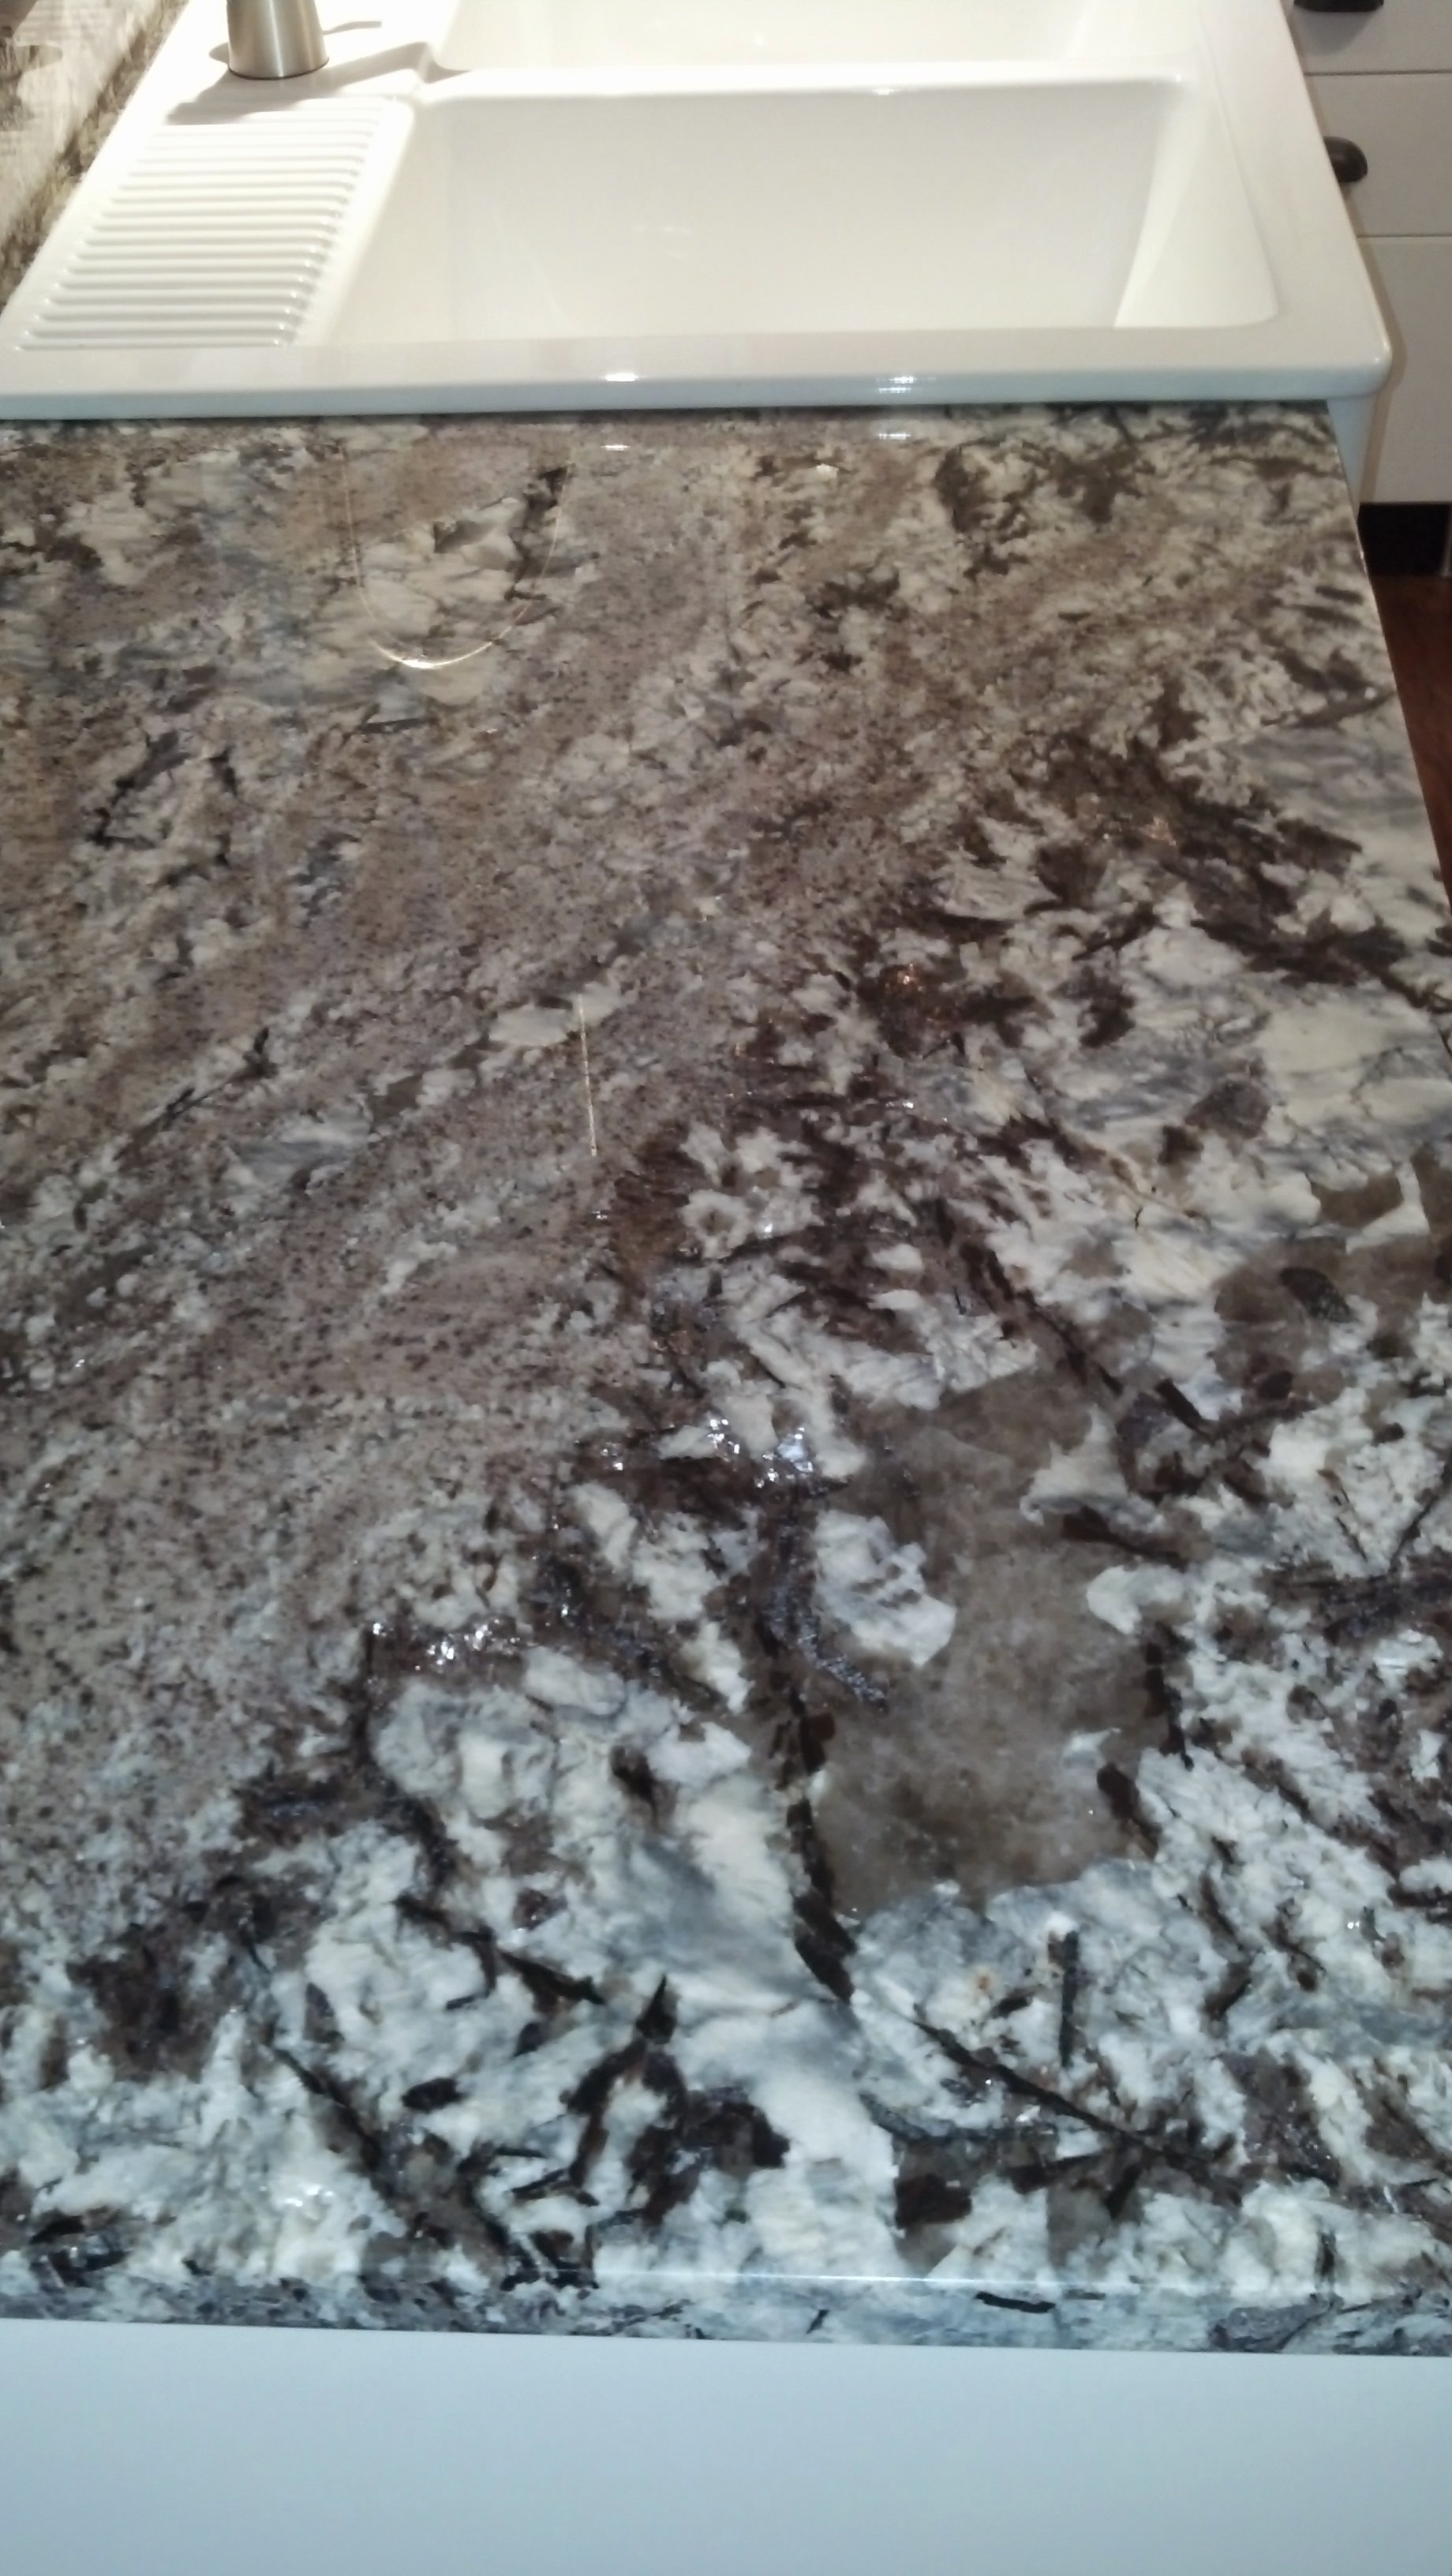
Time for granite. We went with granite since it is a really durable and nice material. Plus, we are amateur rockhounds who appreciate a good chunk of crystal…this is particular granite is called “Lennon”. It has HUGE chunks of crystal (I assume it’s quartz?) and I swear I have a nice big garnet in mine, too. Jason and I both immediately were drawn to it for its splashy look. A huge shout out to Berry Marble and Granite of Tyler, TX and more specifically: Jennifer and Casey! It came out to perfection.

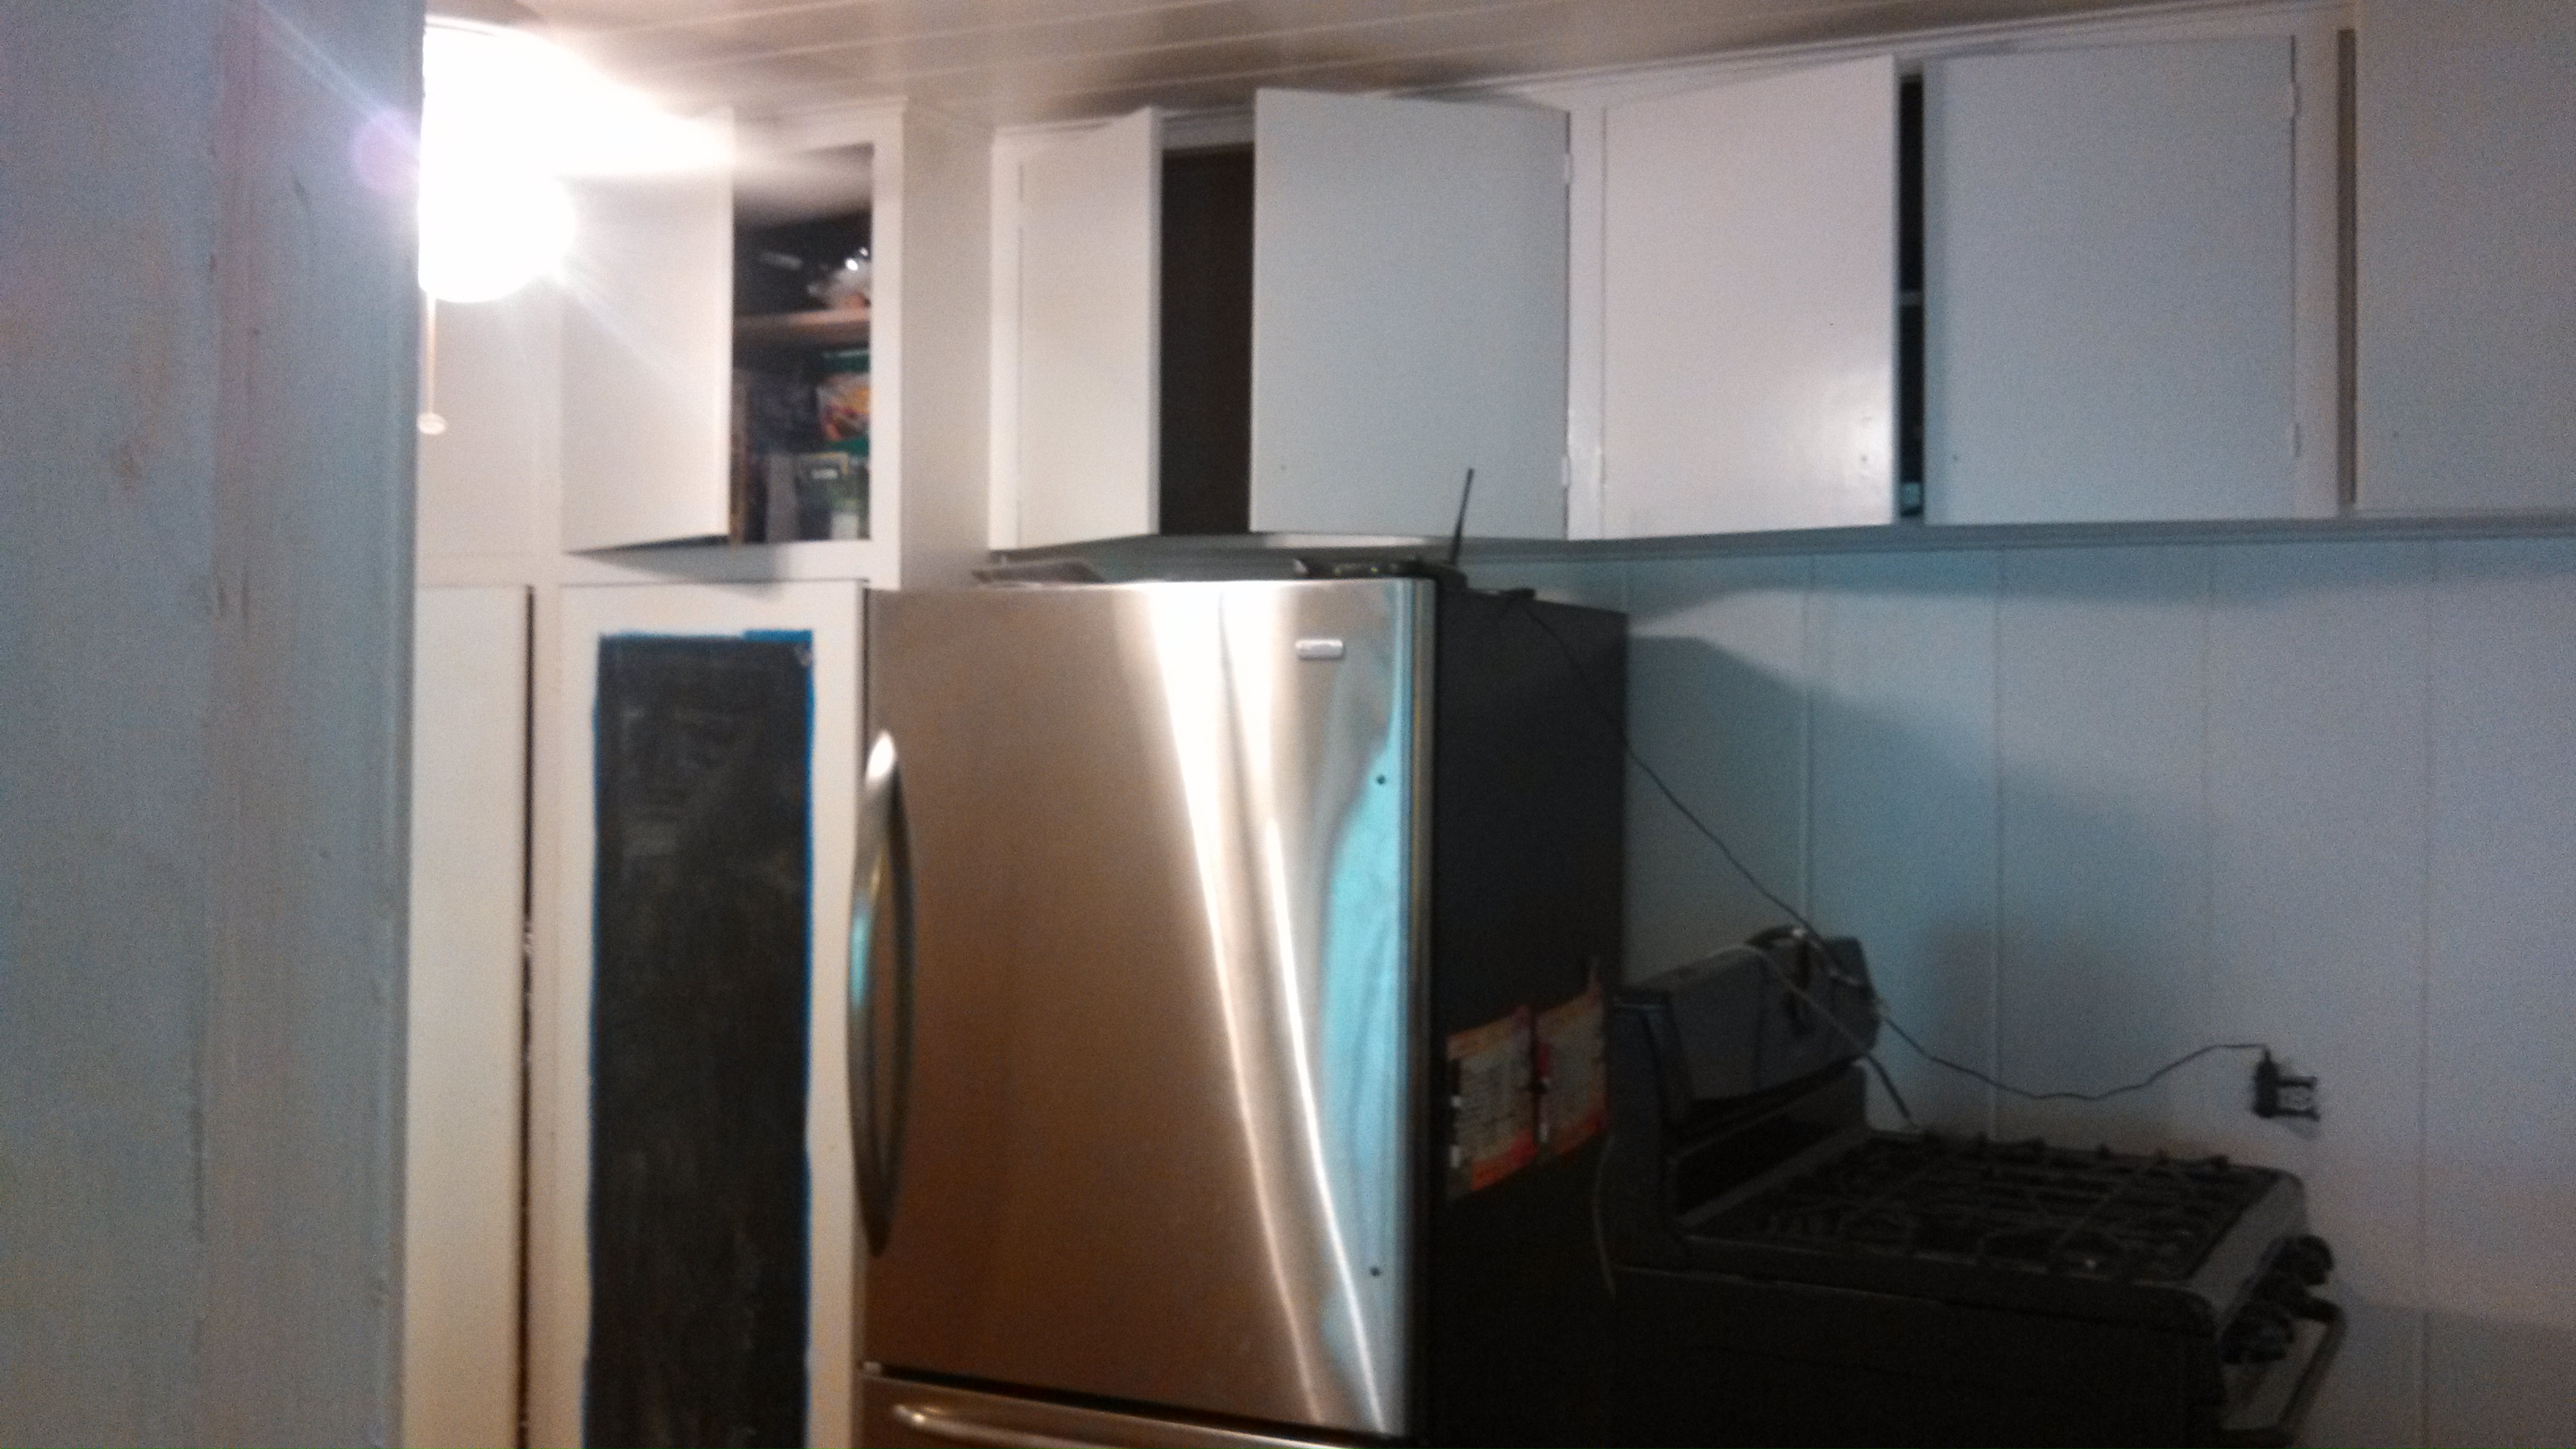
So the drawer set above was able to be widened, thanks to IKEA’s wide range of cabinet widths. I gained 3 more inches in countertop space here. Yes! And now the backsplash, granite, range hood (IKEA’s LUFTIG (Whirlpool)), and lighting is IN:
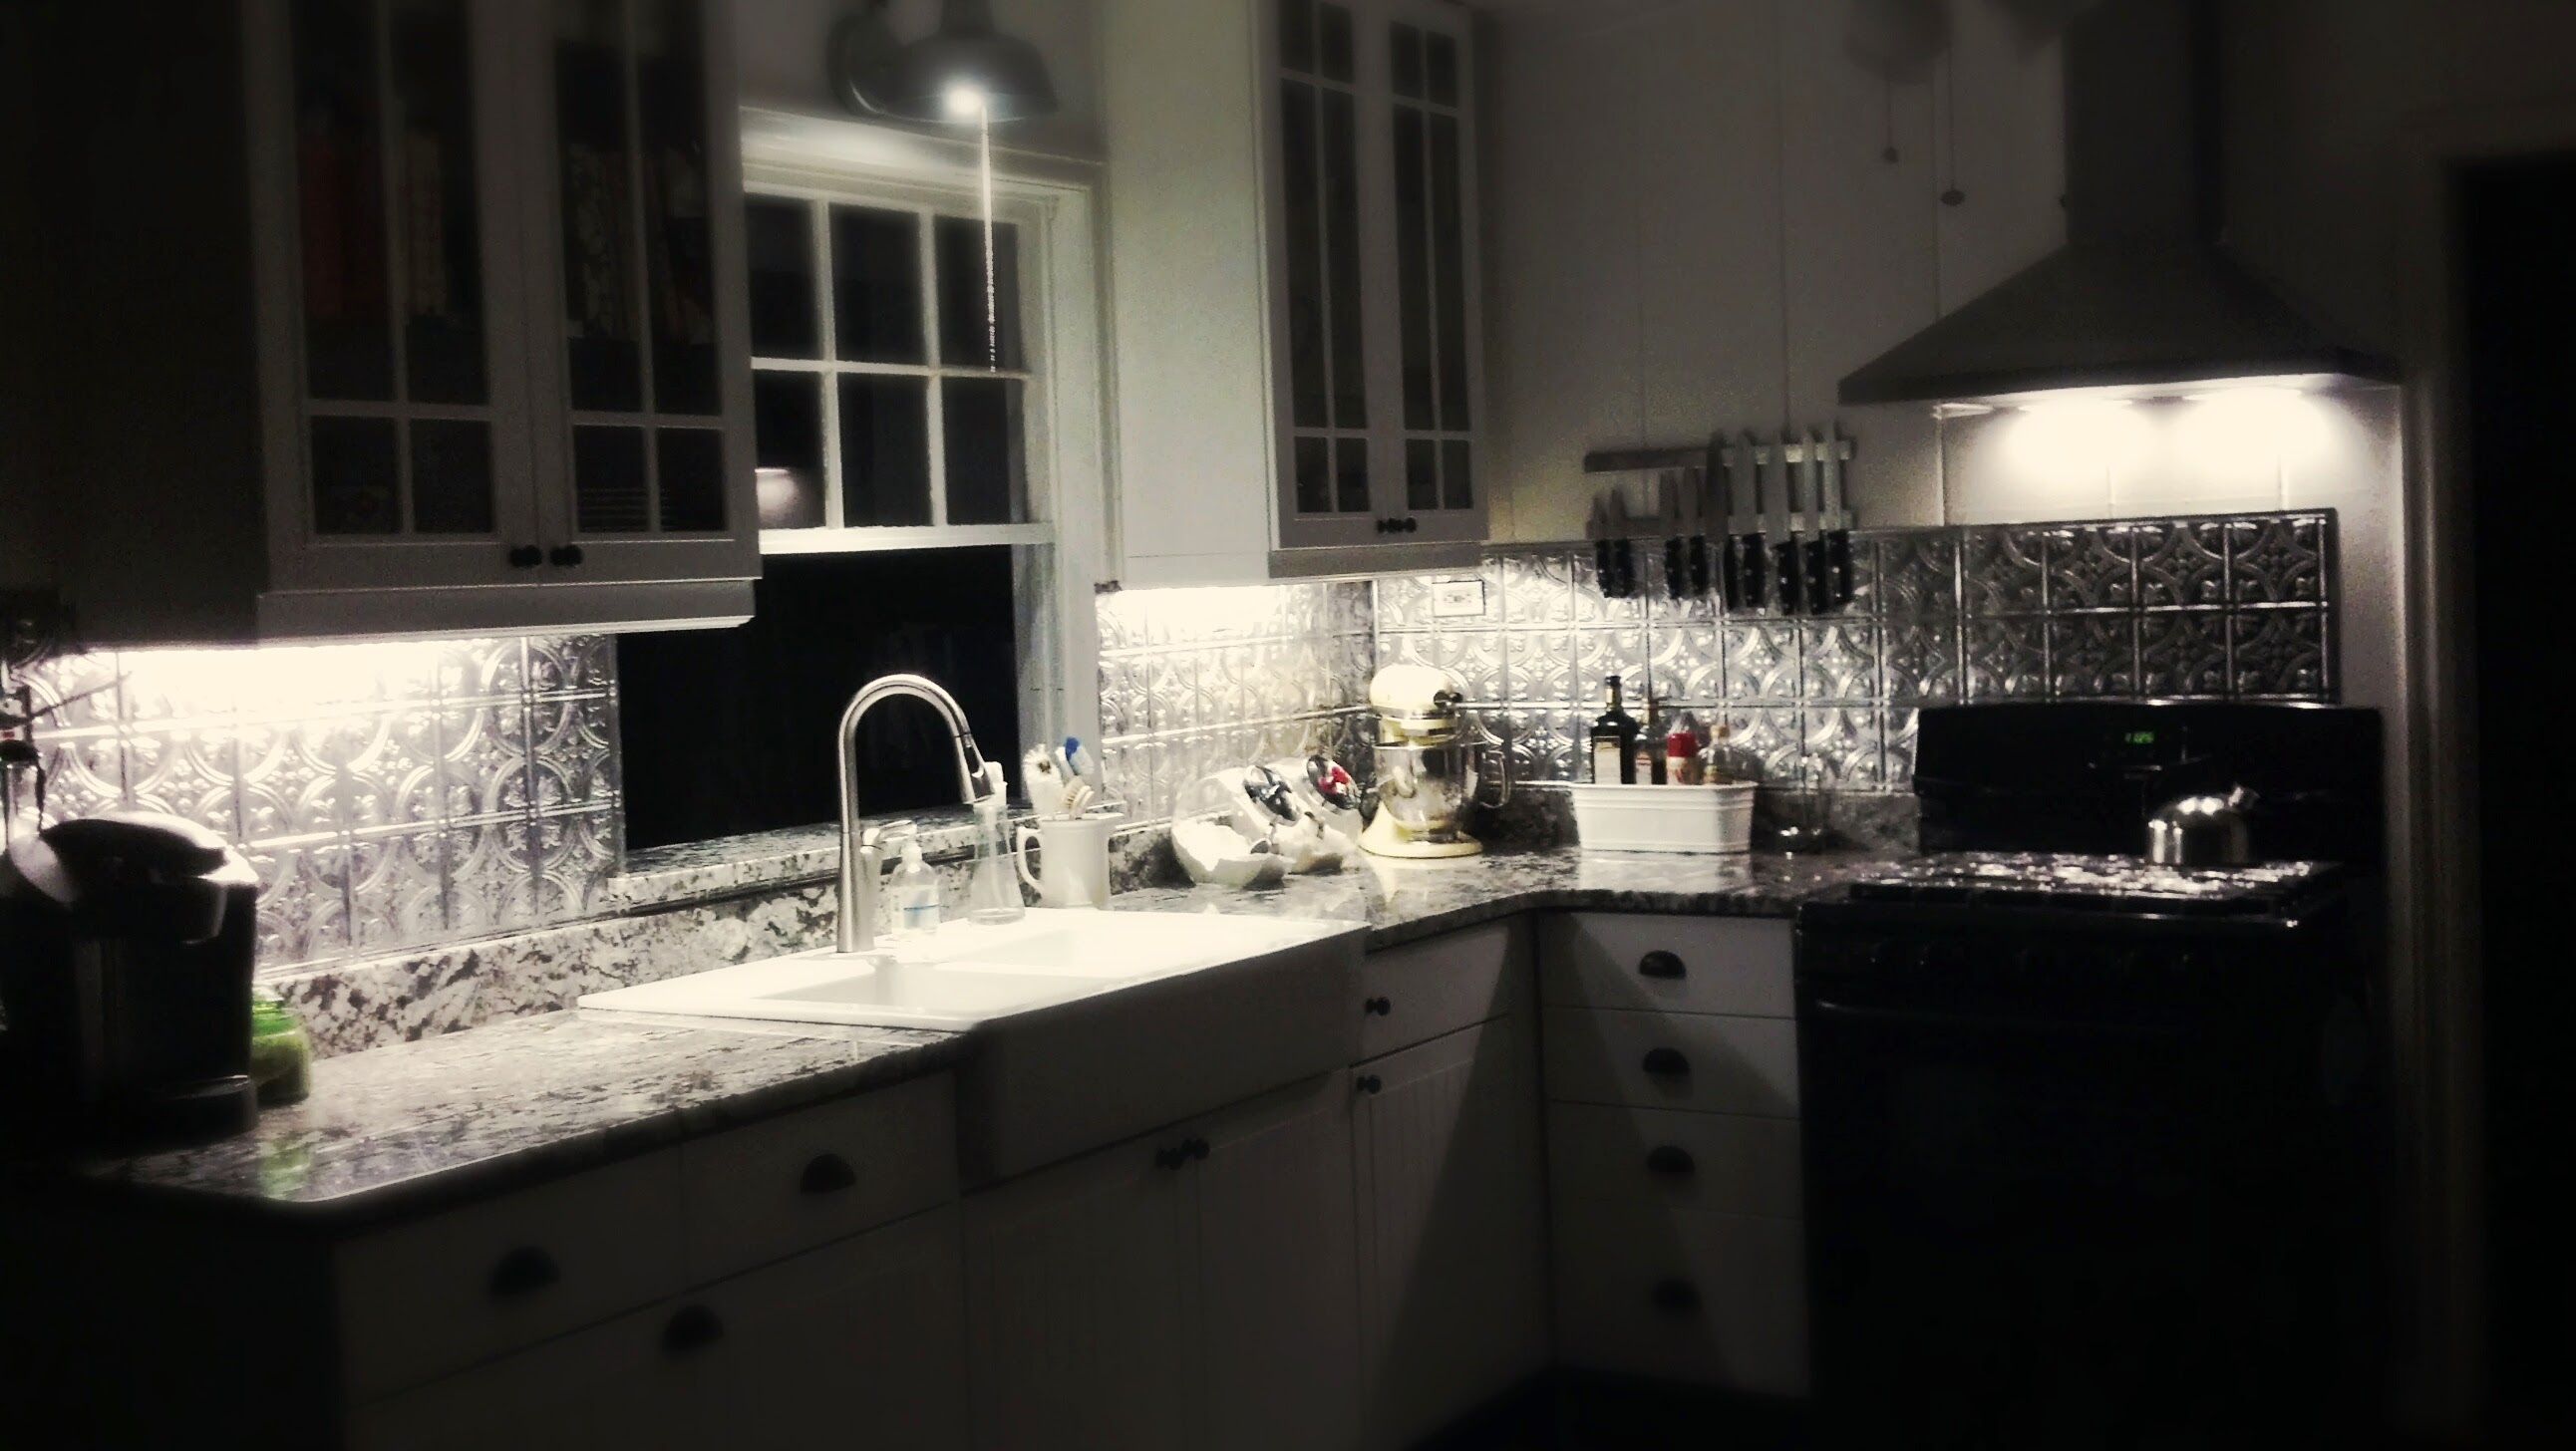


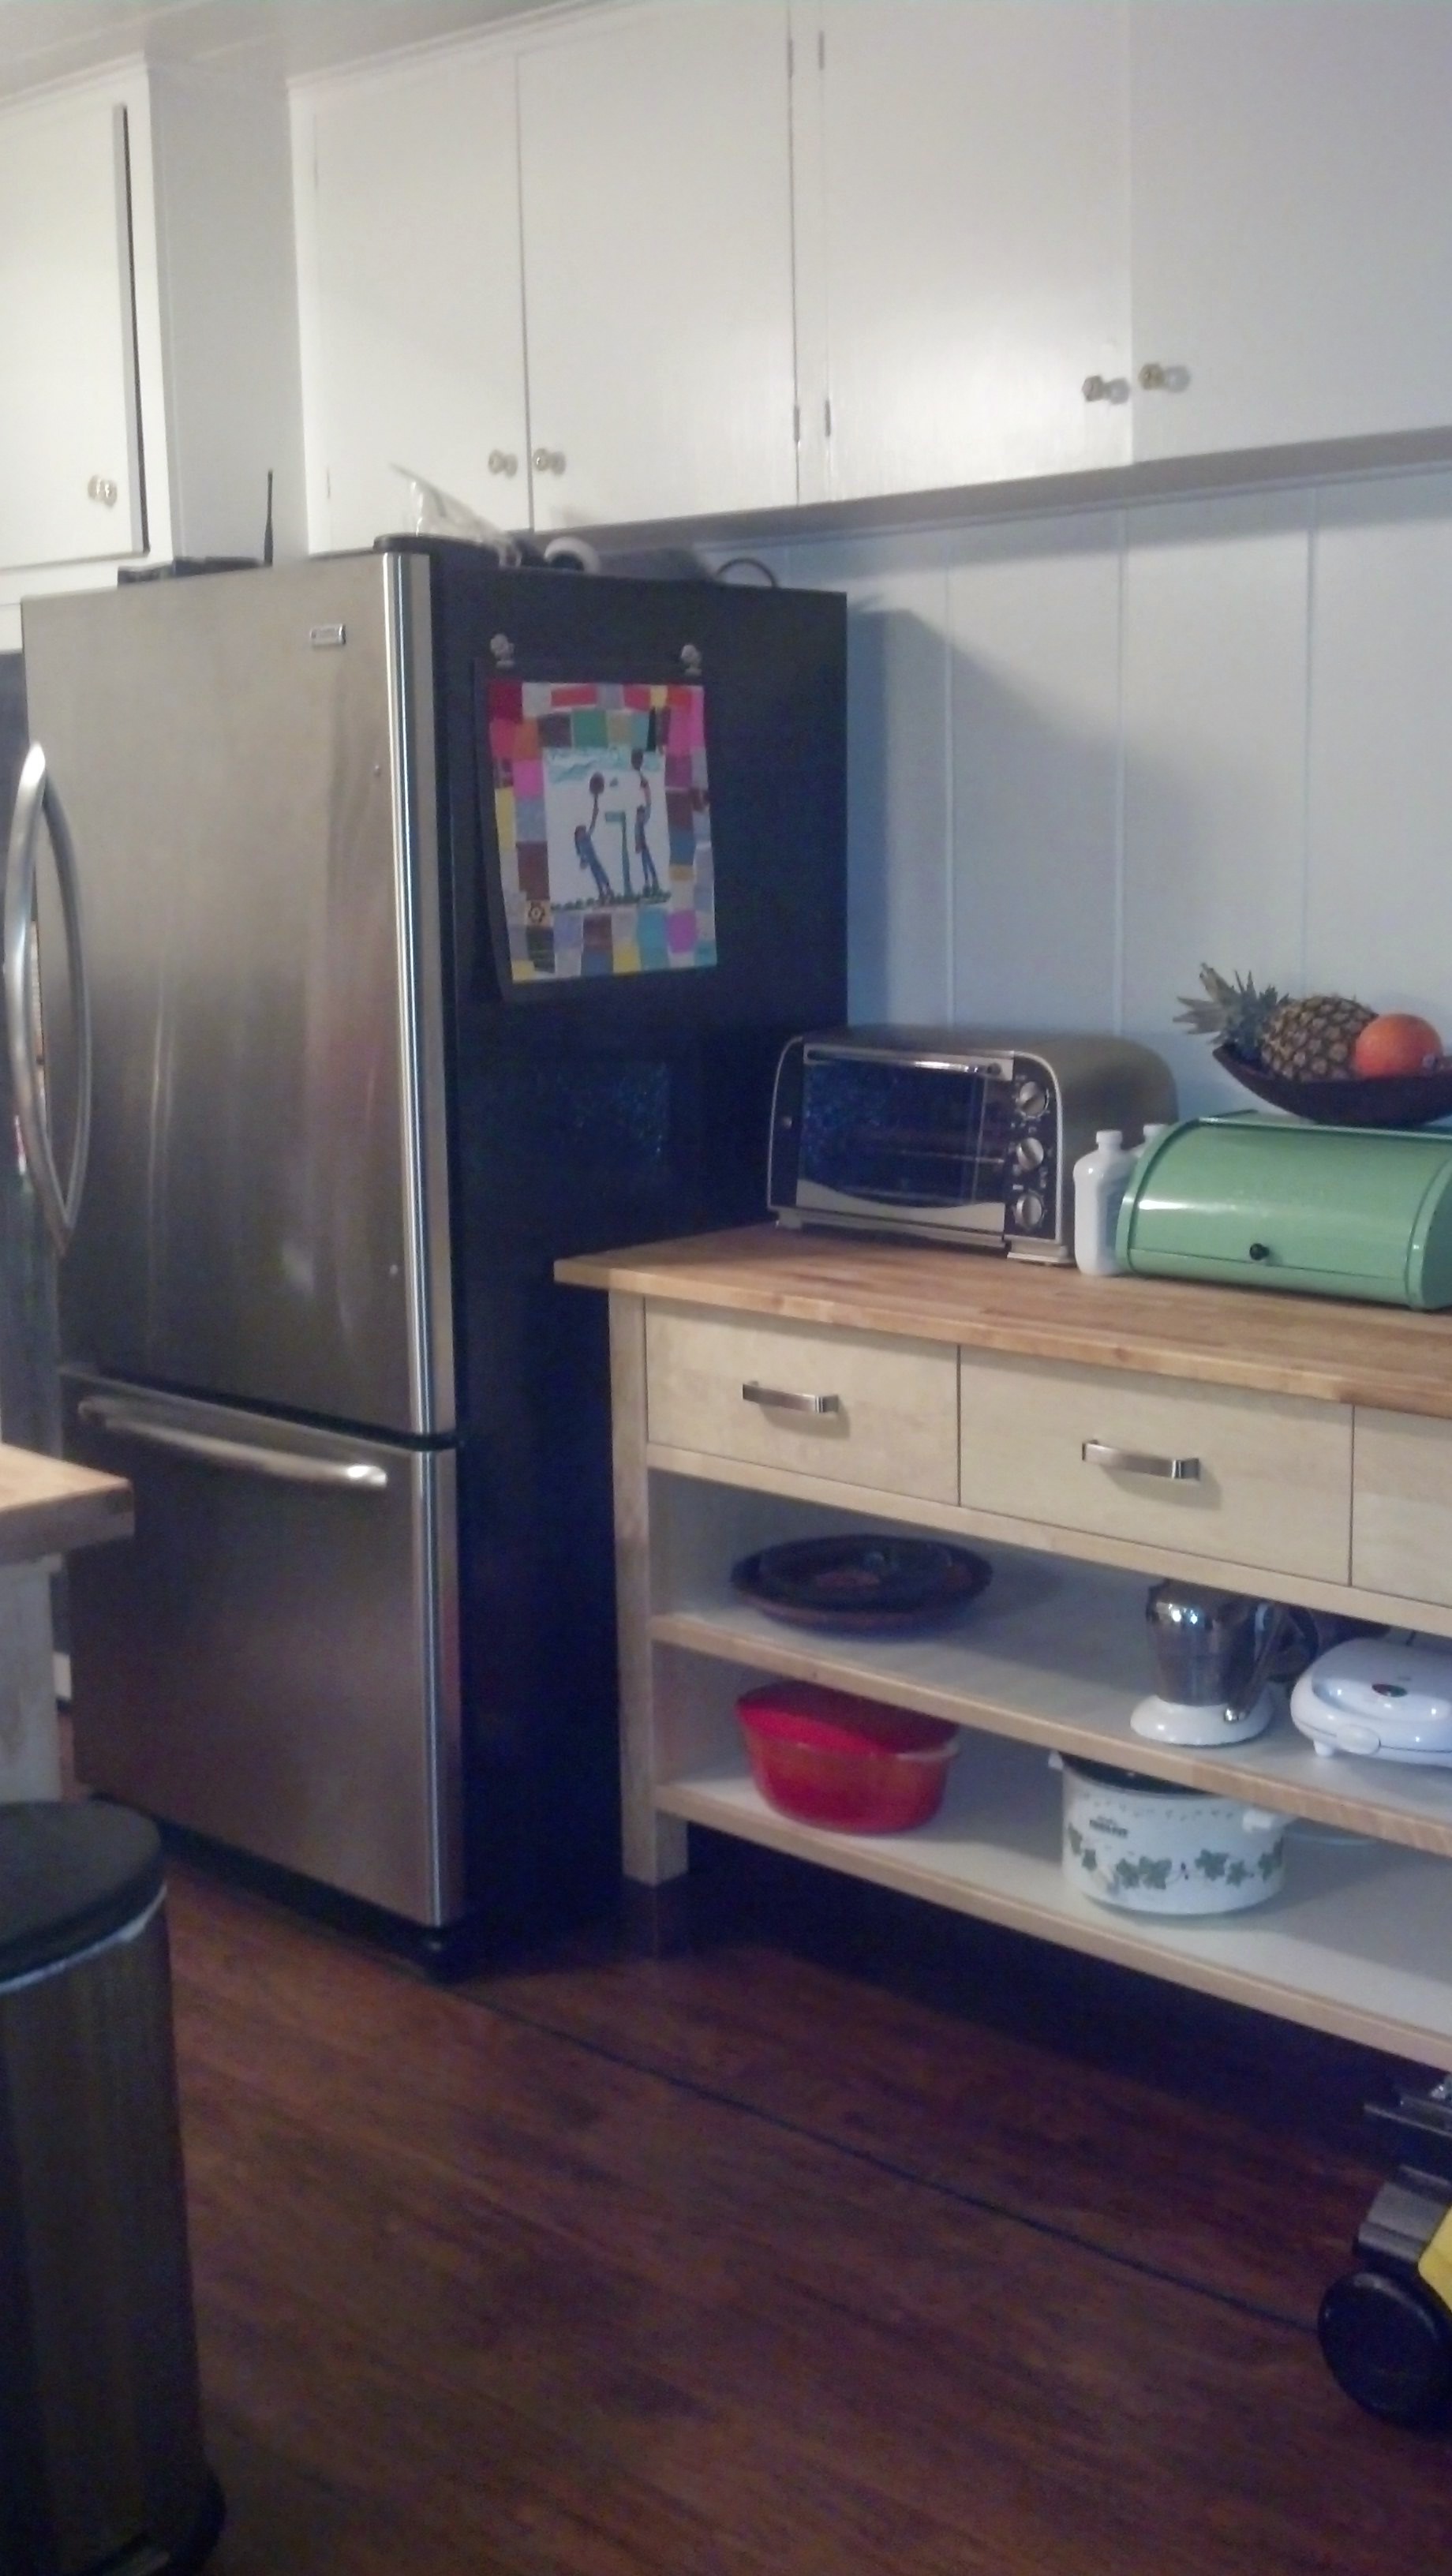
Ahhhhh….now a big deep sigh of contentment! I waited a few weeks to add any of the wall storage to see where I wanted what. Then we put up some FINTORP wall storage rails to contain our coffee mugs:
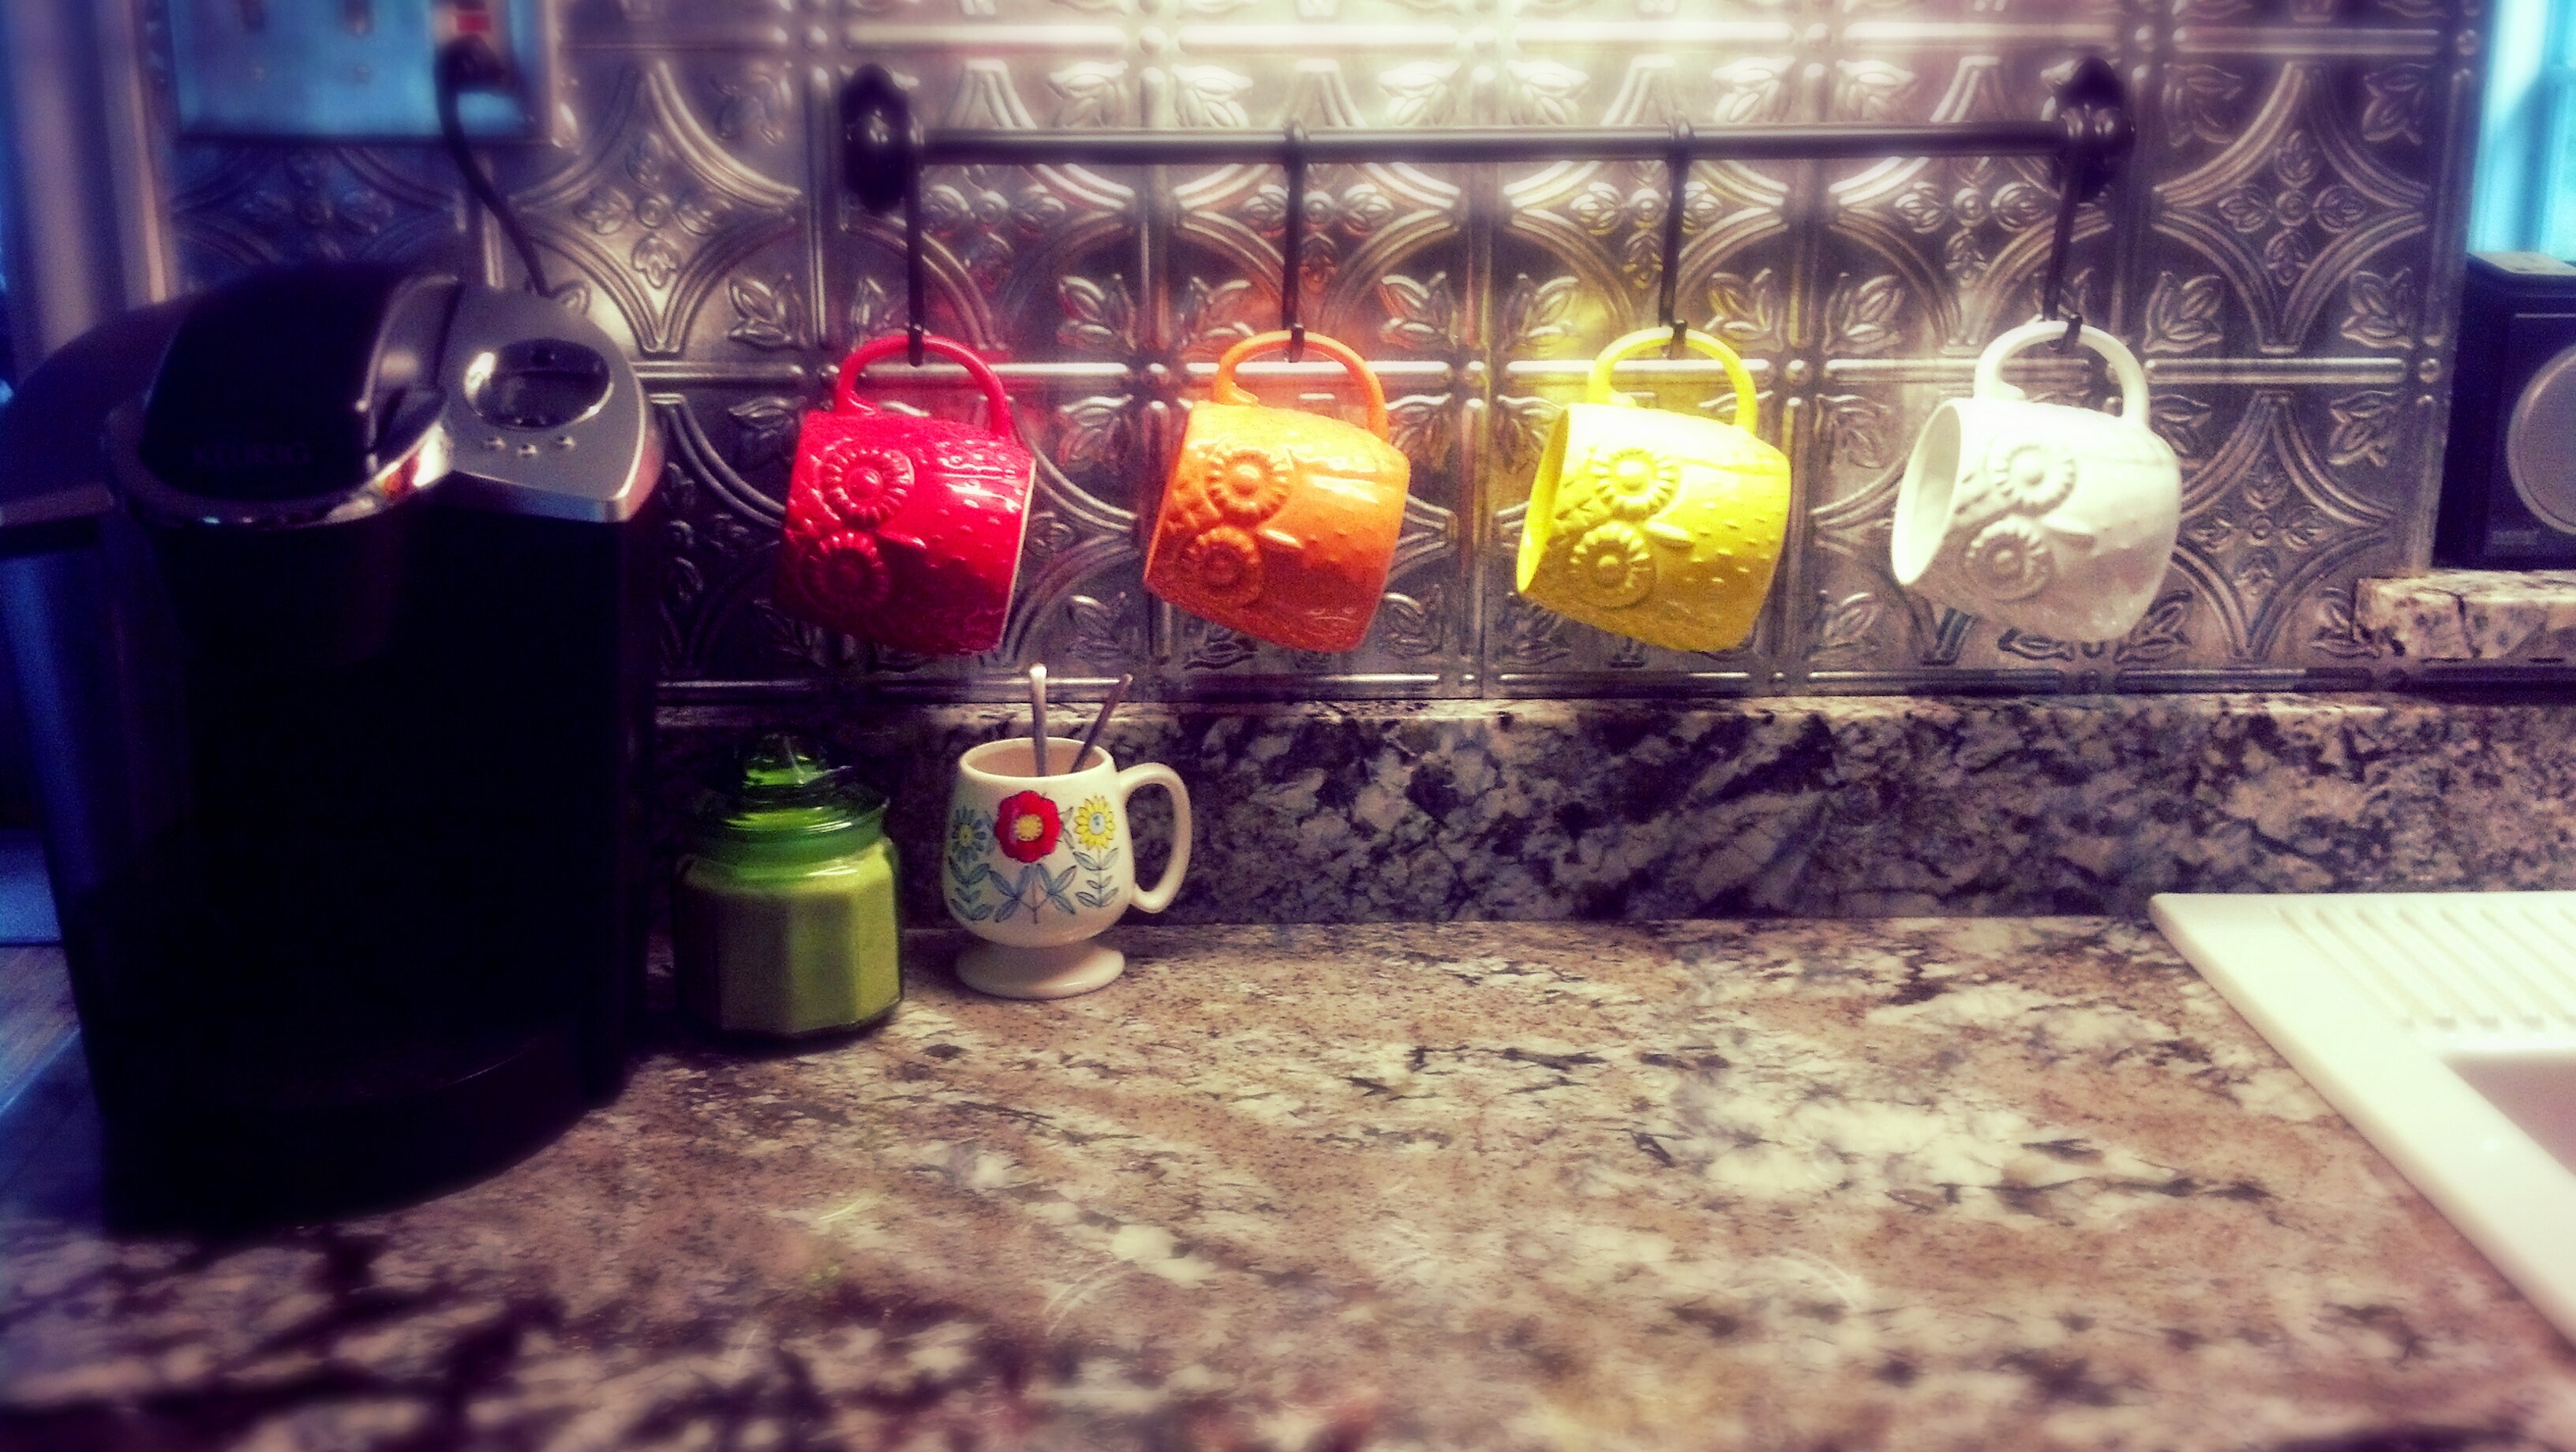
I also put up a FINTORP rail by the range to hold the white basket containing our cooking oils. And now friends…my fingers are bleeding and my eyes are hurting from writing this three hour blog! I hope you enjoyed the metamorphosis of our kitchen. Functionality was restored to this tiny space, and more changes have happened since these photos were taken, but I’ll have to finish up in another post.
Adjo!!!! (Swedish for ‘goodbye’)
