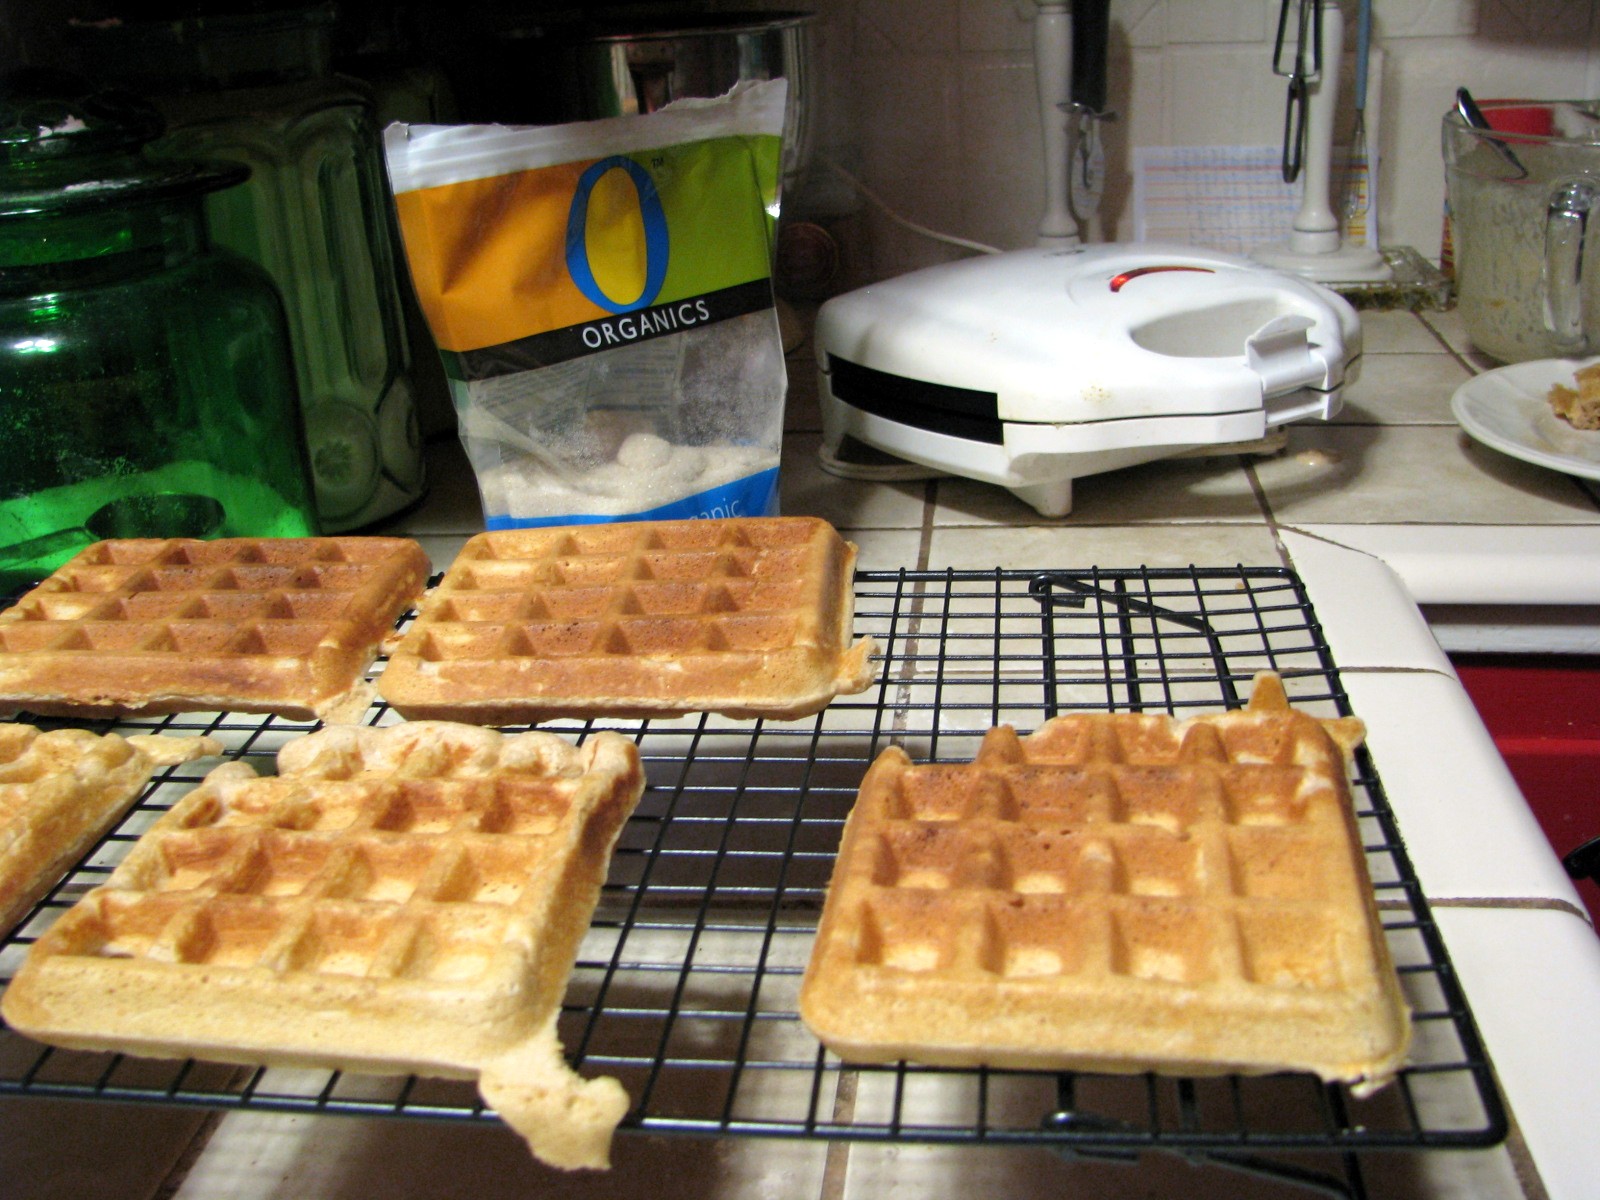
There’s nothing quite like homemade waffles. Nothing in a box mix even comes close to homemade. Funny thing is, I hadn’t ever even made my own waffles until a few years ago. And I JUST started making my own pancakes. What in the world was I thinking? Now, copy down this here recipe and get your waffle iron heating up…
Waffles
2 eggs (I use one goose egg)
2 cups flour (I use one cup all-purpose and 1 cup whole wheat)
1 3/4 c. milk
1/2 c. vegetable oil
1 Tbsp. sugar
4 tsp. baking POWDER
1/4 tsp. salt
1/2 tsp vanilla extract
Preheat your waffle iron. Beat eggs in a big bowl until fluffy. Add in flour, milk, oil, sugar, baking powder, salt, and vanilla, JUST UNTIL SMOOTH.
Spray iron with non-stick cooking spray (usually only takes one application for all waffles). Pour a small amount of mix onto hot waffle iron (I use a small gravy ladle for this). Cook until golden brown. Makes 6 servings.
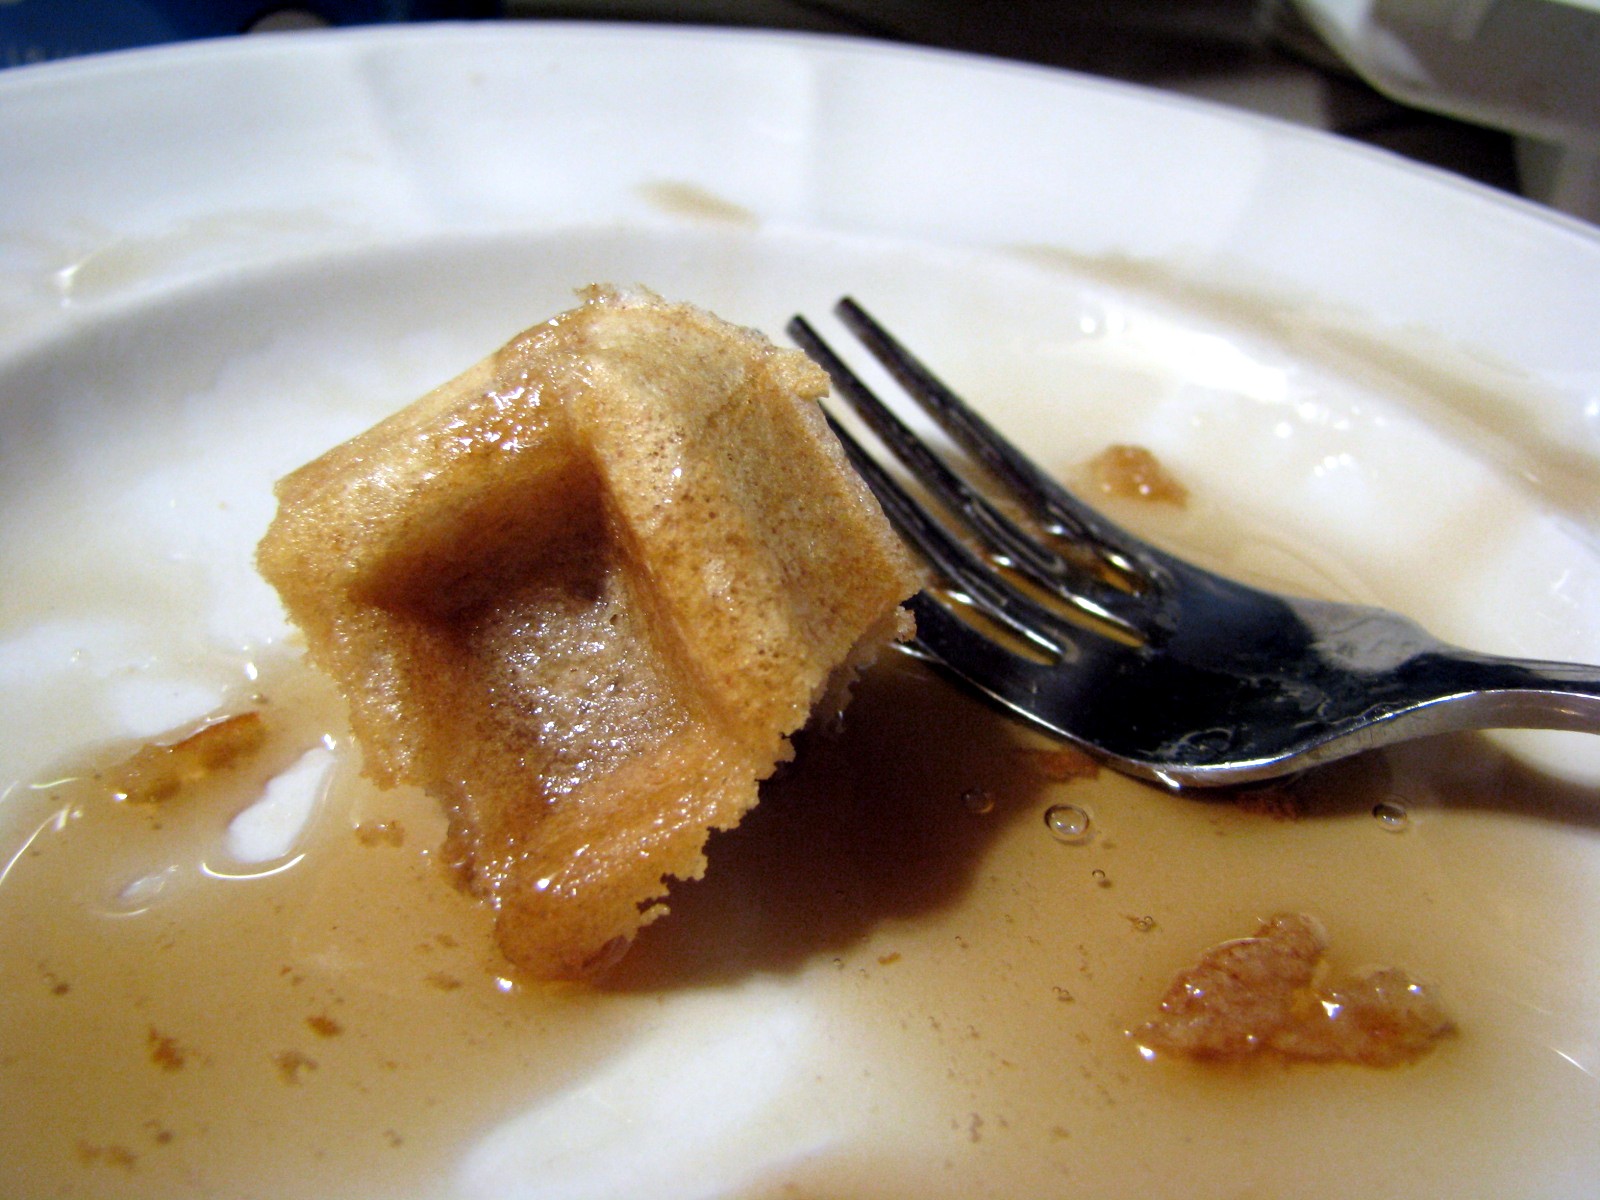
The trick to really great waffles is not to overcook them to where they are hard and crunchy, but like a pancake with a light crust. Mmmmmmm, now douse those babies with some syrup, pour you a cup of coffee and enjoy!!!
I have been reading an excellent book: Four Season Harvest by Eliot Coleman. I guess I should say I have been reading it and re-reading it for about 3 months now and still have not progressed past Chapter 2. This is for the simple fact that: A. I have children and cannot finish any task, period and B. I get so inspired by the book that I run out and do something new in the garden and lose my place. Well, FINALLY I have accomplished something…all by myself! In the book, the author describes the French method of using ‘chenilles’ (French for ‘caterpillar’) in the garden. Not actual caterpillars, mind you, but rather low, little ‘greenhouses’ which will greatly expand your growing and harvesting season to year-round. So, the other day I decided that I was capable of creating such and I gathered all the necessary tools and implements. For those of you who are unsure about building your own chenilles, let me relay some personal truths to you now.
There are three things that I cannot do well.
1. Cook rice.
2. Put icing on a cake and make it look like anything but a sheer disaster, and lastly;
3. Hammer nails.
I can do a great many things well, excluding those 3 things. I had completely forgotten about number 3 until I went to hammer in some staples during my chenille-building experience.
Bearing that in mind, let me give you a step by step instruction lesson.
First, I took some 1/2″ PVC piping and I cut it to 100″ lengths. This DID require the use of a power saw, and yes, I actually did this all alone. How is it that I am deadly with a hammer and not a power tool, I do not know. Anyway, because I am working off of my 4’x8′ raised beds, I guesstimated that 3 pieces should be sufficient for holding up my plastic. I then dug 6 holes in my beds; 4 on the far corners and then 2 more in the middle of the bed, all in the interior of the bed. The holes need to be about a foot deep, so that when you set the pipes, they will be sturdy.
One arch is now in place
Then, I took a piece of the pre-cut PVC, stuck one end in a hole and CAREFULLY bent it over (yes, it WILL bend) and stuck the other end in the opposite hole. This creates an arch, which will be the support for your plastic sheeting.
Next, I back filled the holes, using the end of the handle for a ‘tamping stick’. You want to pack down the soil around the pipes for stability reasons. I backfilled about 3-4″ of soil at a time, tamping it down inbetween fills. So, then I repeated this process with the middle arch and the arch at the opposing end. Now, here is where my hammer comes into play. I took some small staples (forgive me, I don’t know exactly what they are called but they are the kind you hammer in) and hammered a staple about 3/4 of the way into my raised bed sides right above where the PVC met the soil. I had to leave an opening in the staple because I needed space to run some twine through it, therefore I did not hammer them in, or, attempt to hammer them in, all the way. The twine secures the plastic sheeting against the arches.
(Staple hammered into place where arches meet the soil)
I already had some plastic sheeting handy, though it was actually too small for completely covering my arches, I still chose to use it, since I didn’t really want to fork out more $ for another roll of it. The plastic should be long enough to completely cover the arches, leaving several inches on the sides and a few feet on the ends. I use the clear plastic that is intended for painters to cover floors. I buy the thickest one they offer.
SO, now I had 3 arches, to the inside of my beds, and now it was time to cover with the plastic. I took a staple gun (DANGER, Will Robinson!) and stapled the end of the sheet to the short end of the bed, and ran it over the arches to the other side, then stapled that to the opposing end. NOW, it was time to run the string in a zigzag pattern, through the staples, which secured the plastic, holding it in place and bracing it against the wind. So now I had something resembling a miniature covered wagon, sitting in my front yard. Can anyone yell, “Zucchini, HO!” ?
twine is run through the staples to hold down the plasticFinished 'chenille'. As you can see, the plastic is way too short on the sides. It should be fully touching the ground.Venting the chenille. When weather gets too warm, it will be necessary to keep the plastic pulled up so your plants don't cook!To vent the chenille, I just pulled up the plastic in the center and secured with twine.
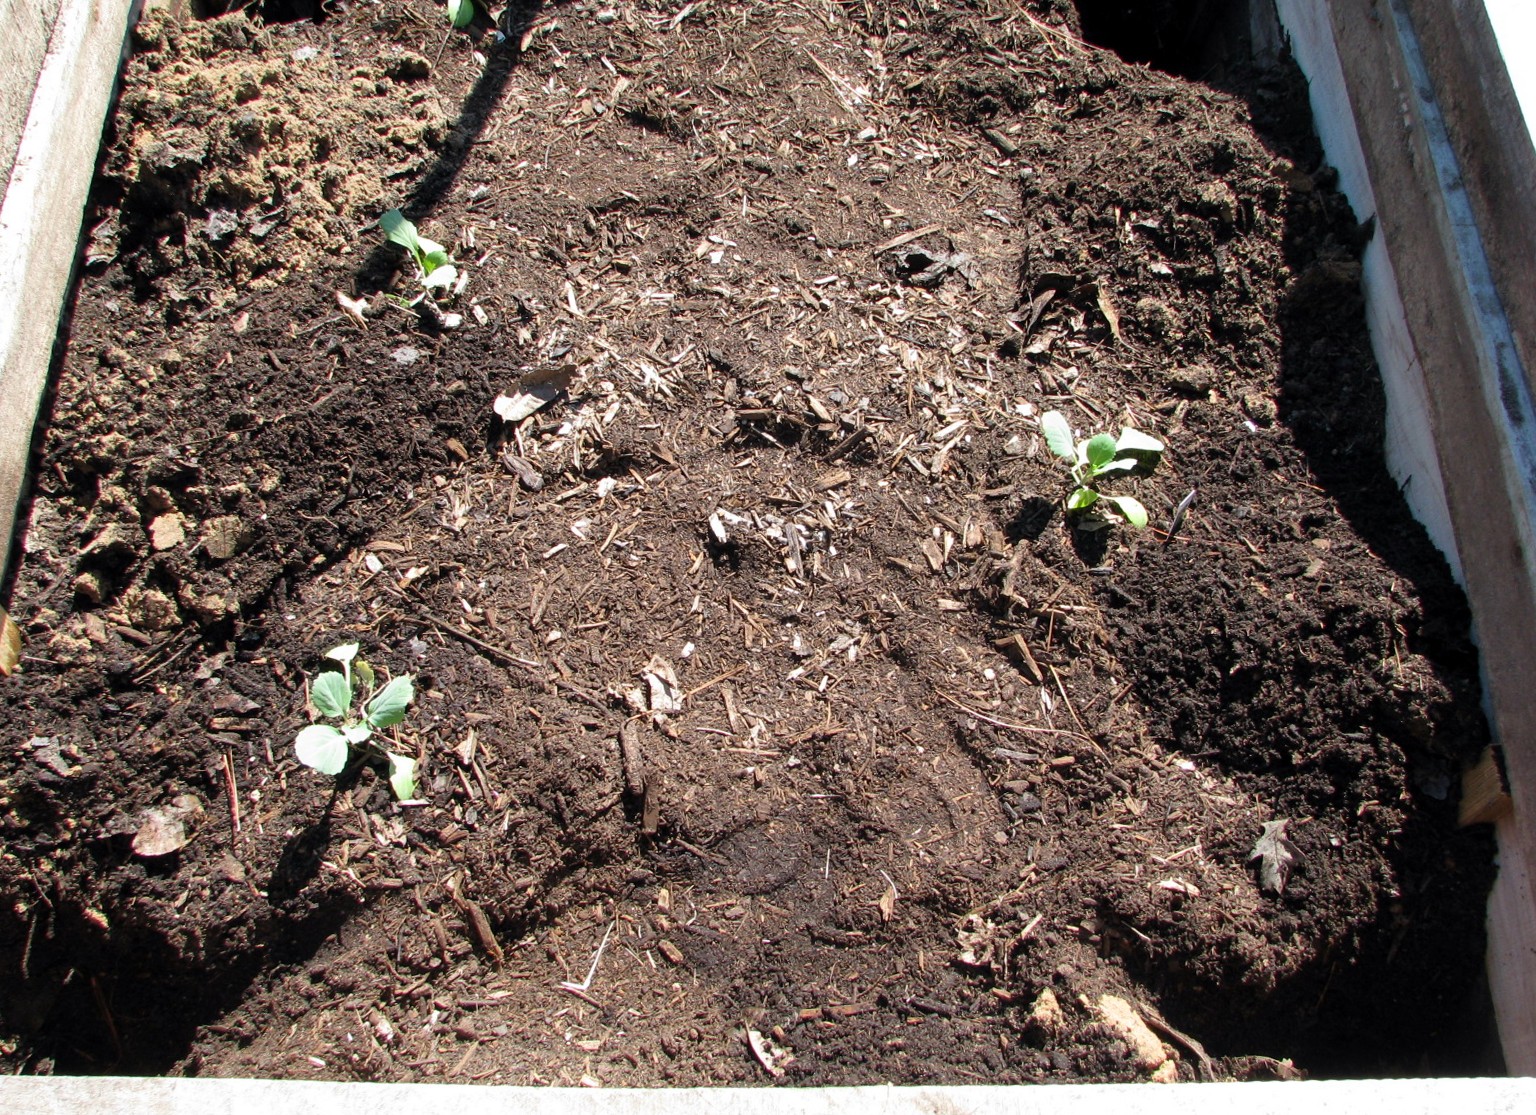
Ok, purpose of these ‘chenilles’. They protect your seedlings/plants from frost and wind, which will totally zap your winter veggies. They hold in the heat via the greenhouse effect to keep your little plants warm and toasty while it’s cold and crappy outside. Thin leaved veggies (like lettuces, etc) do like cooler weather but don’t ‘do’ heavy frost settling on the thin leaves. You’ll come out to a garden full of mush the morning after a frost. Thicker veggies, like broccoli and cabbage, actually can handle light frost with no problem, but even still, I feel better protecting them from the elements. The arches are low to the ground for this reason: as we all know, heat rises. If you make the arches too tall, the trapped heat will not be in contact as much with the plants.
The chenilles that the French use, according to this book, use thick wire hoops, and the wire is bent in an arch, and then a small circle where it meets the soil. This is where my staples came into play. The little circles are used to hold the twine in place. Sorry if I am doing poorly at illustrating this with words…I am a visual person myself. Anyway, the ends of the plastic are secured via a stake. Soooooo, if you do not have raised beds, then this method will work for you. I just happened to have the PVC handy. My husband is the Mr. Haney of Maydelle. Anyway, here’s the other cool thing about these chenilles. When it is warm outside, since you don’t want your little plants to cook, you will need to ‘vent’ your little chenilles. This is easily accomplished by pulling up the plastic in the center and securing it with a piece of twine. This allows the trapped heat to escape.
Thus far, I am loving my little ‘caterpillars’. I do need to build some more, though I may use the wire method next. Also, another way I have done these is to use a tomato cage made out of that 4″x4″ stock fencing, unhook it, flatten it somewhat and use these as your arches. I did this with my cabbage and broccoli, and they did really well. I was in a real recycling mode that day.
Using an old tomato cage for support, it can be covered with plastic sheeting to protect against frost. These broccoli were planted October of 2009.Broccoli which survived in spite of my care...February 2010
Hope this inspires you all for this fall!!!
Cabbage Patch Cat??? Mr. Bobo discusses the benefits of row covers while frolicking amongst my Jersey Wakefield cabbages.


